
While the out-of-box preferences on Android work fine, you can dig into the Settings menu to unlock a treasure trove of tweaks, customization options, and productivity add-ons to transform your device experience. We aren’t talking about the settings you adjust after setting up your Android phone. These lesser-known and often overlooked options personalize your device like a pro. Here are the top handy gems and Android settings that every Android user should know.
We use a Google Pixel 8 running Android 14 in the screenshots below. The steps may differ on your Android phone.
10 Set DND schedules
Most Android users access DND from the quick toggles and call it a day. However, Android’s DND mode is more powerful than the default settings. You can set a custom DND schedule for a specific location or calendar event. Here’s how:
- Open Settings.
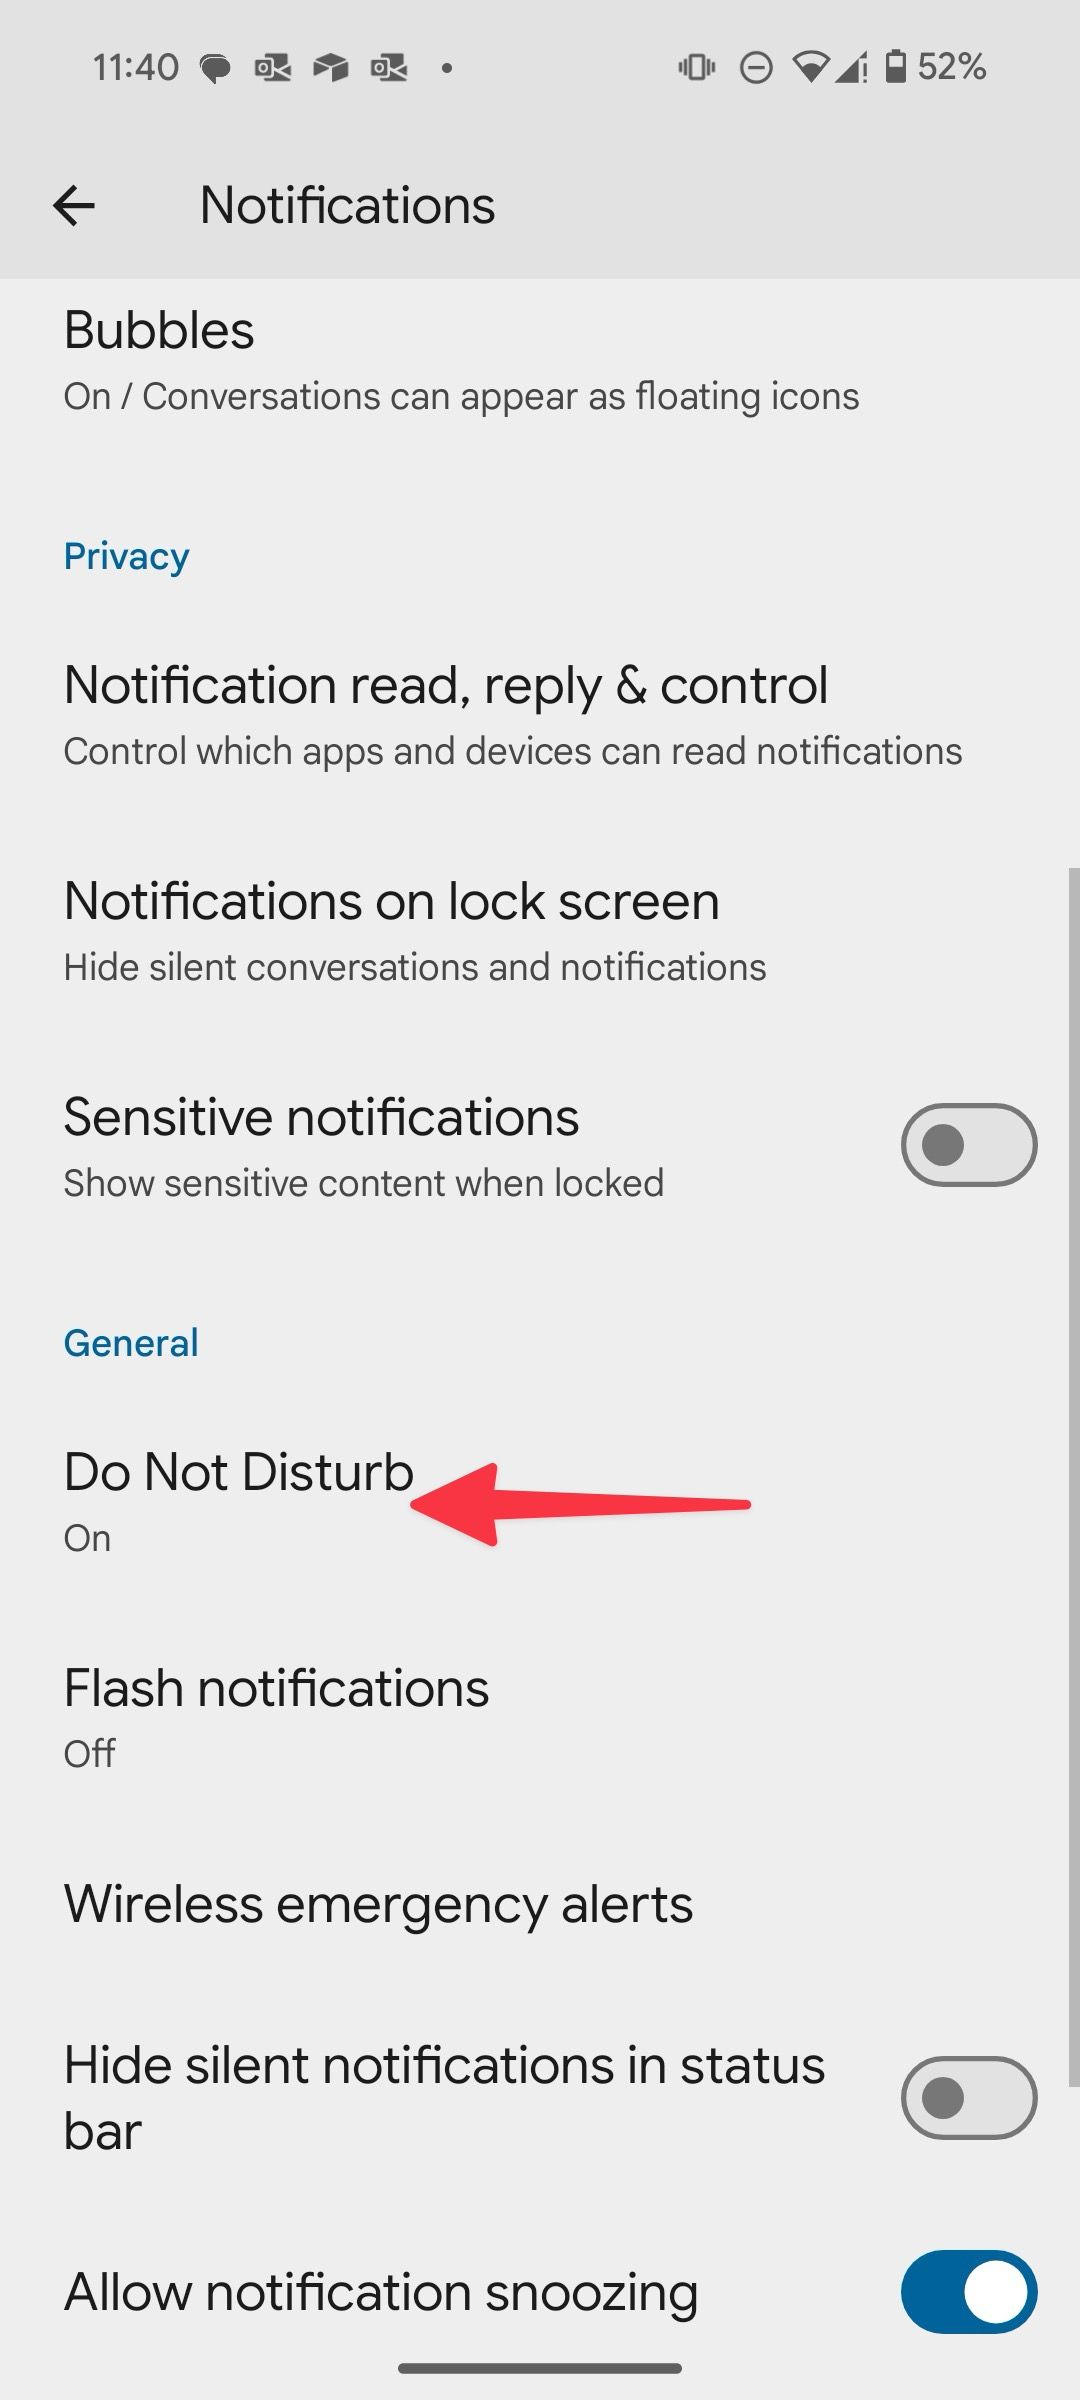
- Go to Notifications > Do Not Disturb.
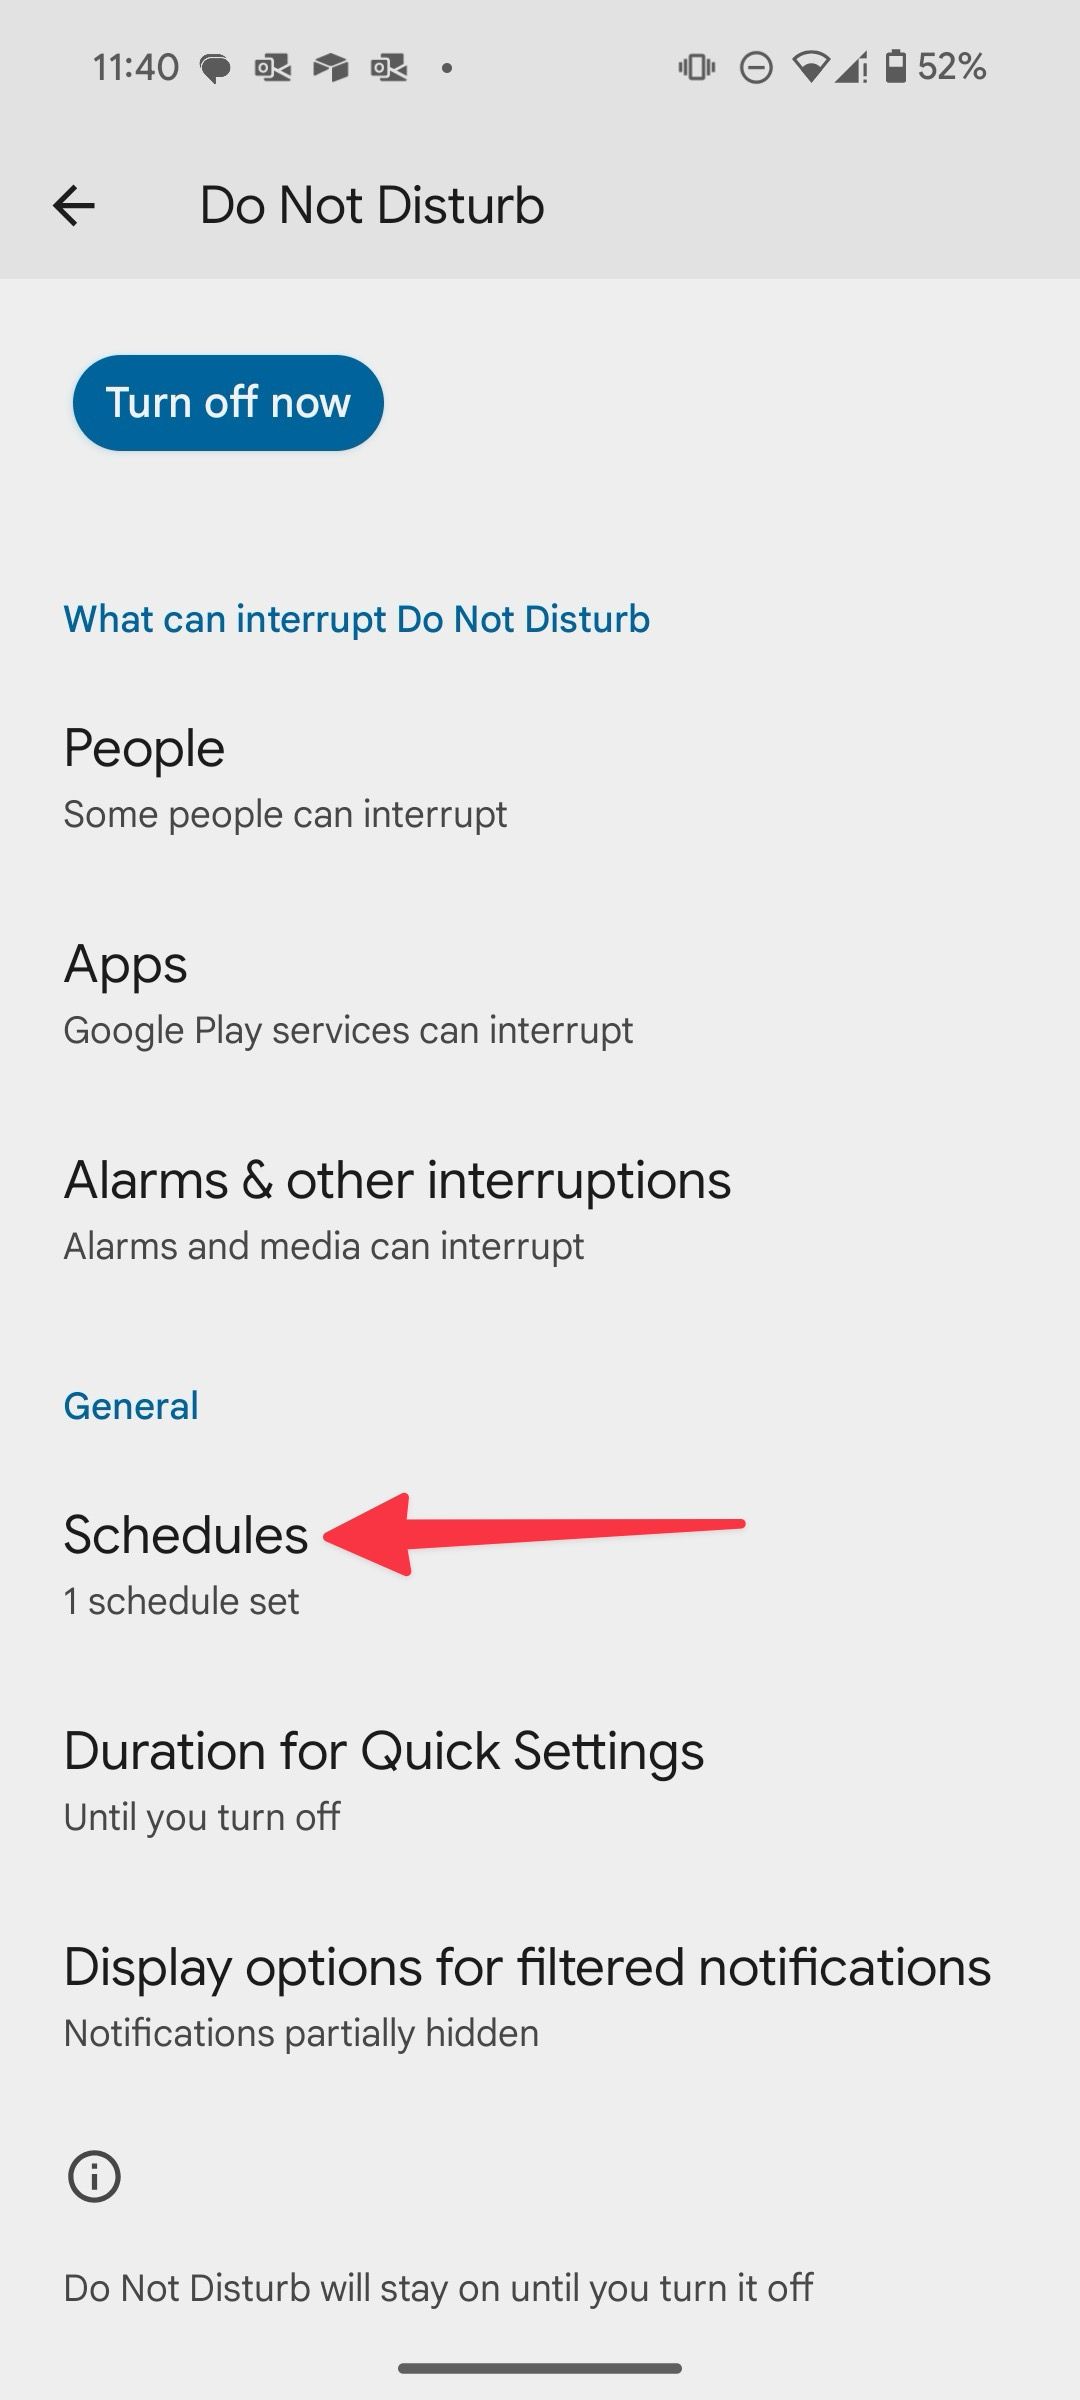
- Select Schedules.
- Tap Add more.
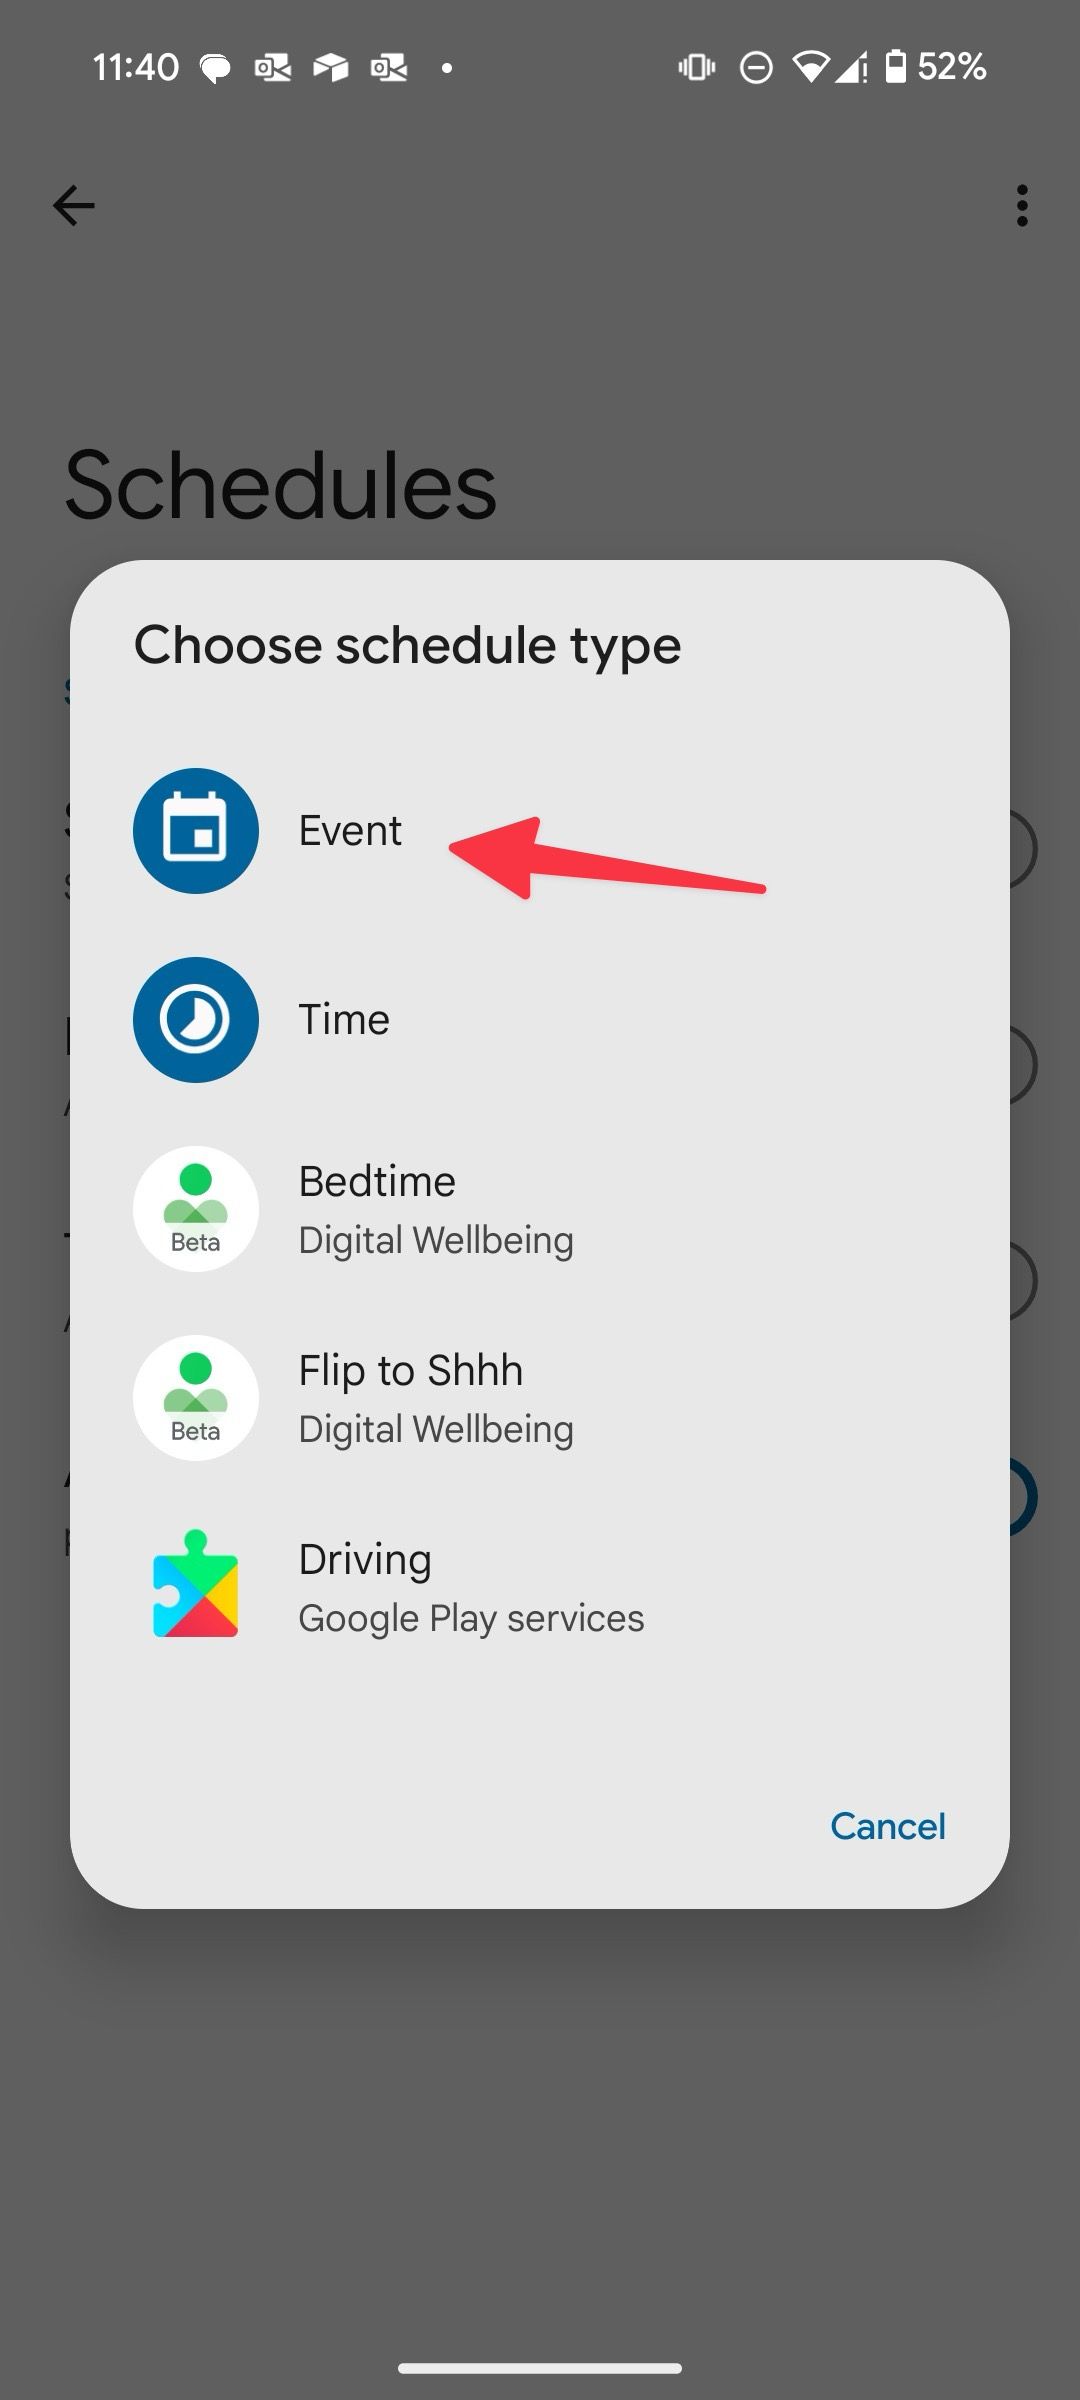
- Choose a schedule type. Let’s select Event. Give it a relevant name.
- Tap During events and pick your calendar.
- Change the DND behavior for your starred contacts, repeated callers, and messages.
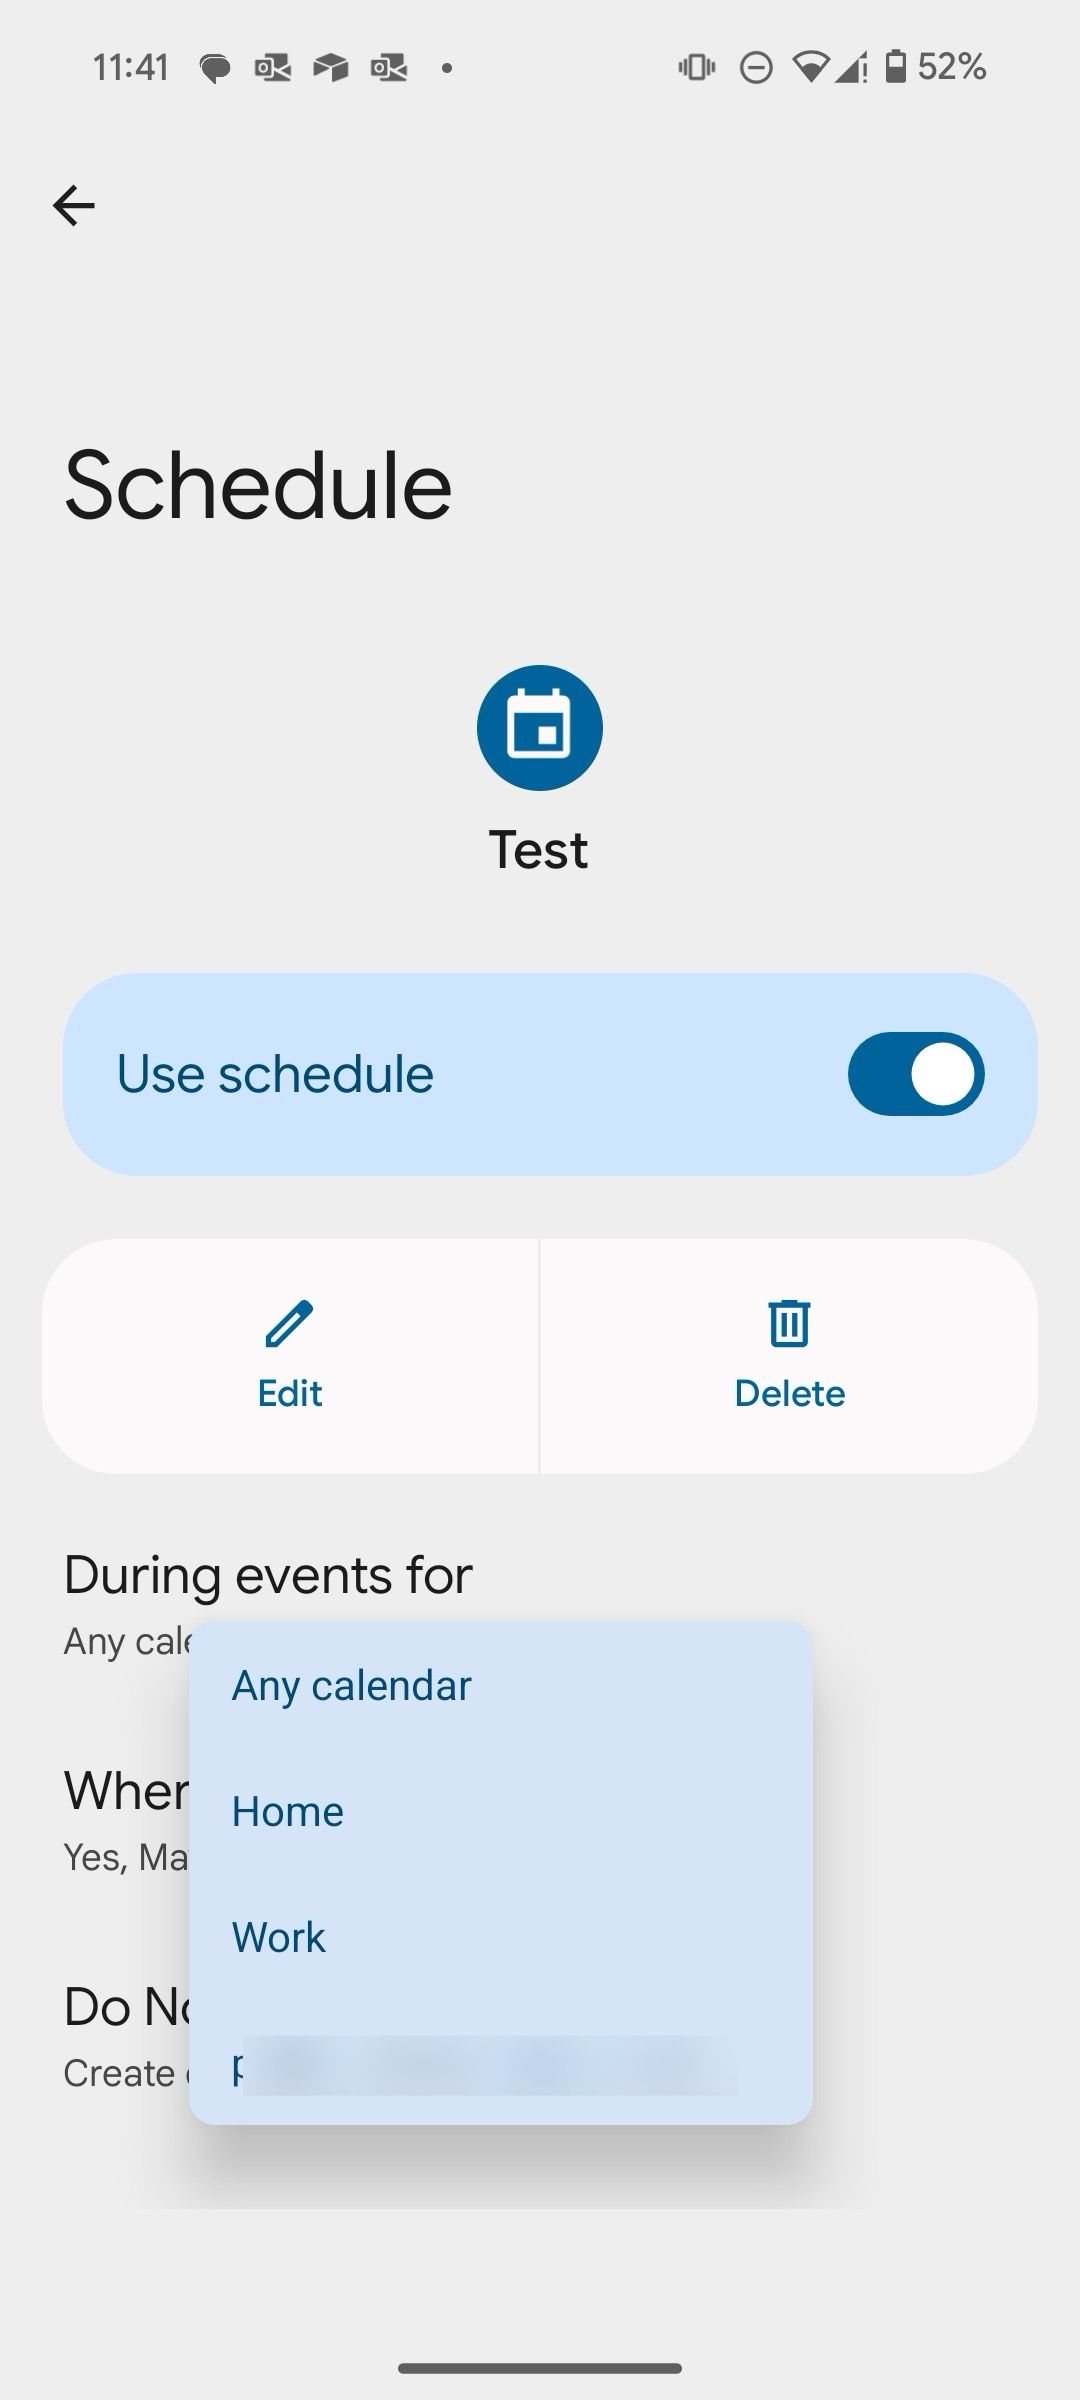


From now on, the system automatically turns on DND during important meetings.
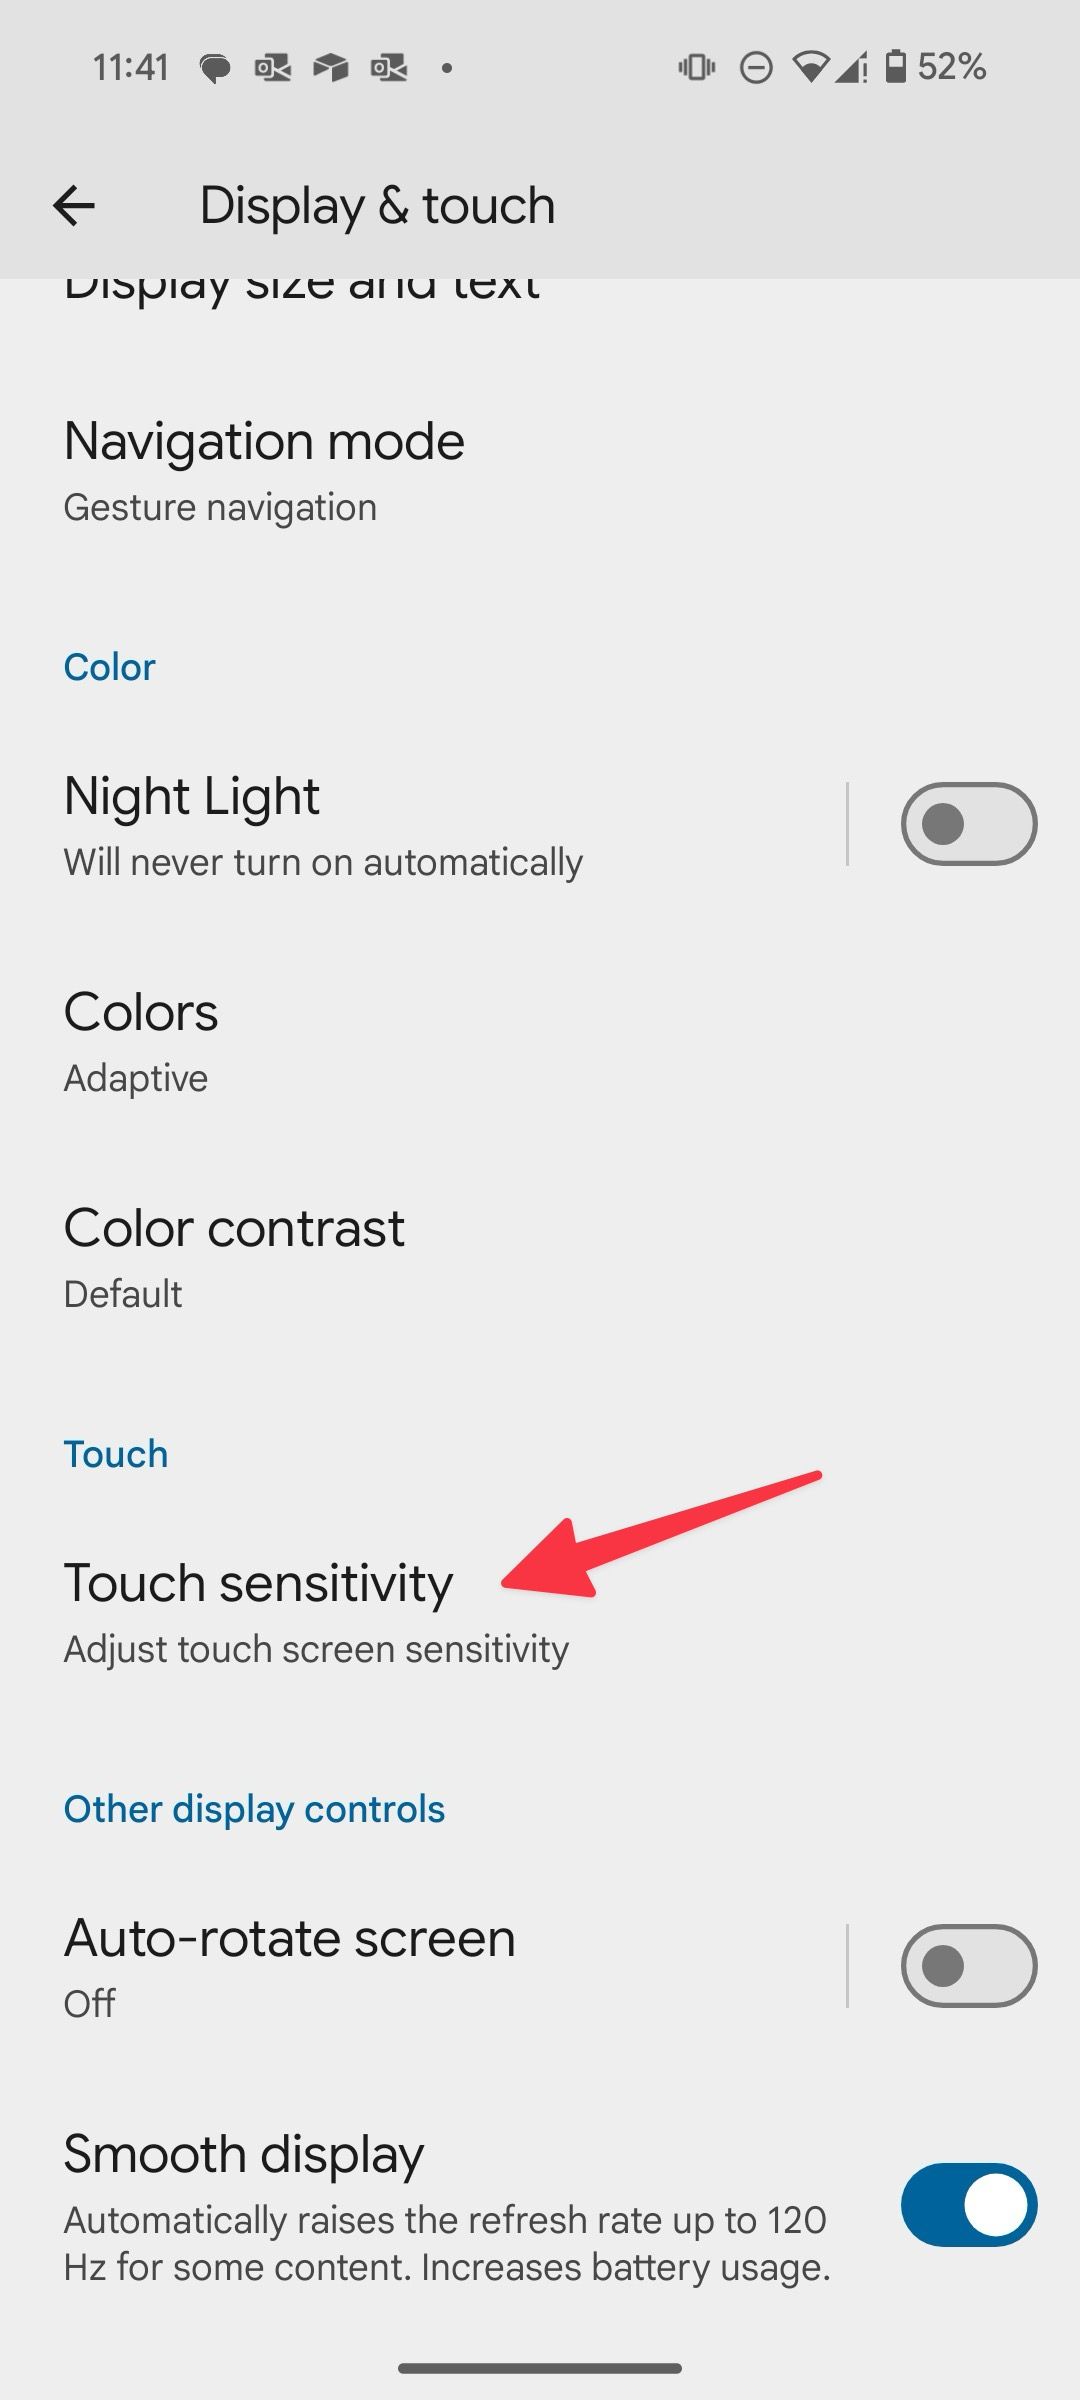
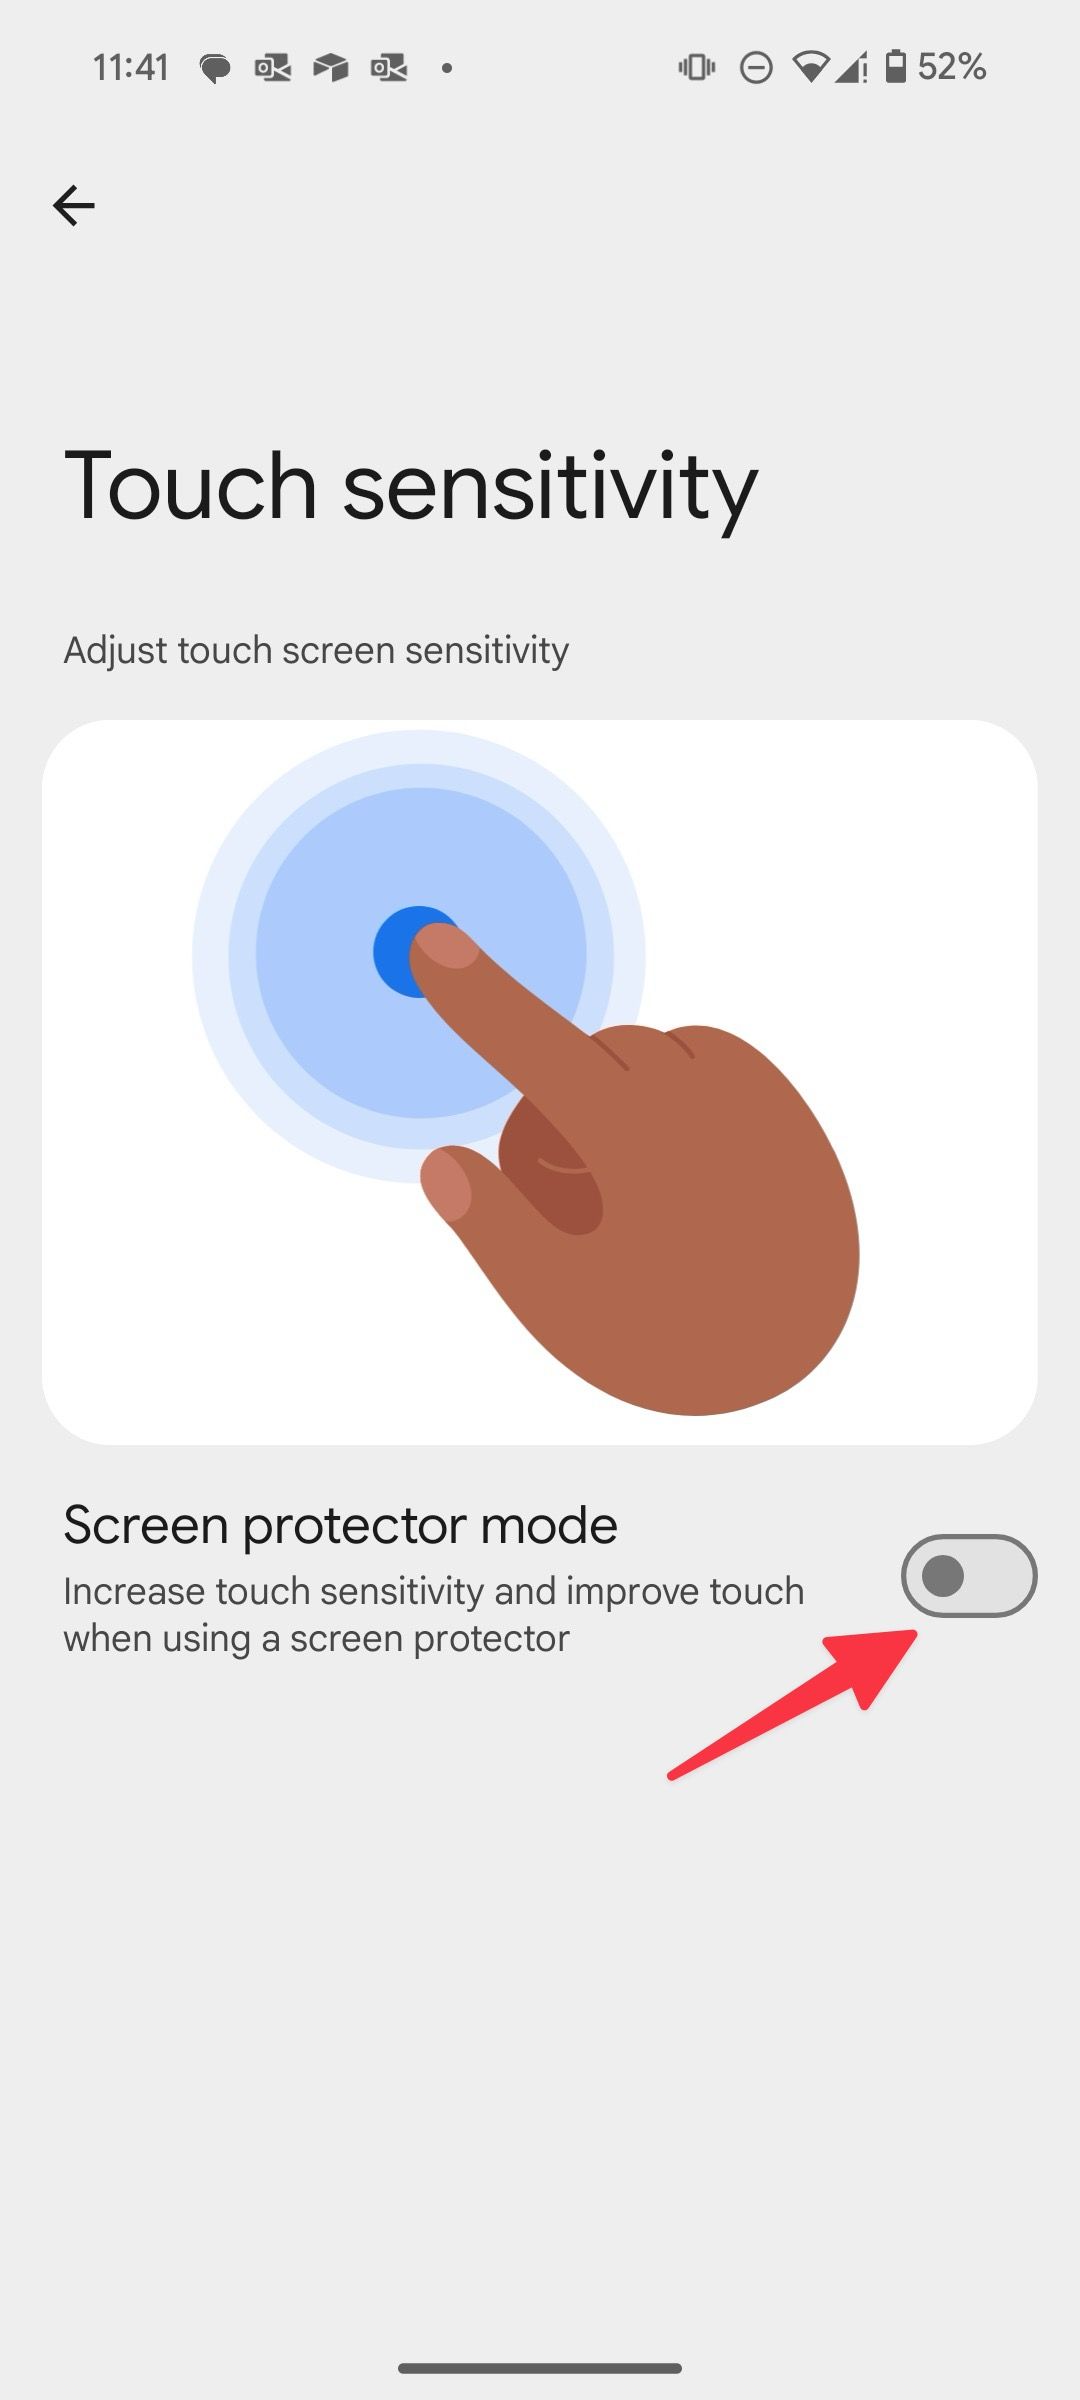
9 Enable screen protector mode
Using an Android phone without a screen protector is never a good idea. If you are among them and notice unusual behavior with touch latency, turn on screen protector mode from Settings.
- Open Settings.
- Go to Display & touch > Touch sensitivity.
- Turn on the Screen protector mode toggle to increase touch sensitivity.


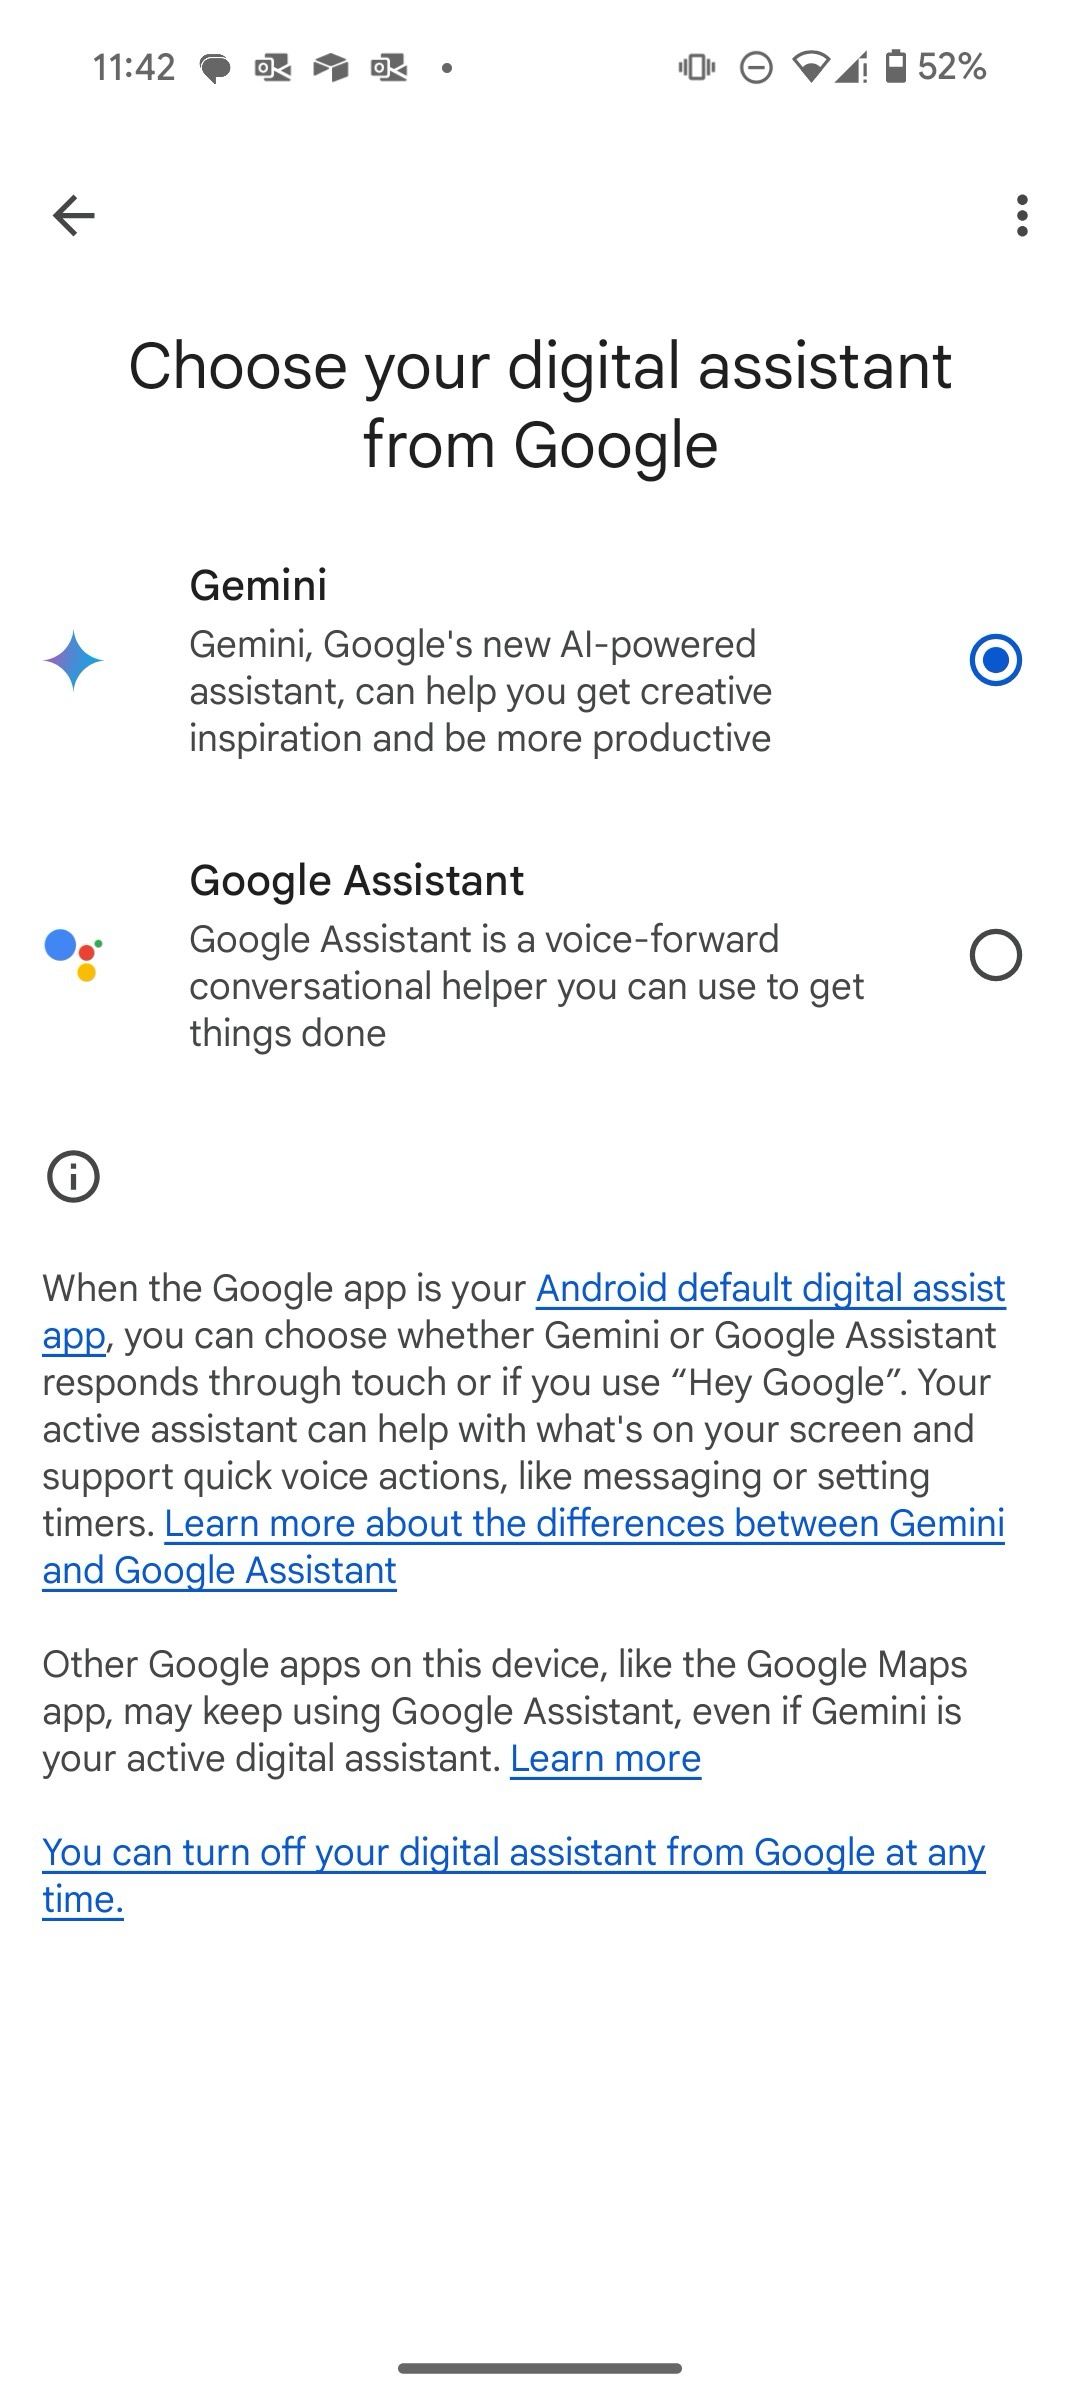
8 Make Gemini your digital assistant
Google’s next-gen voice assistant has arrived on Android. If it is set on Google Assistant, it’s time to switch to Gemini.
- Open the Google app.
- Tap your profile picture at the top.
- Open Settings.
- Select Google Assistant.
- Tap Digital assistants from Google.
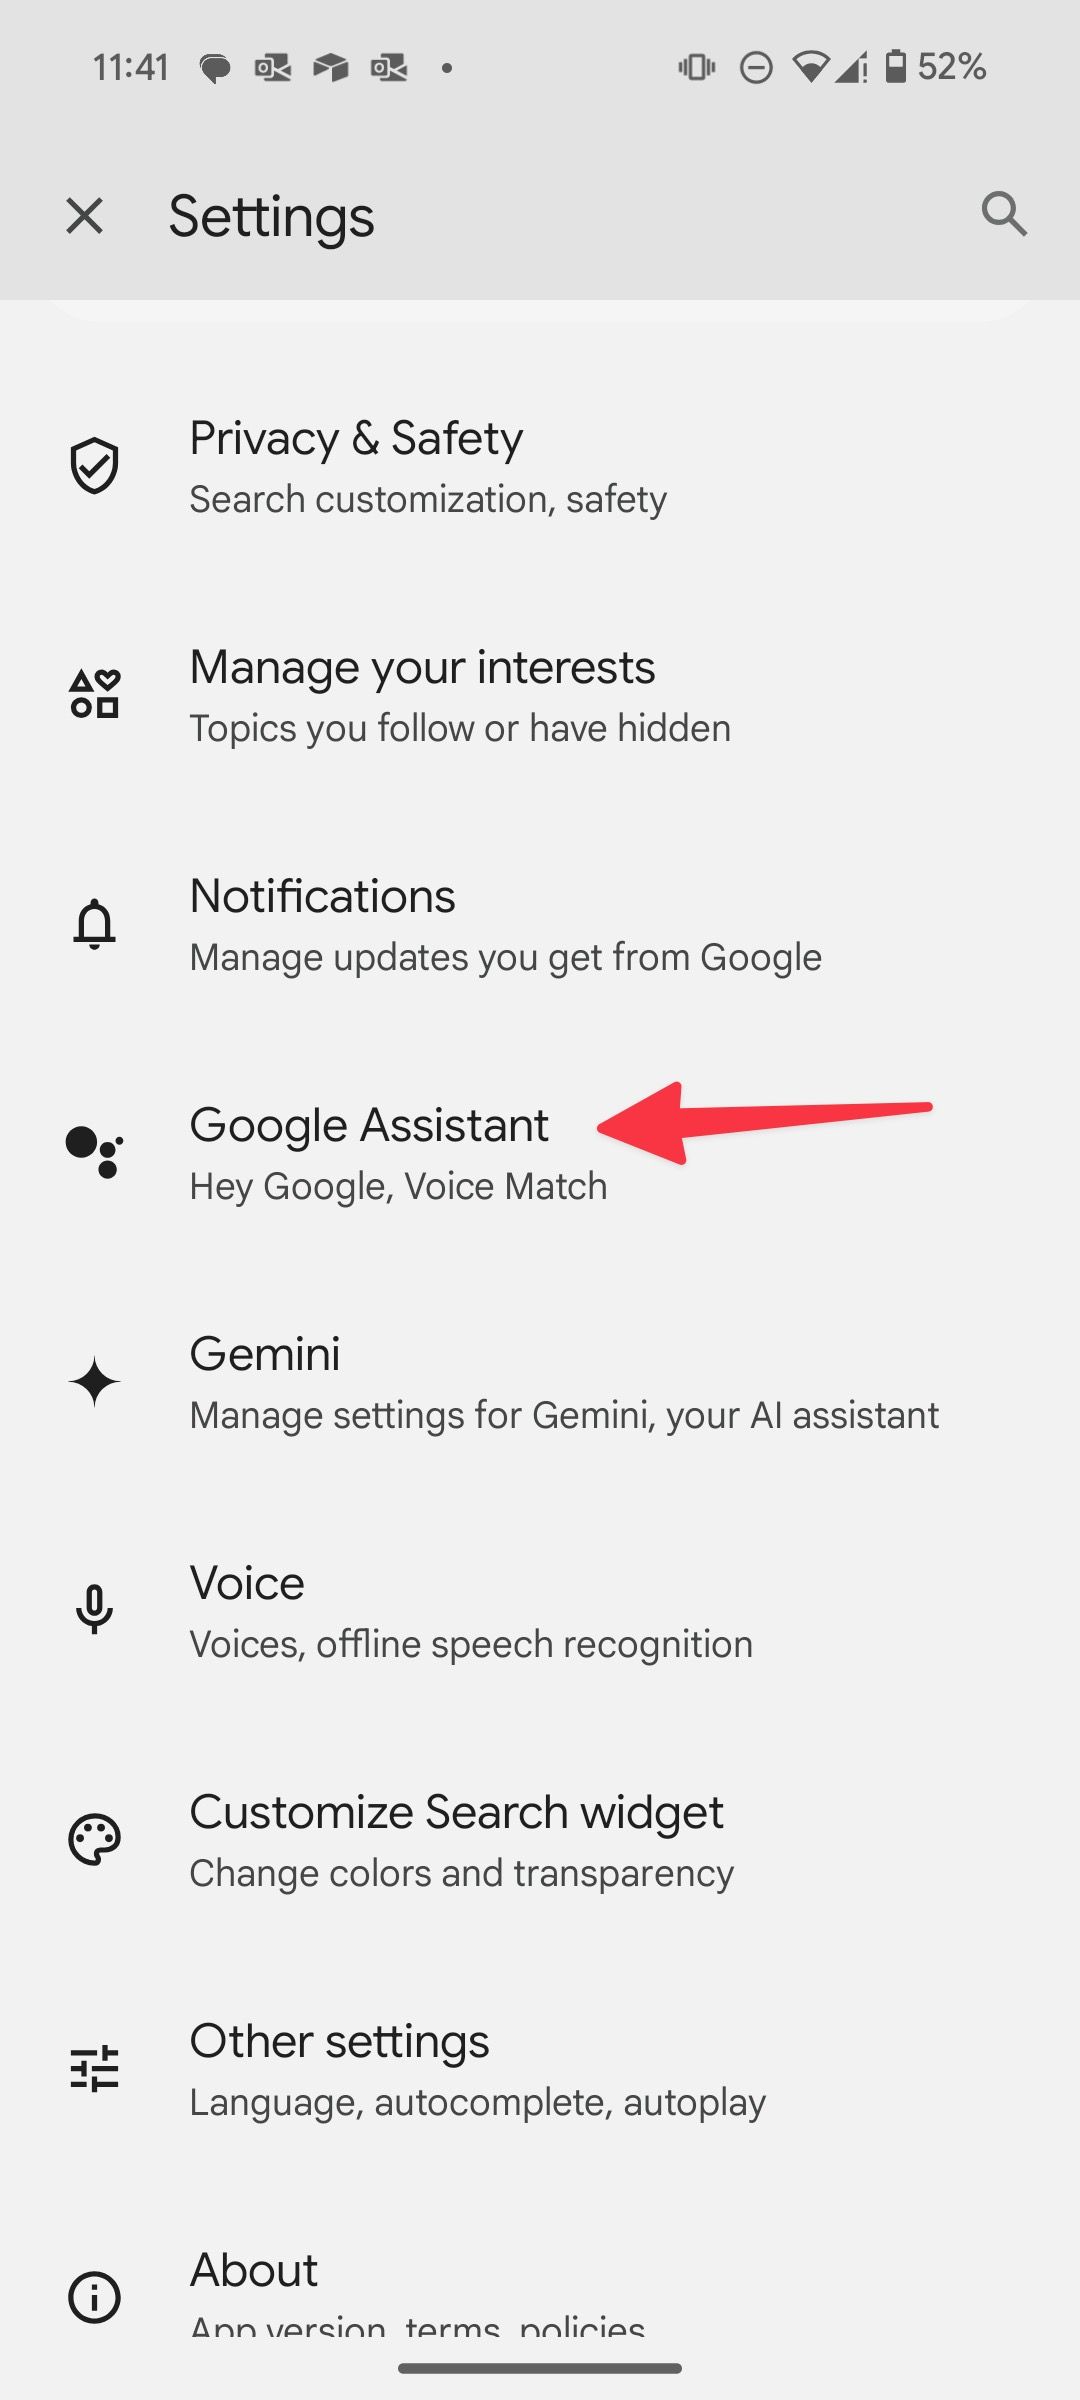
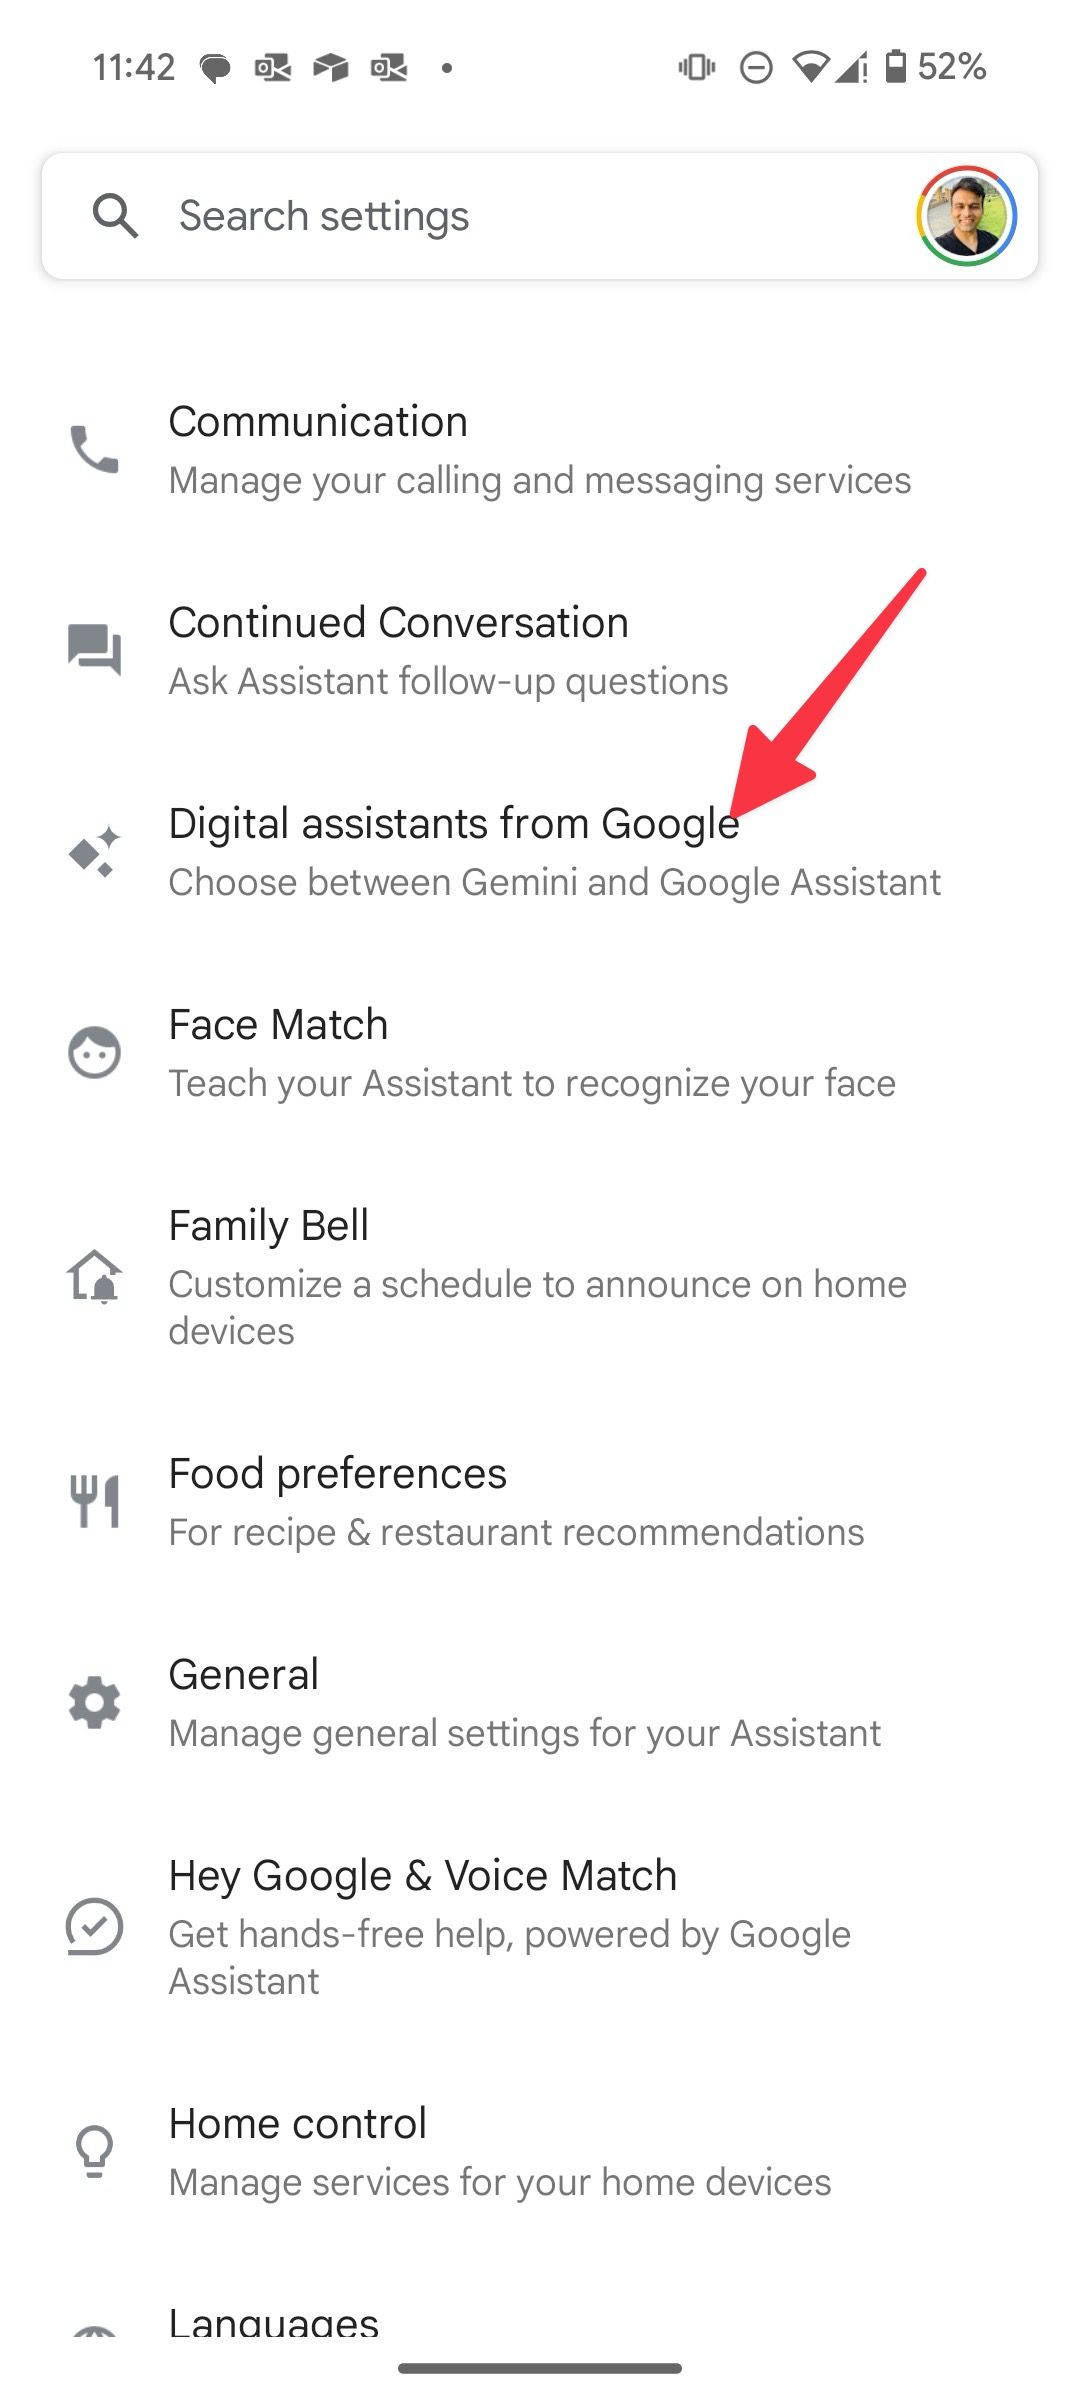
- Tap the radio button beside Gemini.


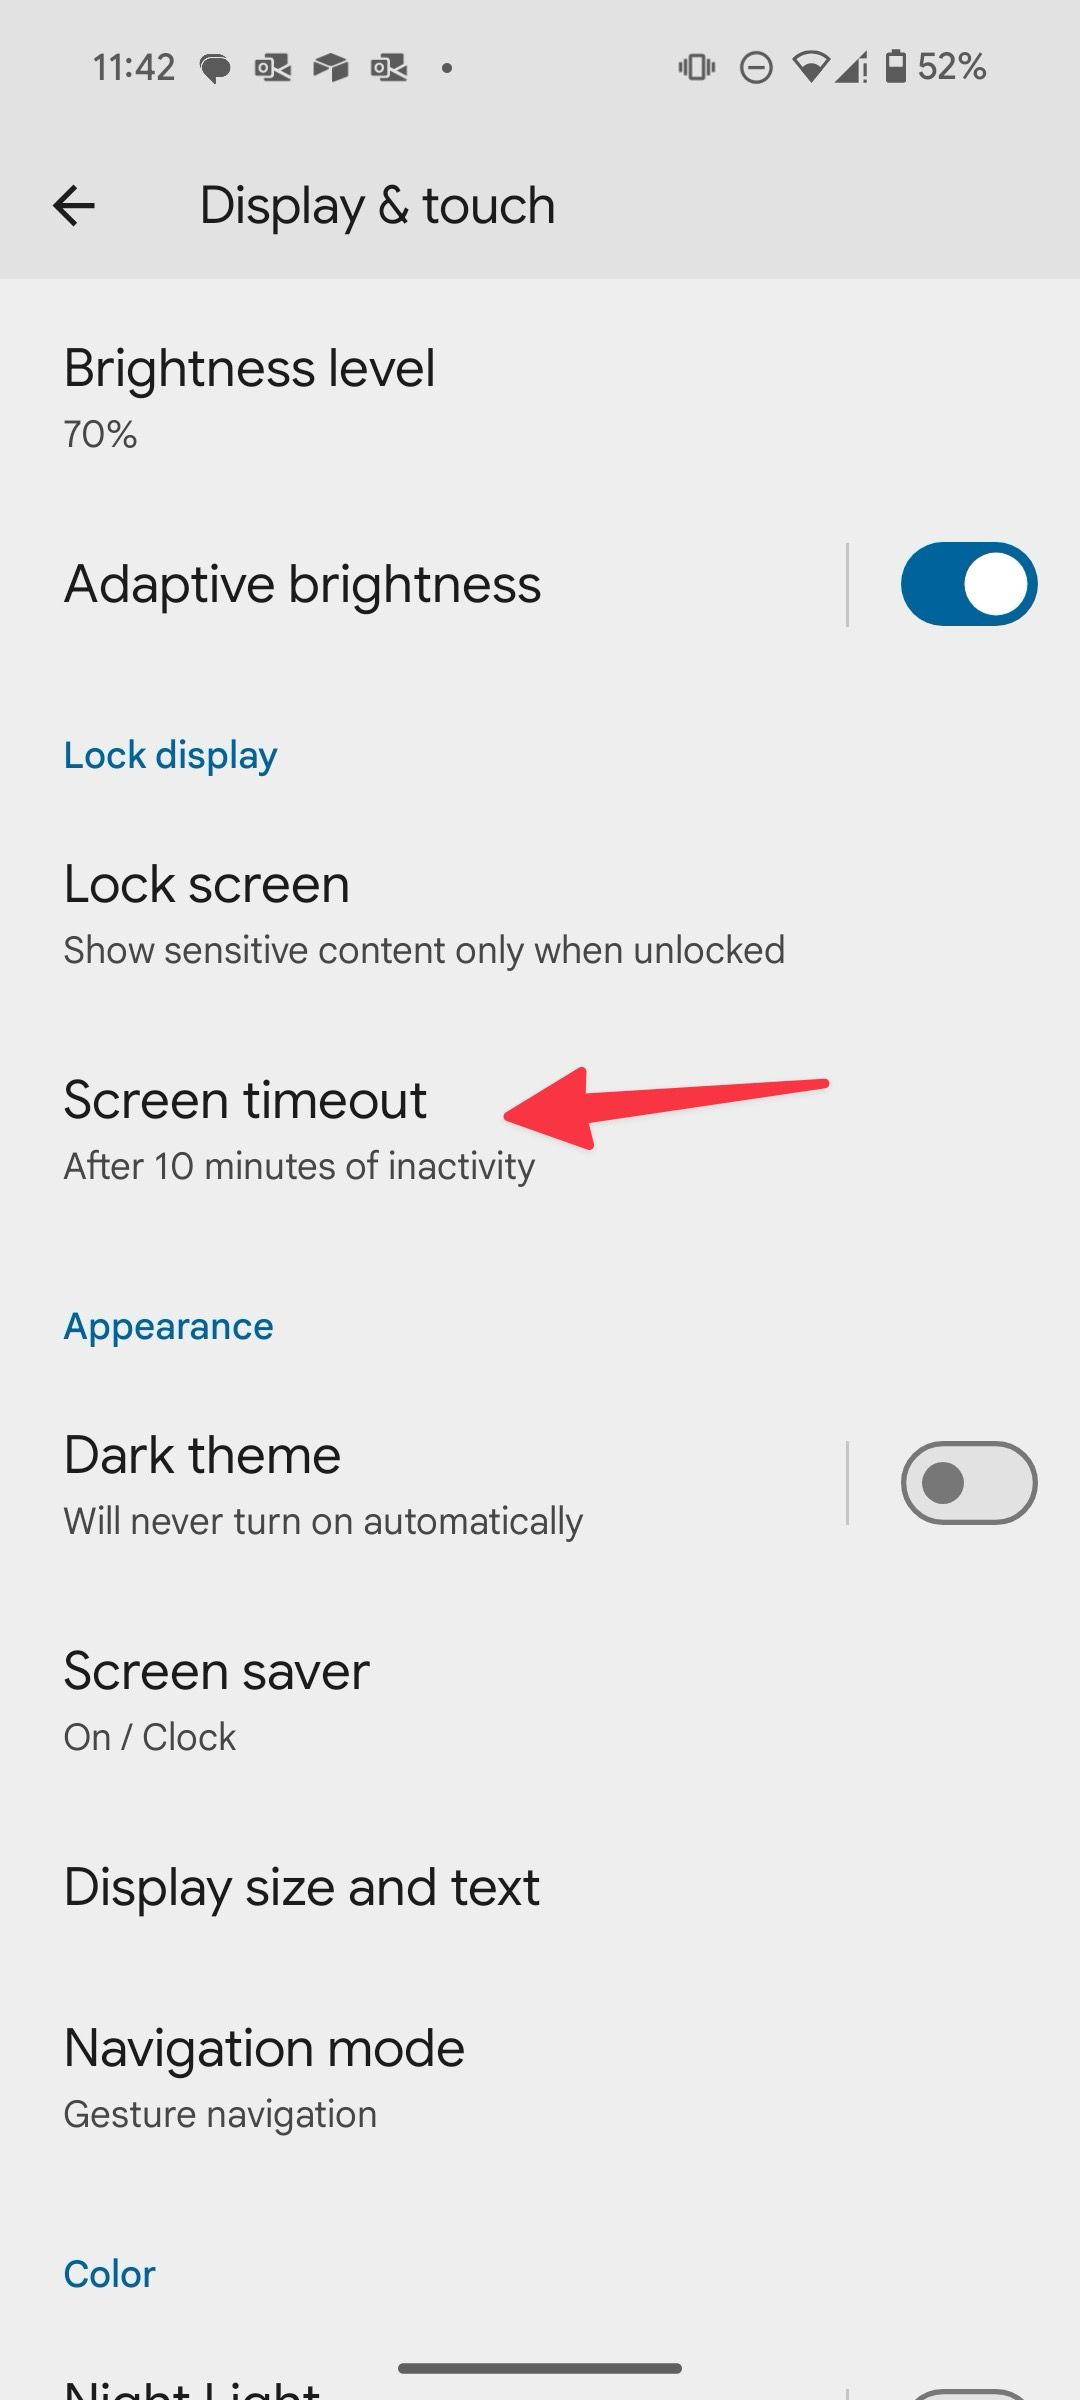
7 Turn on screen attention
This option can be handy when you want to prevent your screen from turning off when you are looking at it. The system uses the front camera to determine if someone is looking at the screen. The feature works on your device. Images are never stored or sent to Google.
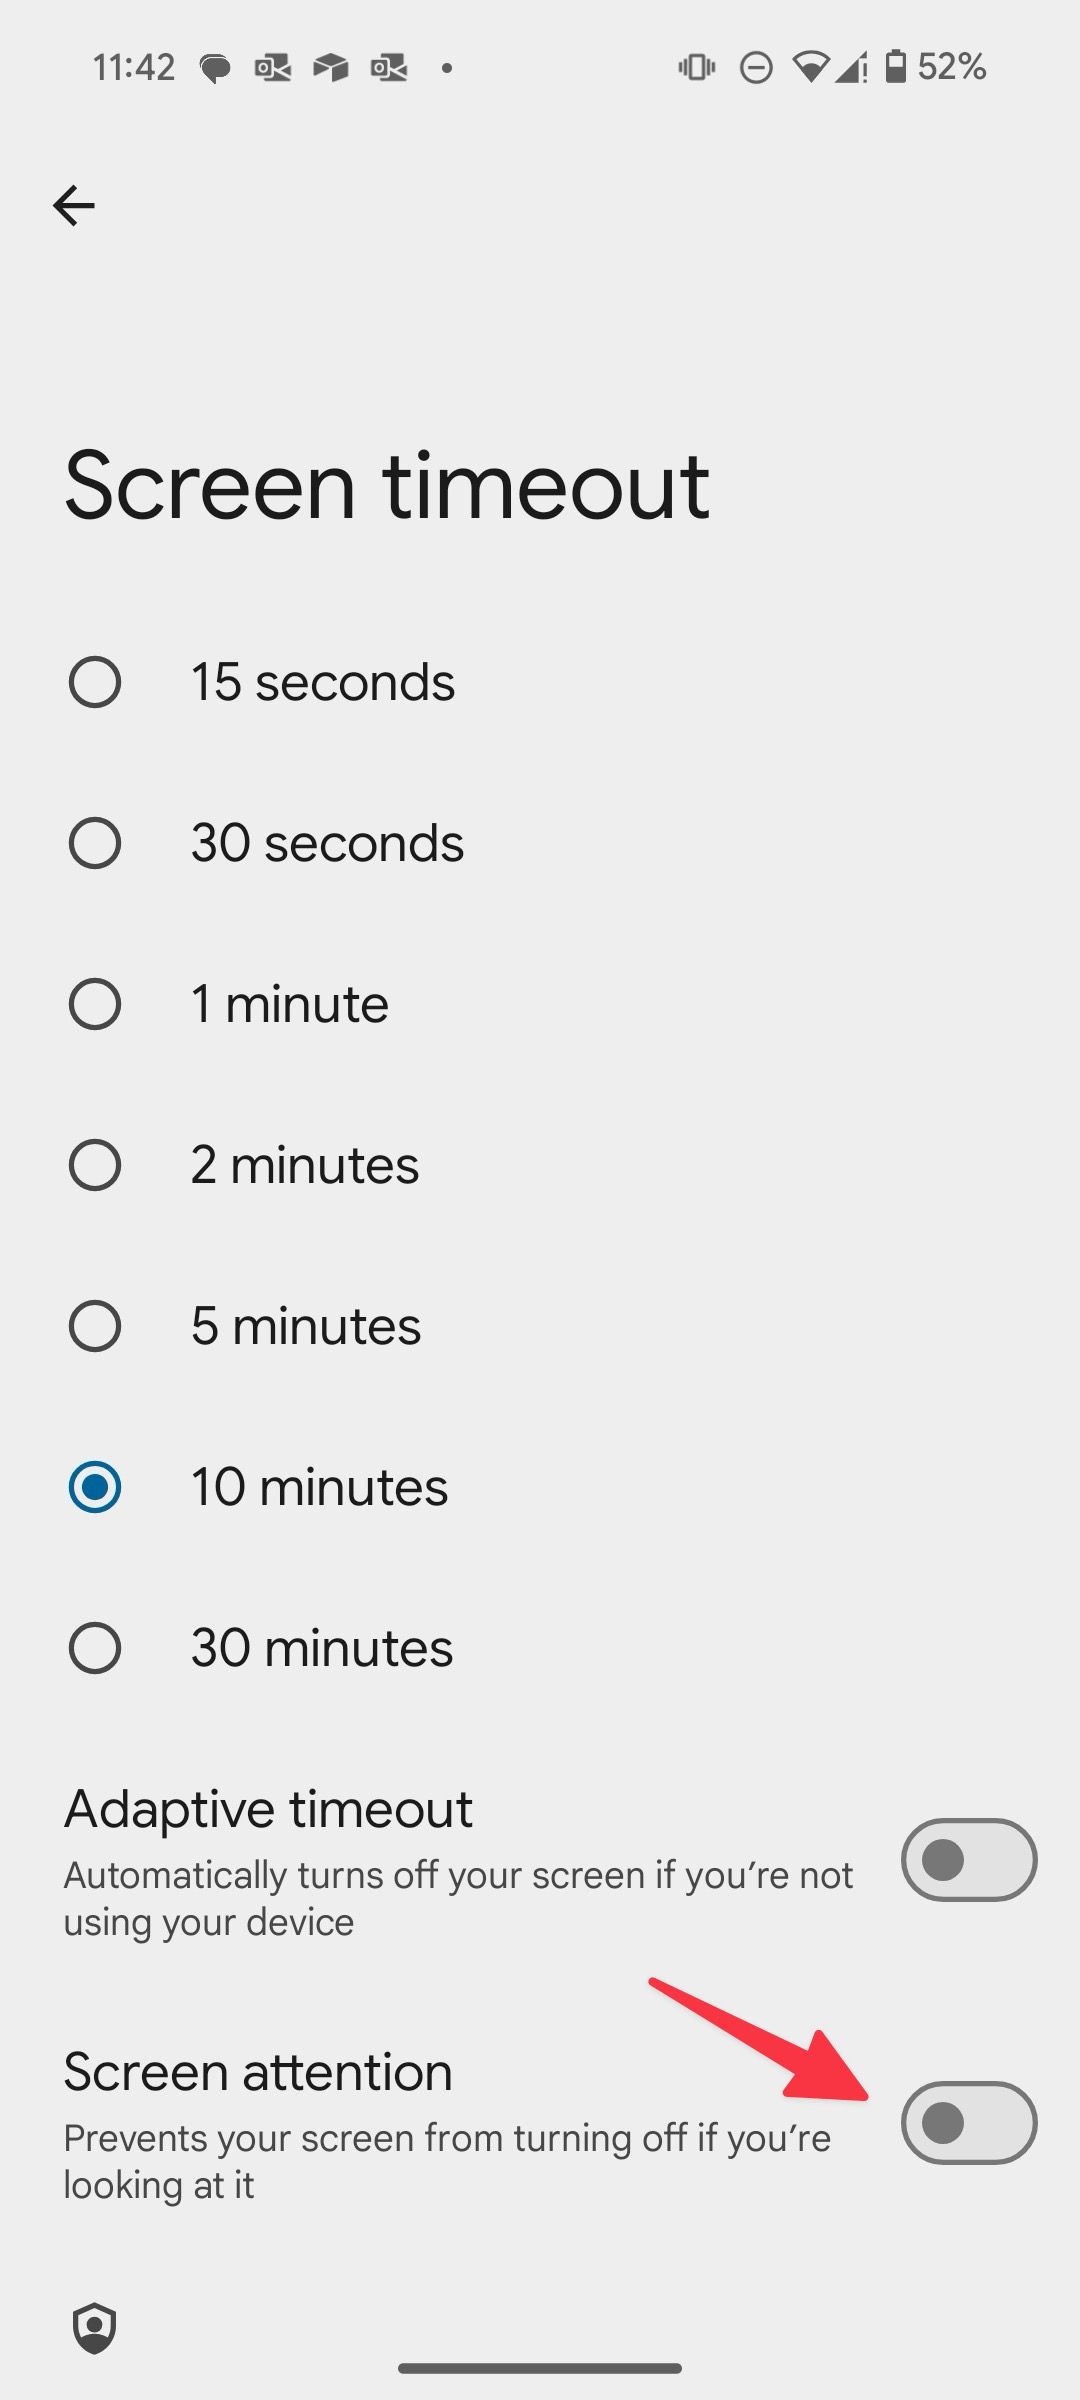
- Open the Display & touch menu in Android Settings (refer to the steps above).
- Select Screen timeout.
- Turn on the Screen attention toggle.


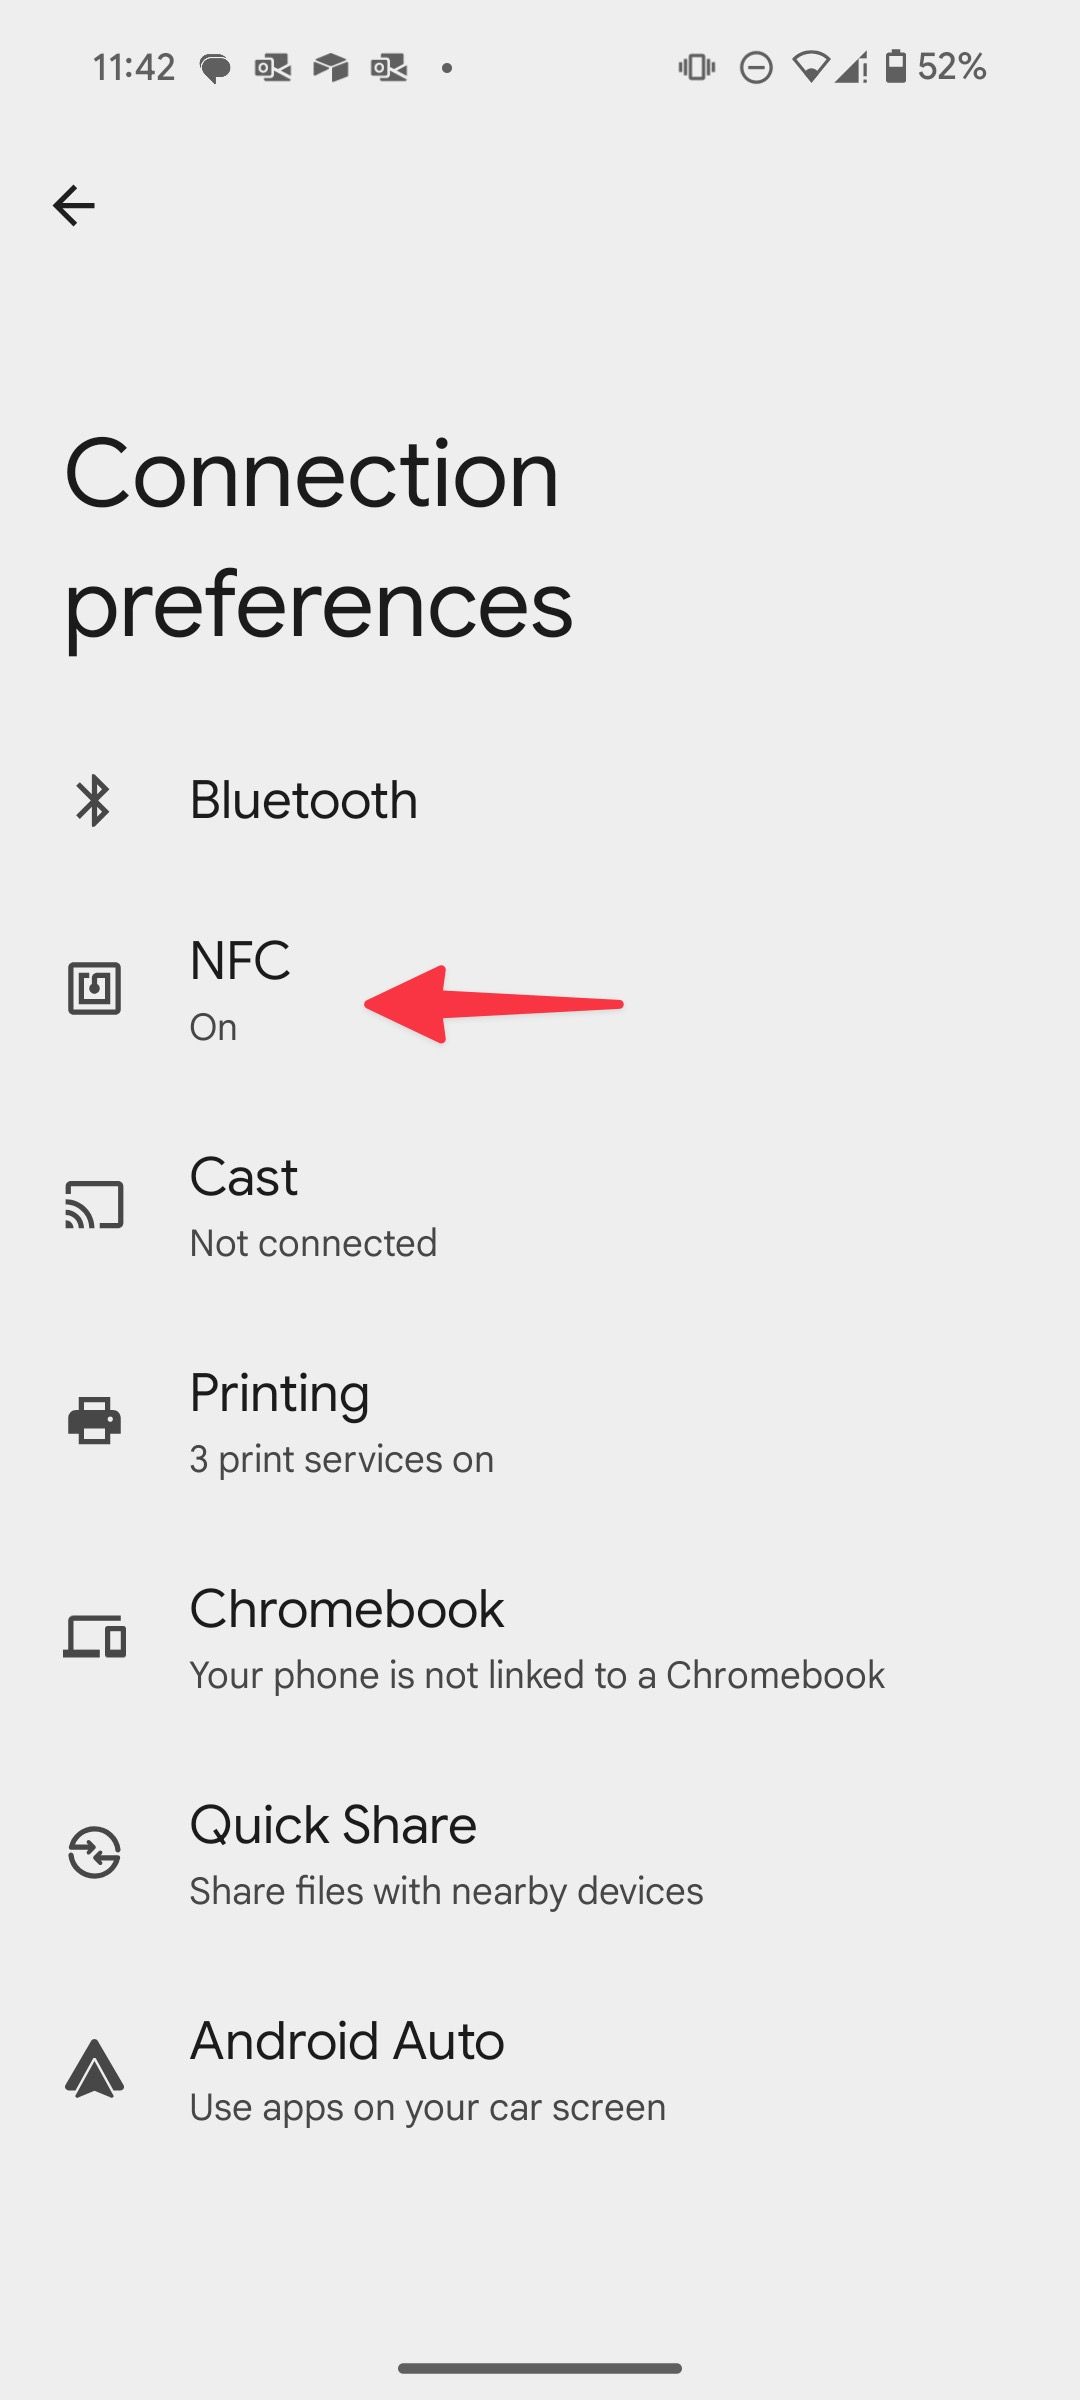
6 Switch on device unlock for NFC
This is a useful security feature where the system asks for authentication when you trigger a contactless payment. It’s turned off by default, so here is how to switch it on.
- Open Settings.
- Select Connected devices.
- Select Connection preferences.
- Tap NFC.
- Turn on the Require device unlock for NFC toggle.
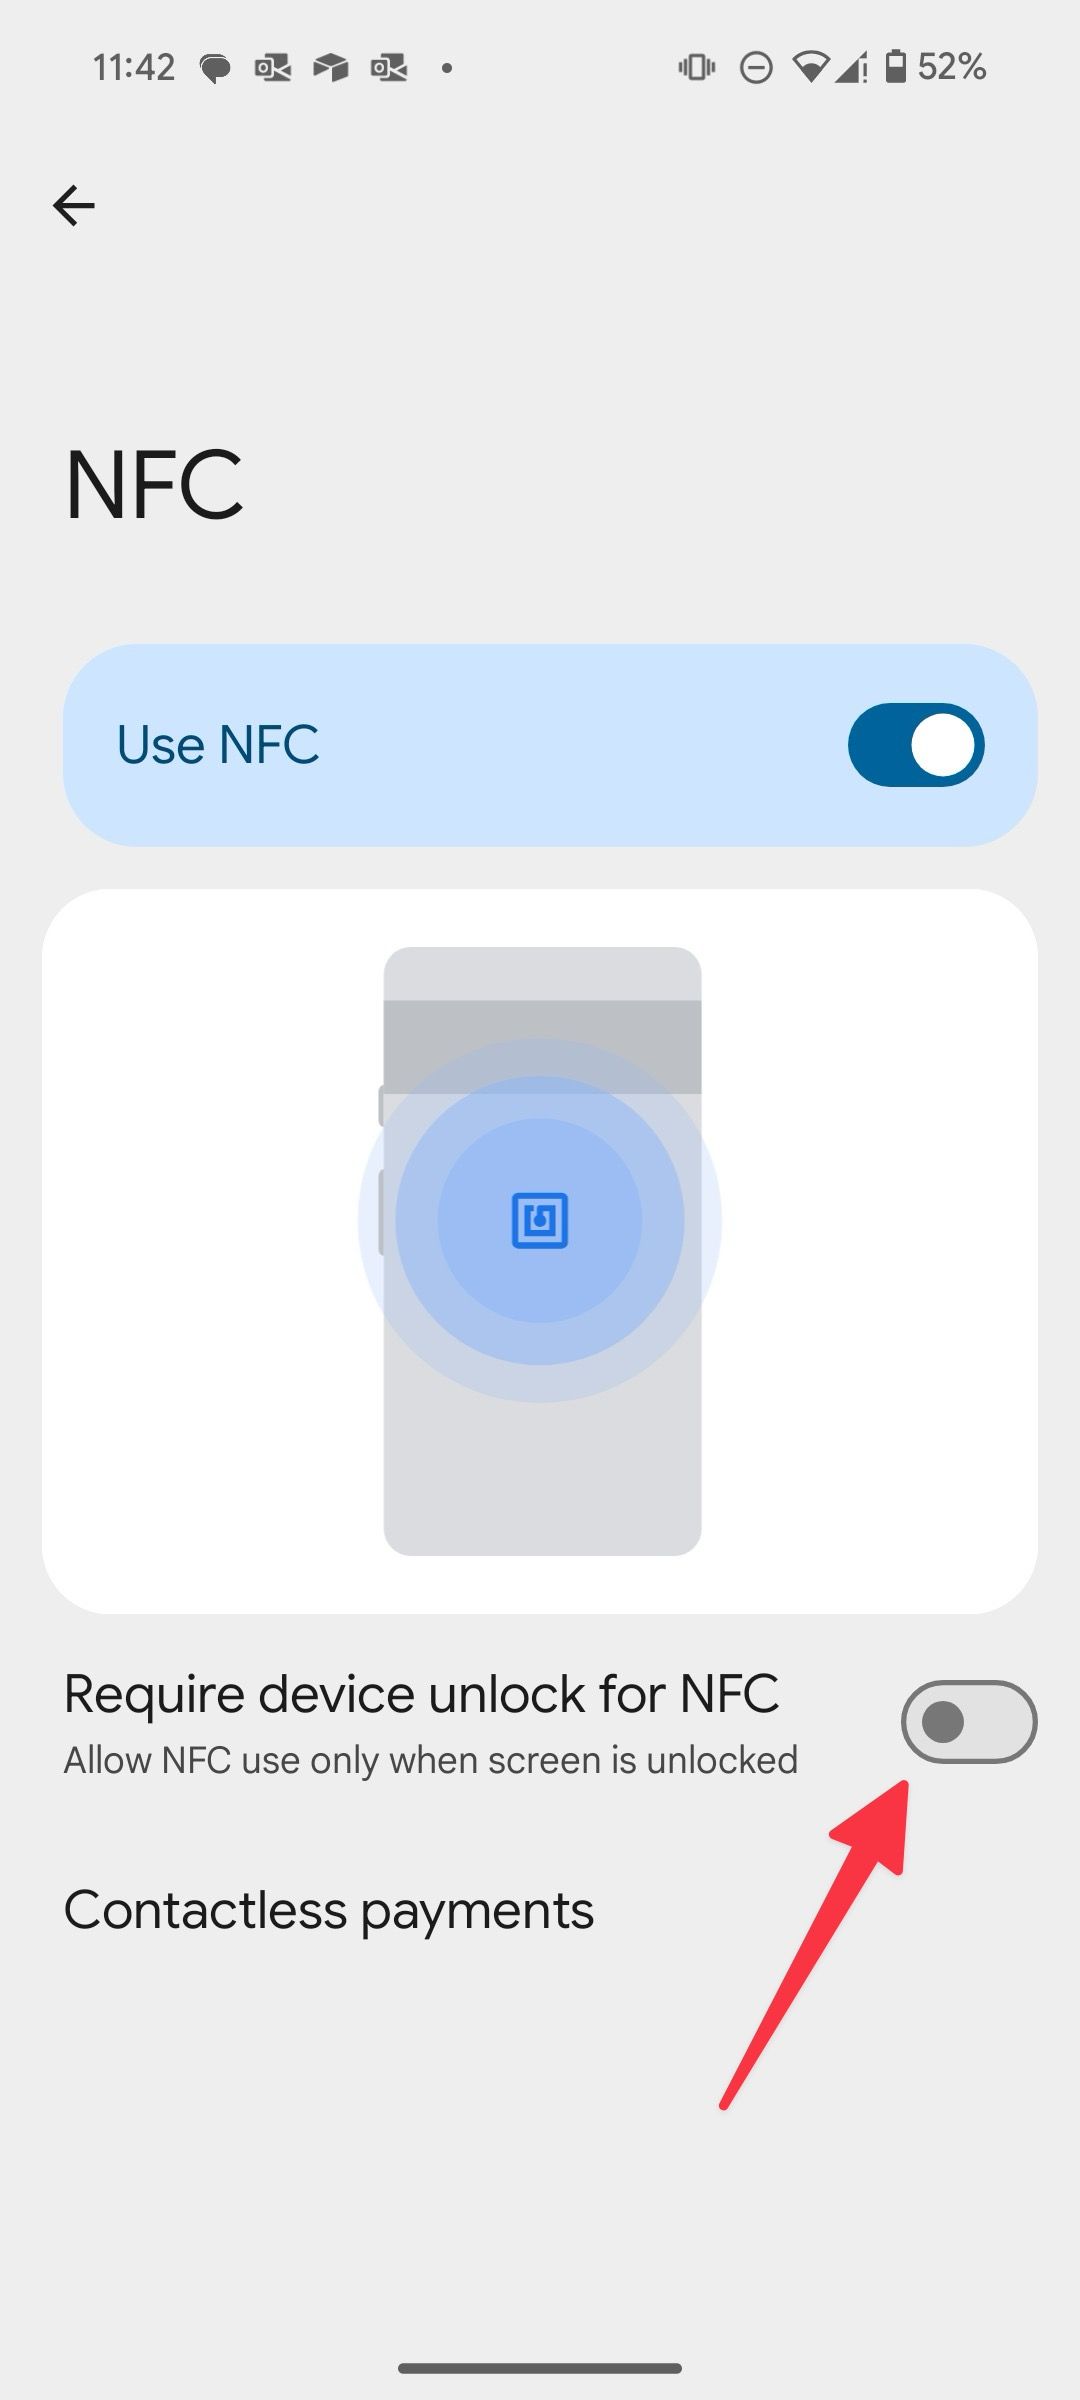


You can change the default wallet app from the same menu.
5 Enable notification snoozing
For reasons known to Google, the company has disabled notification snoozing by default. Here’s how to activate it and set a timer for incoming notifications.
- Open Settings.
- Select Notifications.
- Turn on Allow notification snoozing.
- You’ll find a little clock icon beside your notification cards.
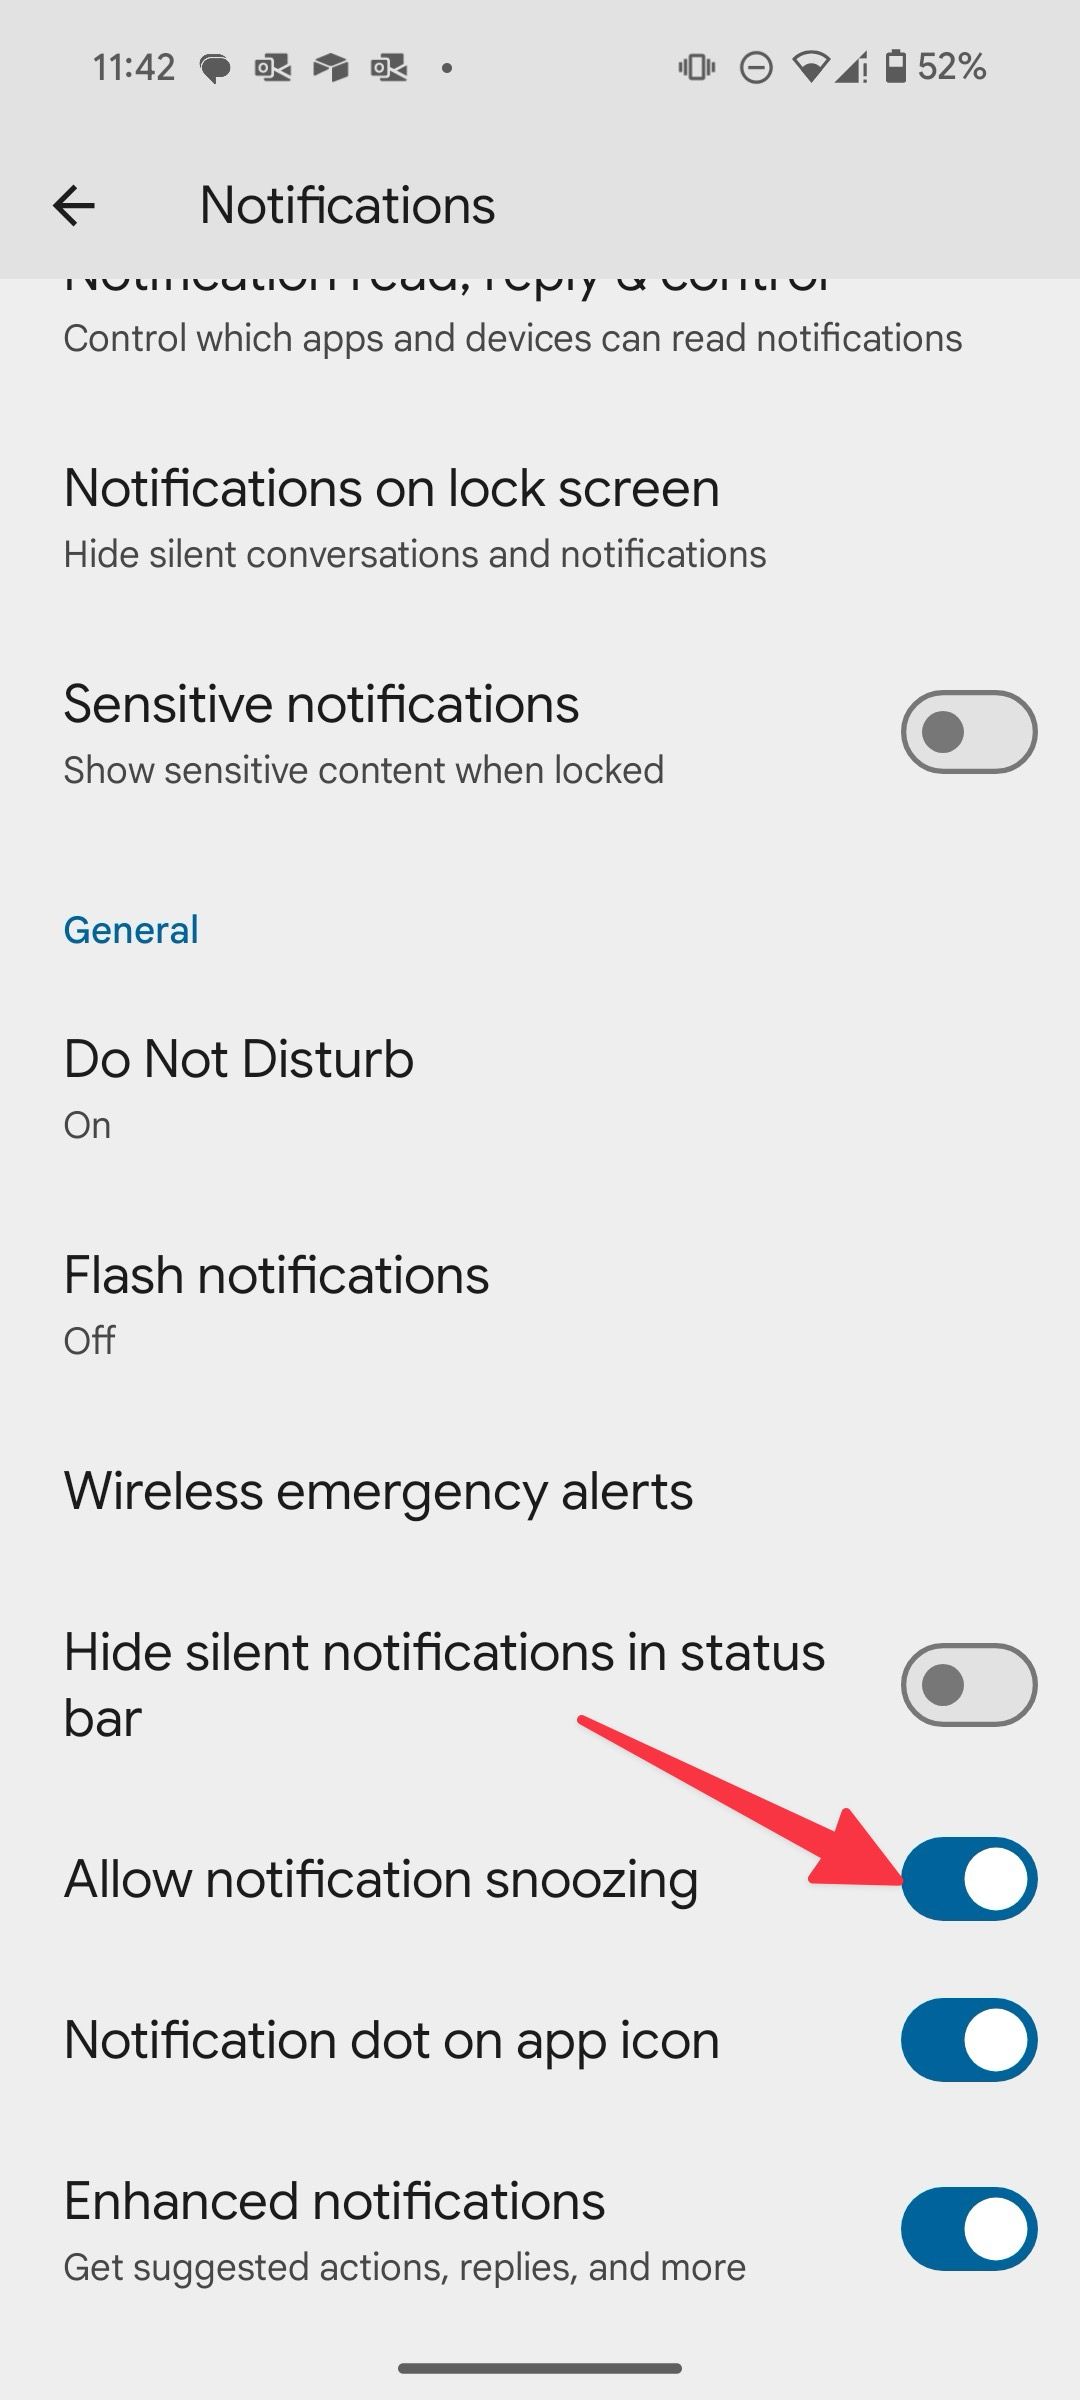
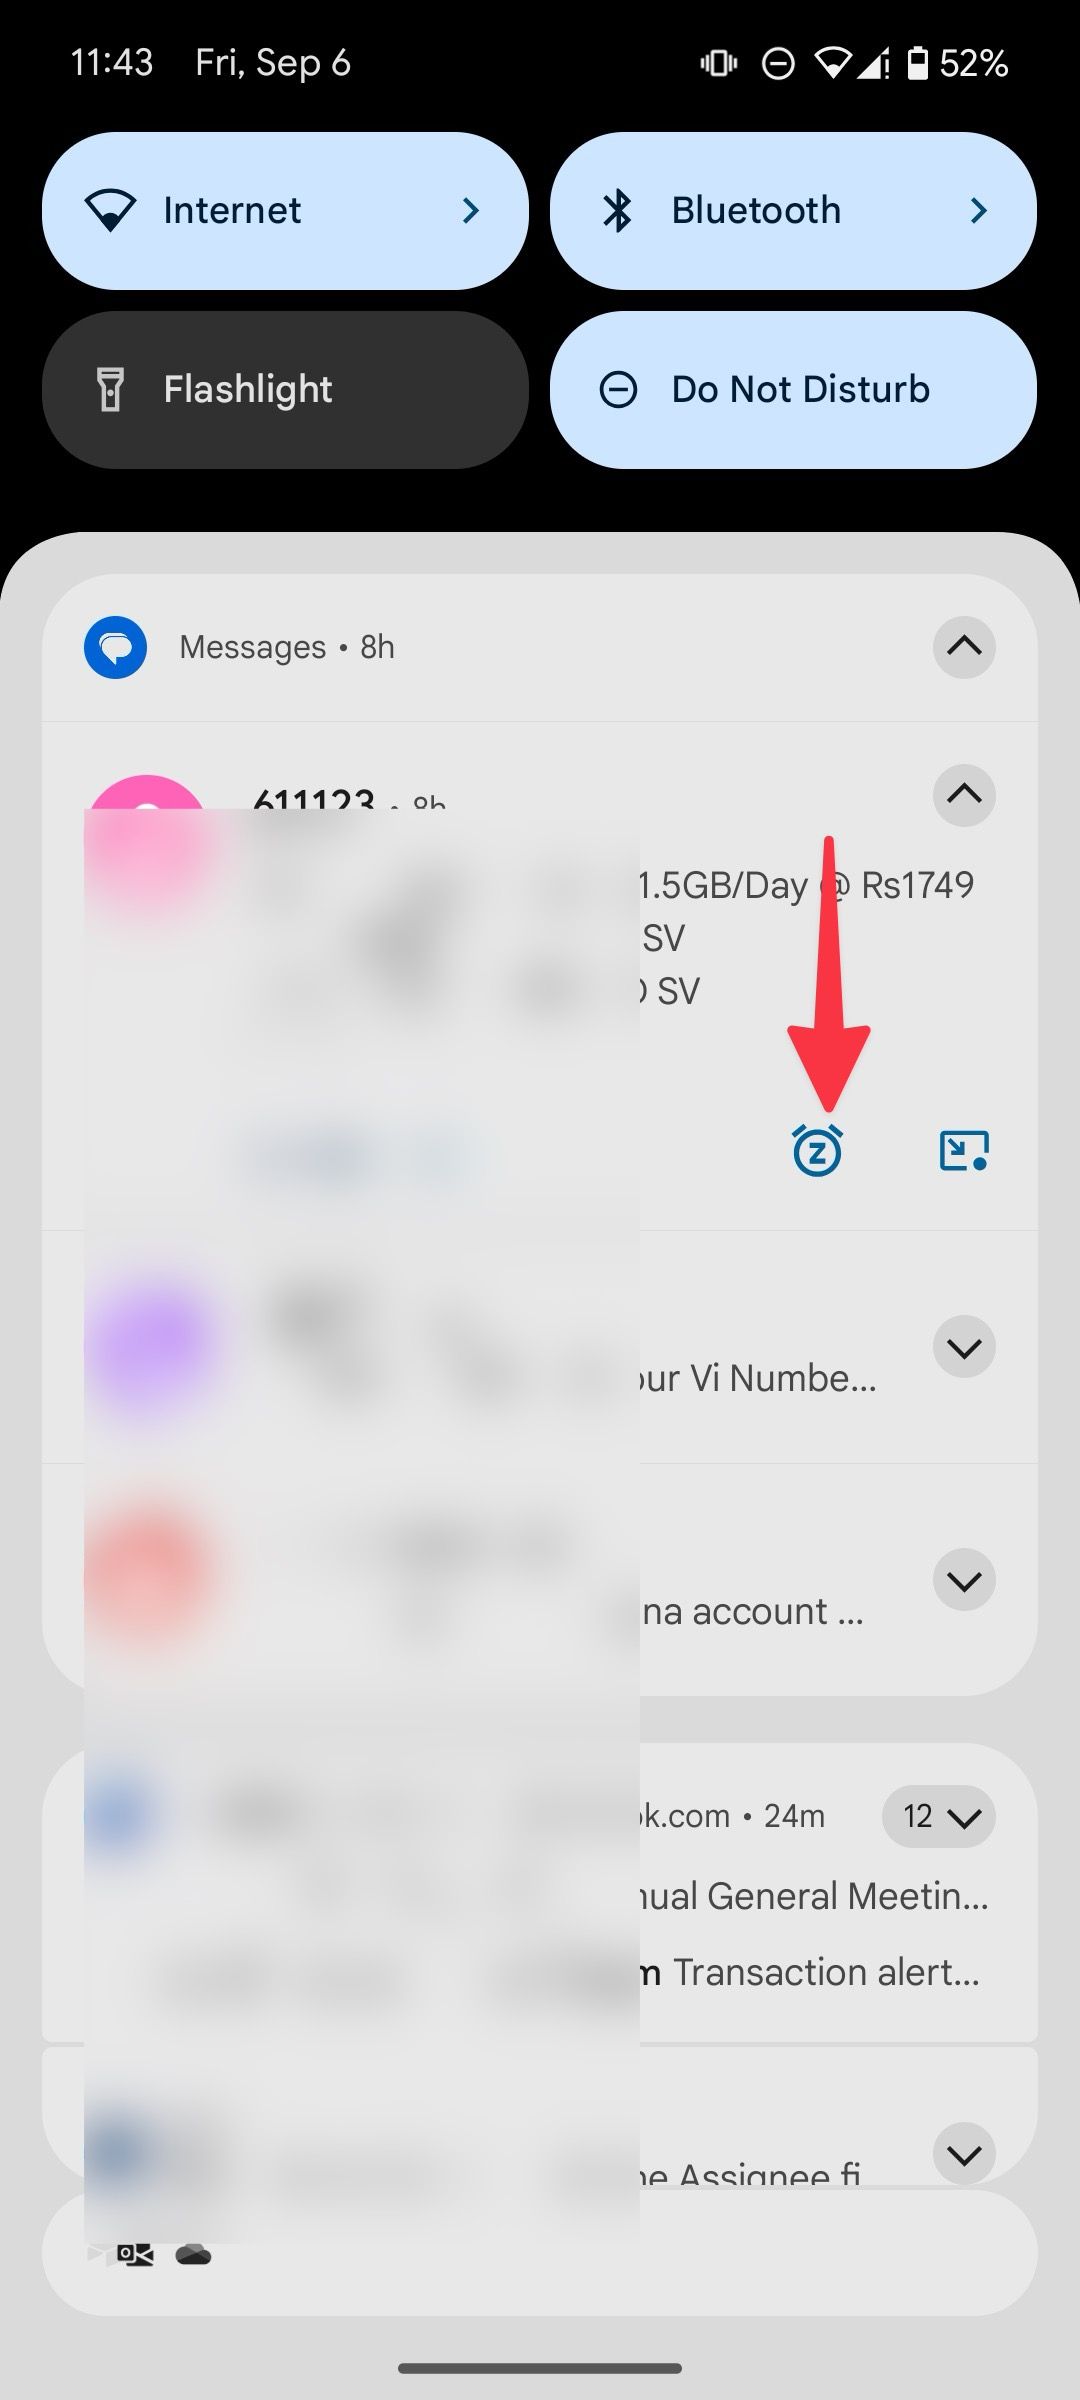
- Set the duration, after which the system alerts you of the same message.


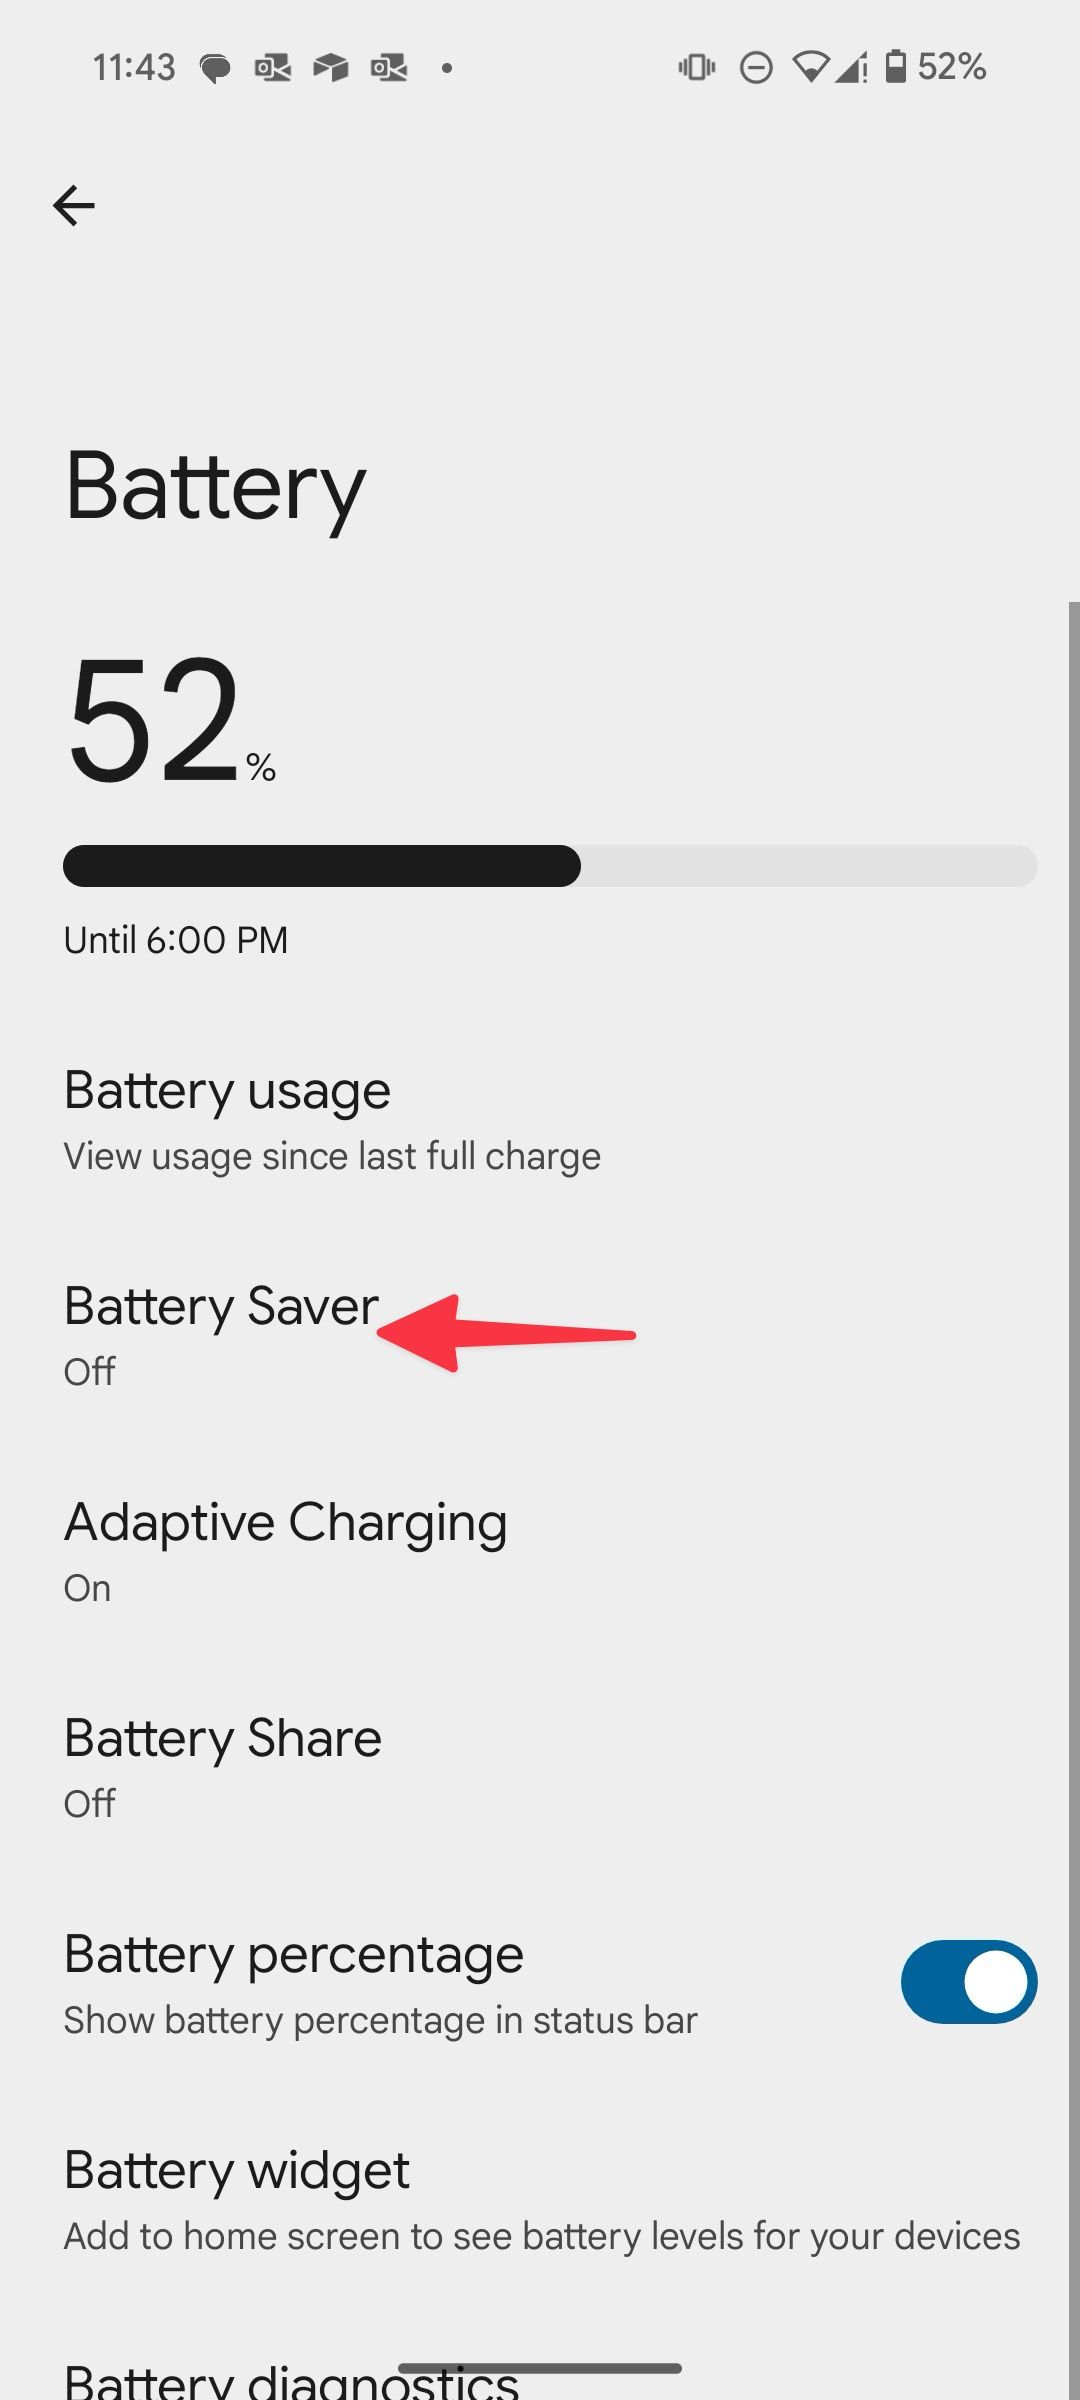
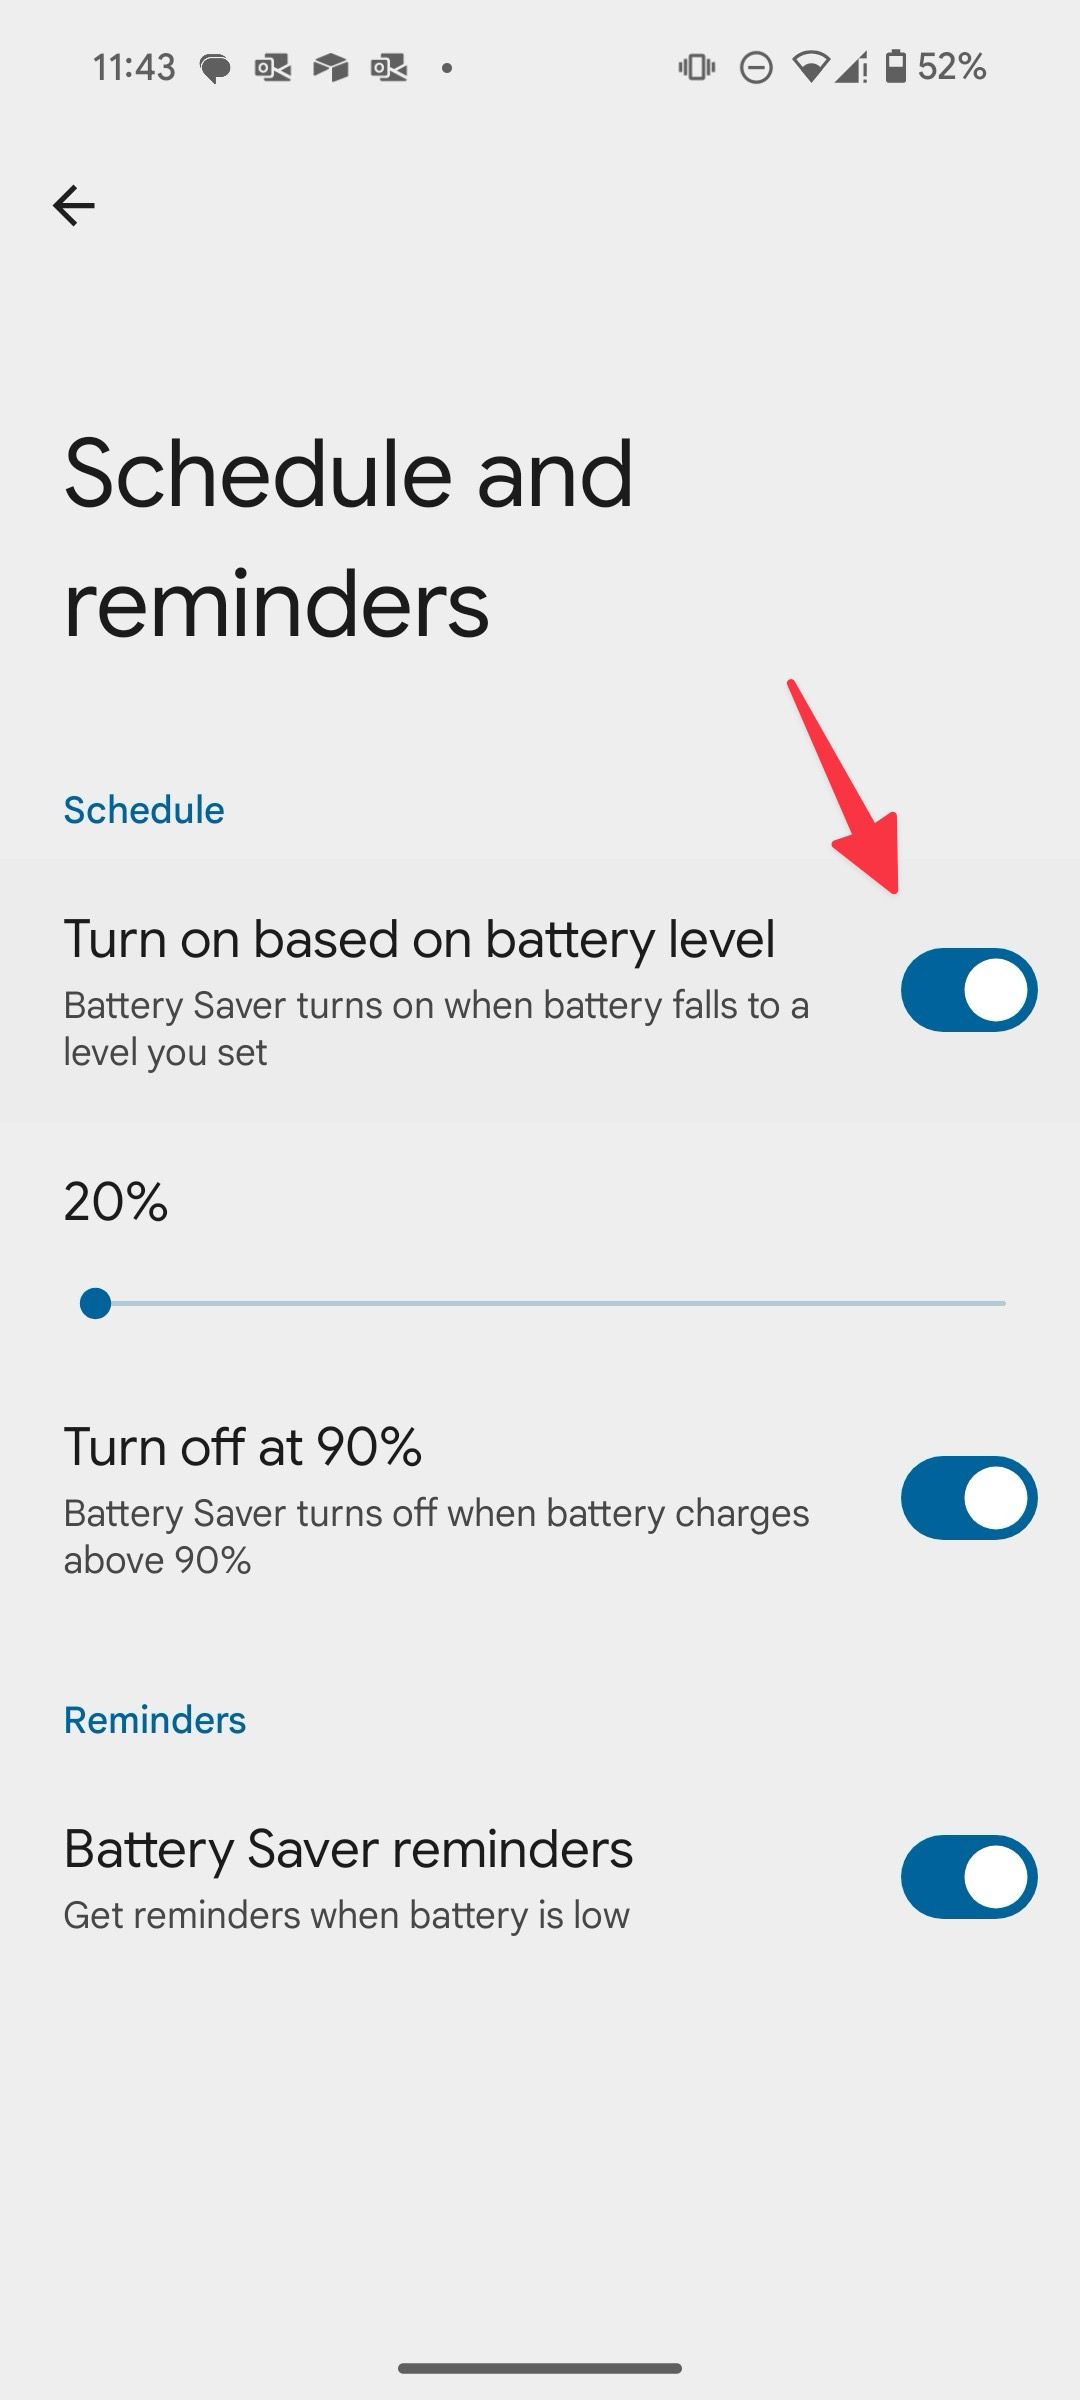
4 Enable battery saver based on battery level
Does your Android phone run out of battery before evening only? You can activate battery saver mode to extend the screen on time by an hour or two. Instead of turning it on manually, set the system to activate it automatically after a certain battery level.
- Open Battery under Settings.
- Select Battery Saver.
- Tap Schedule and reminders.
- Turn on the Turn on based on battery level toggle.
- Use the slider to set a percentage.


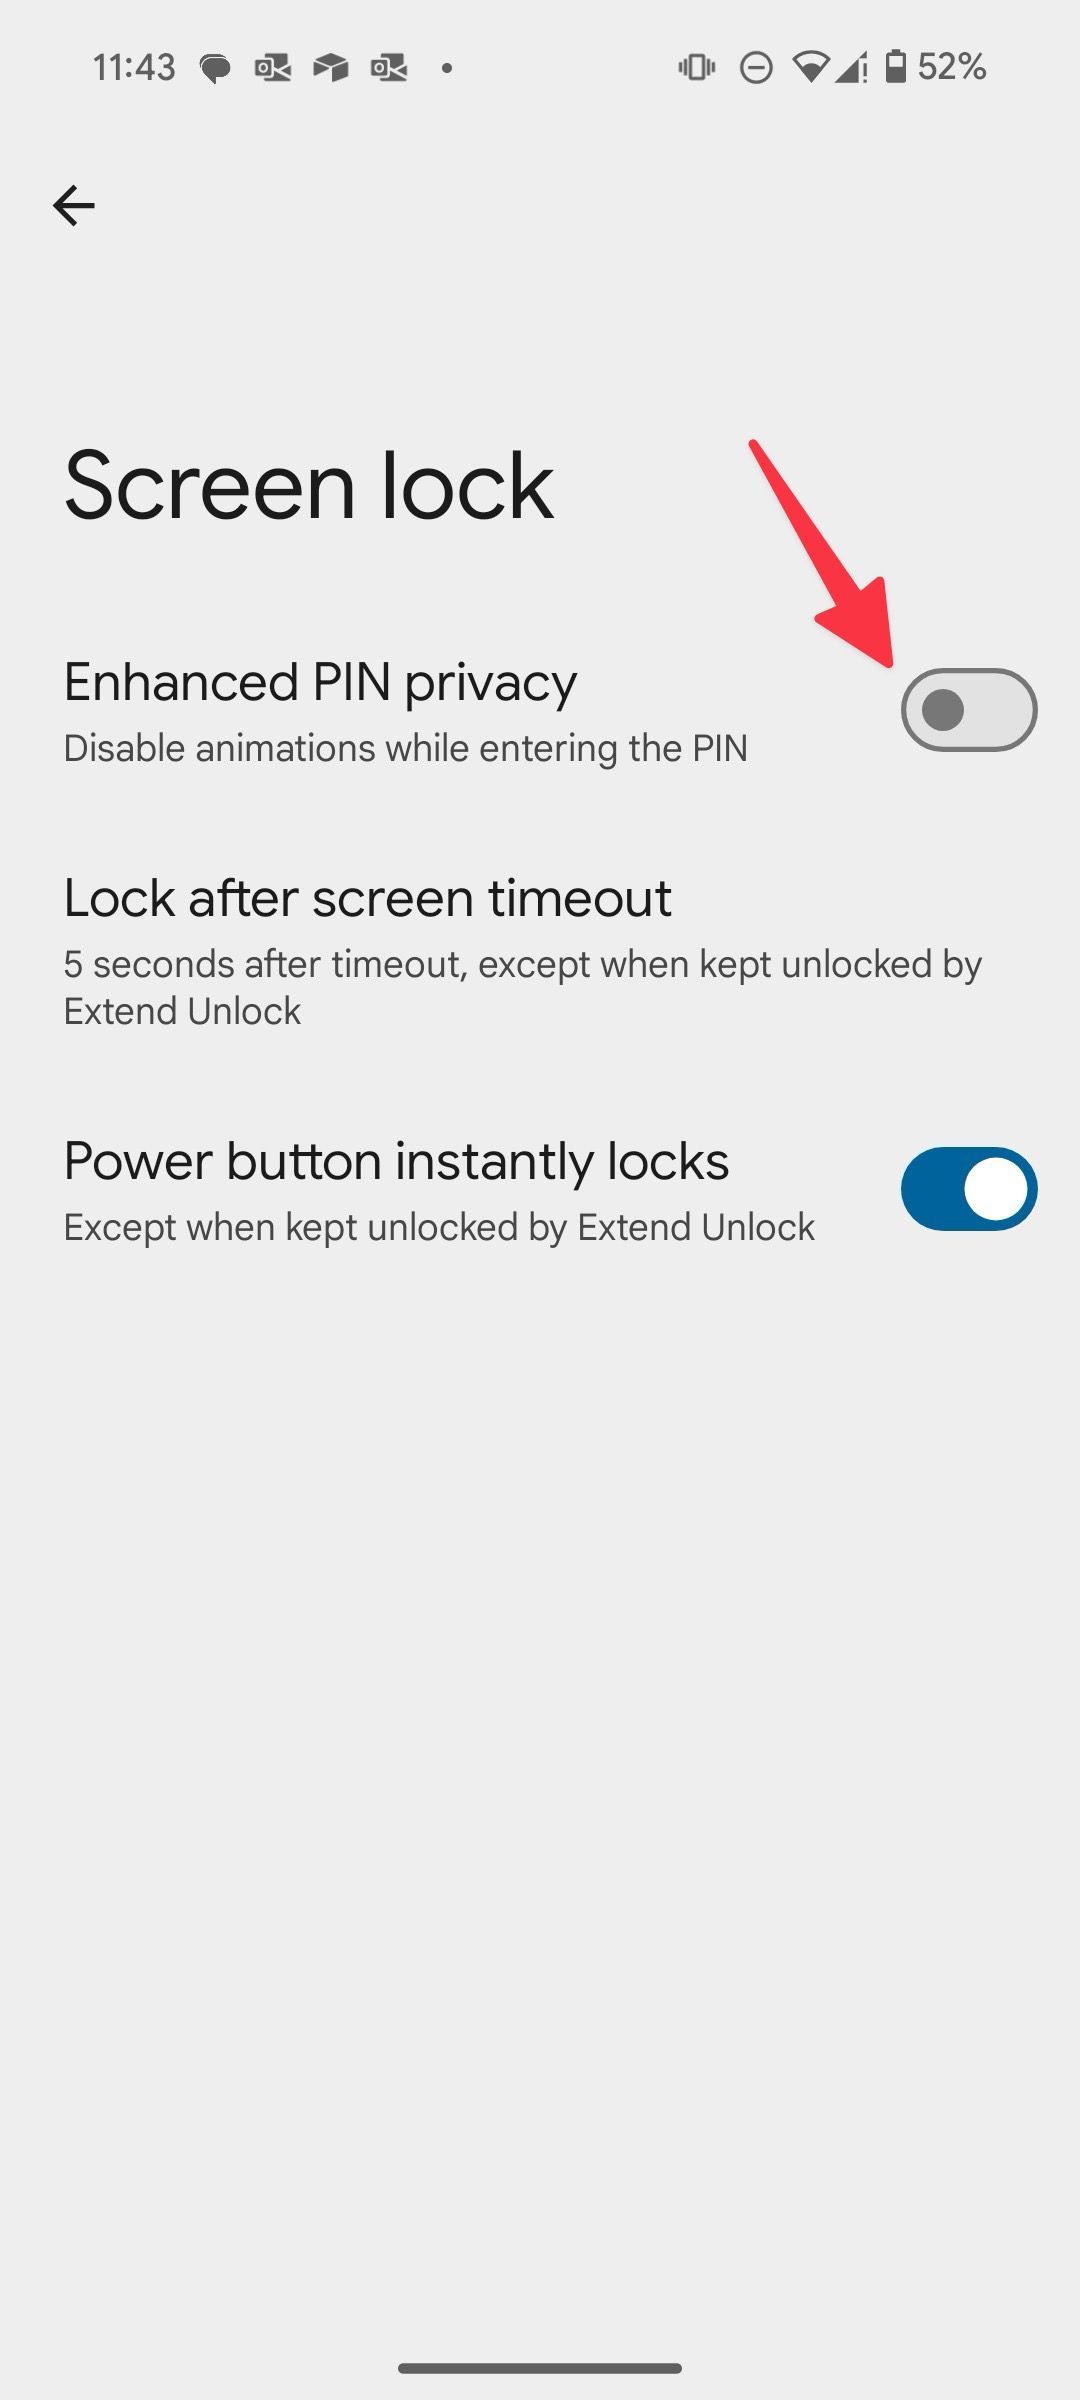
3 Use enhanced PIN privacy
Do you frequently travel in crowded streets or subways? Turn on enhanced PIN privacy. The system turns off animations while entering the PIN and keeps prying eyes away. Follow the steps below.
- Open Settings.
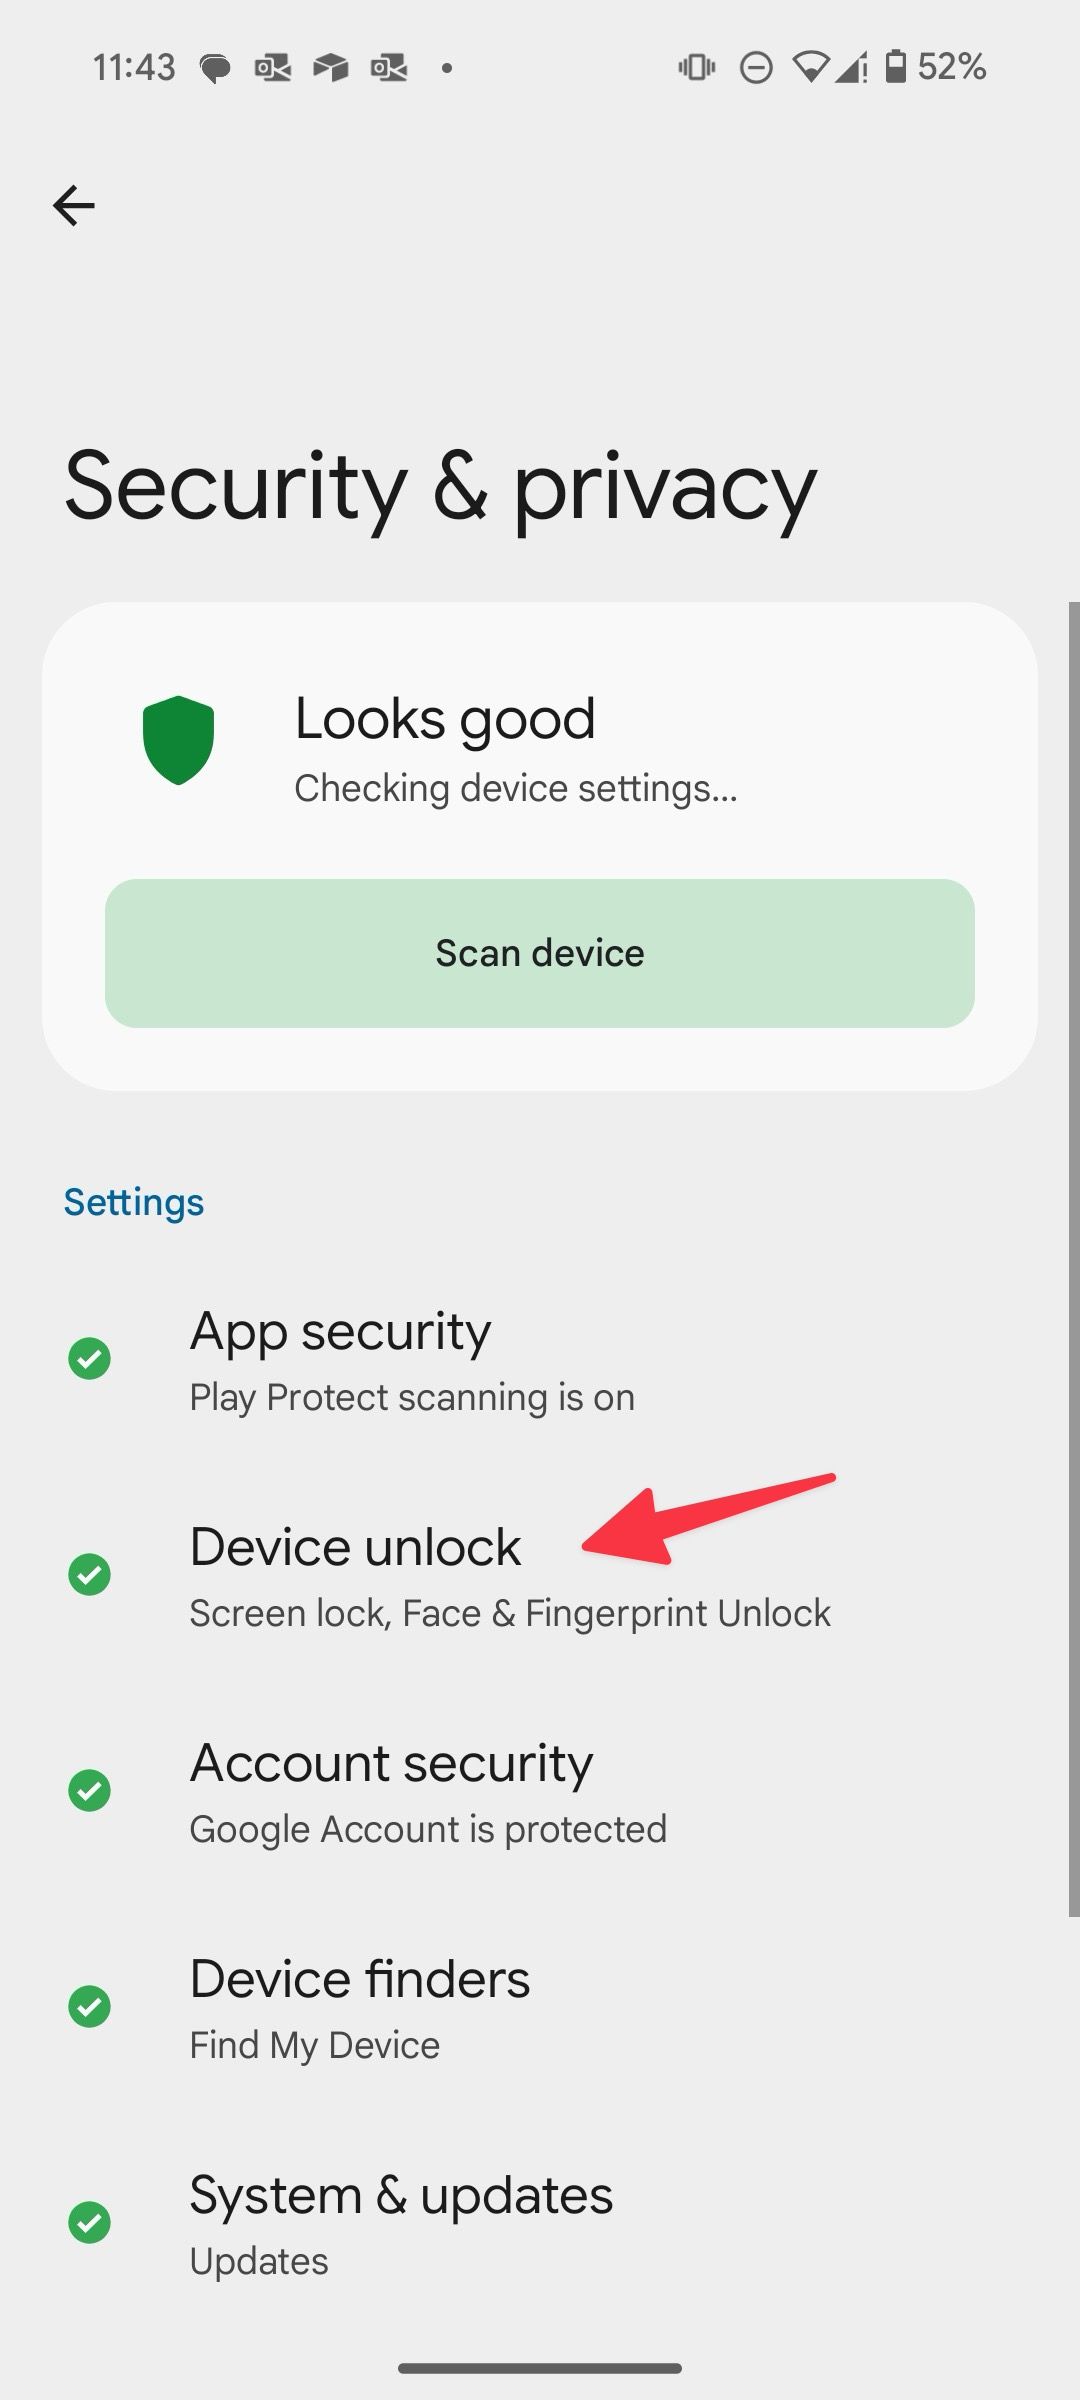
- Scroll to Security & privacy.
- Select Device unlock.
- Tap the settings gear beside Screen lock.
- Turn on the Enhanced PIN privacy toggle.


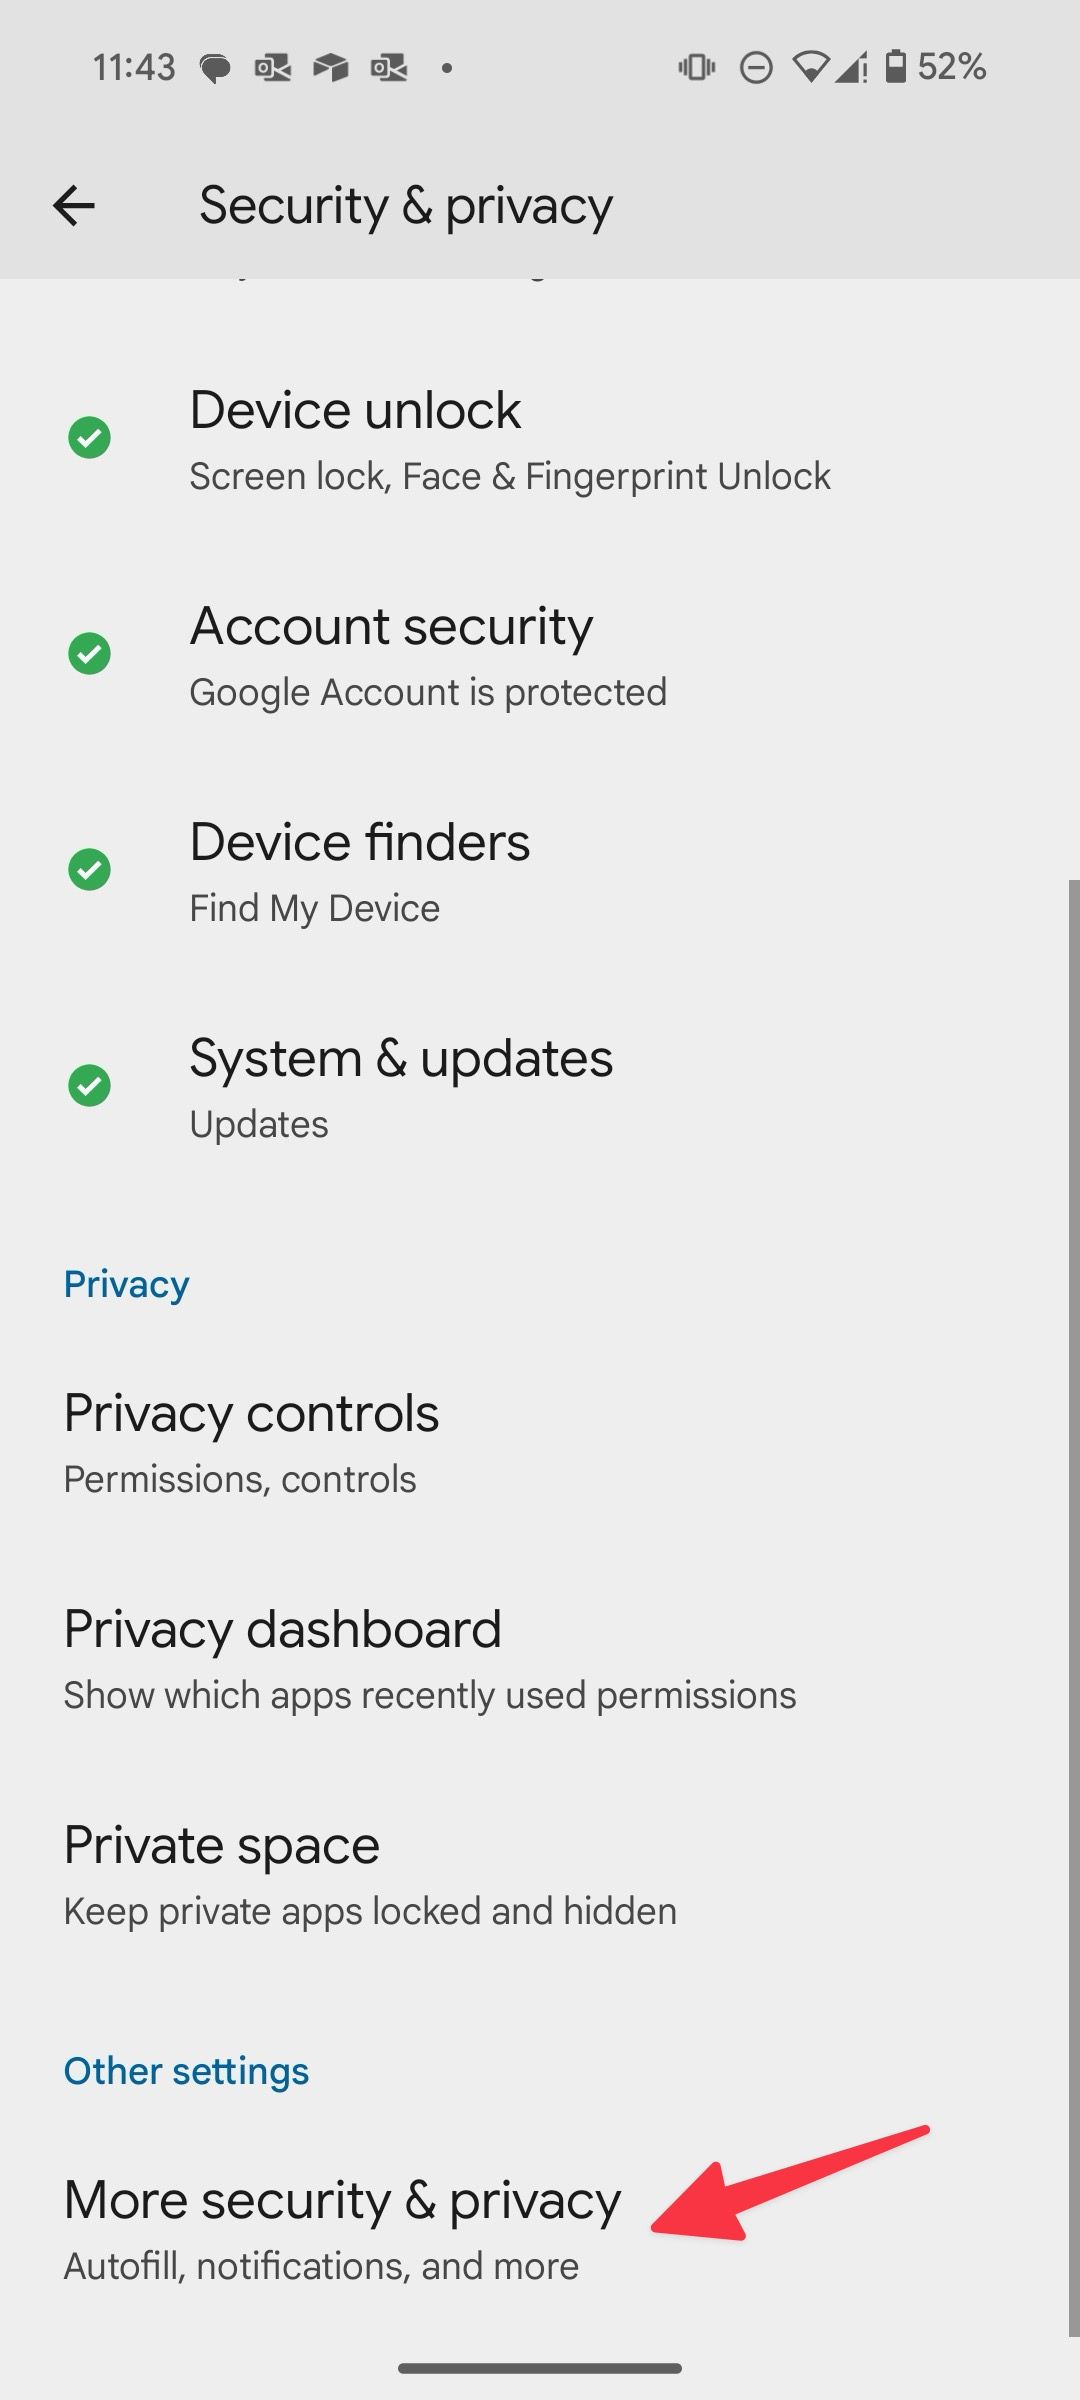
2 Use app pinning
App pinning is one of the top privacy features on Android. It lets you keep the current app in view until you unpin it. For example, if your little one asks to play a game, activate app pinning for a title and prevent them from messing with other apps. Here is how to activate and use it.
- Go to Security & privacy.
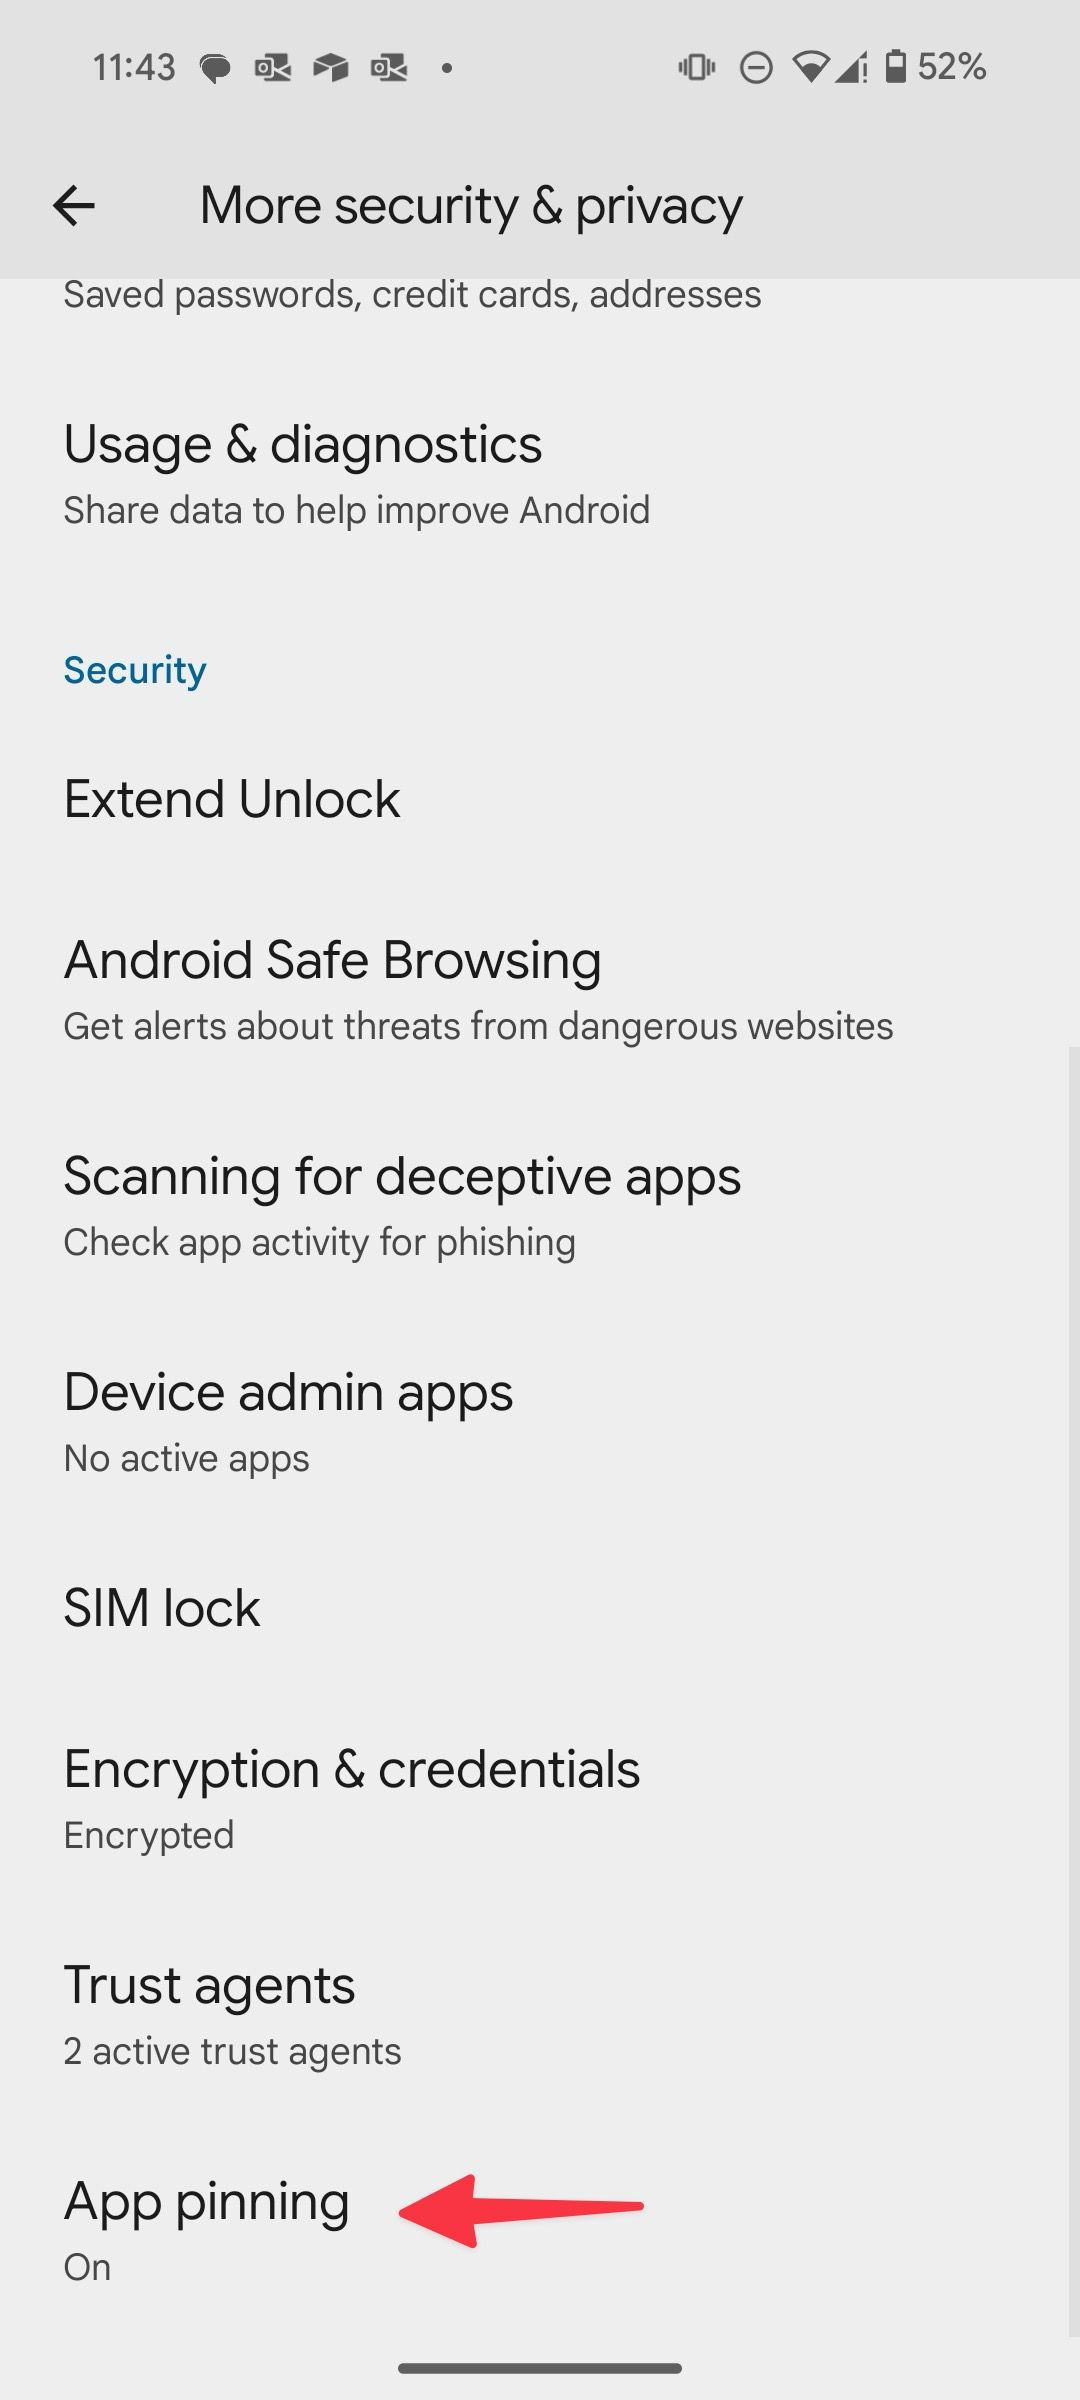
- Select More security & privacy at the bottom.
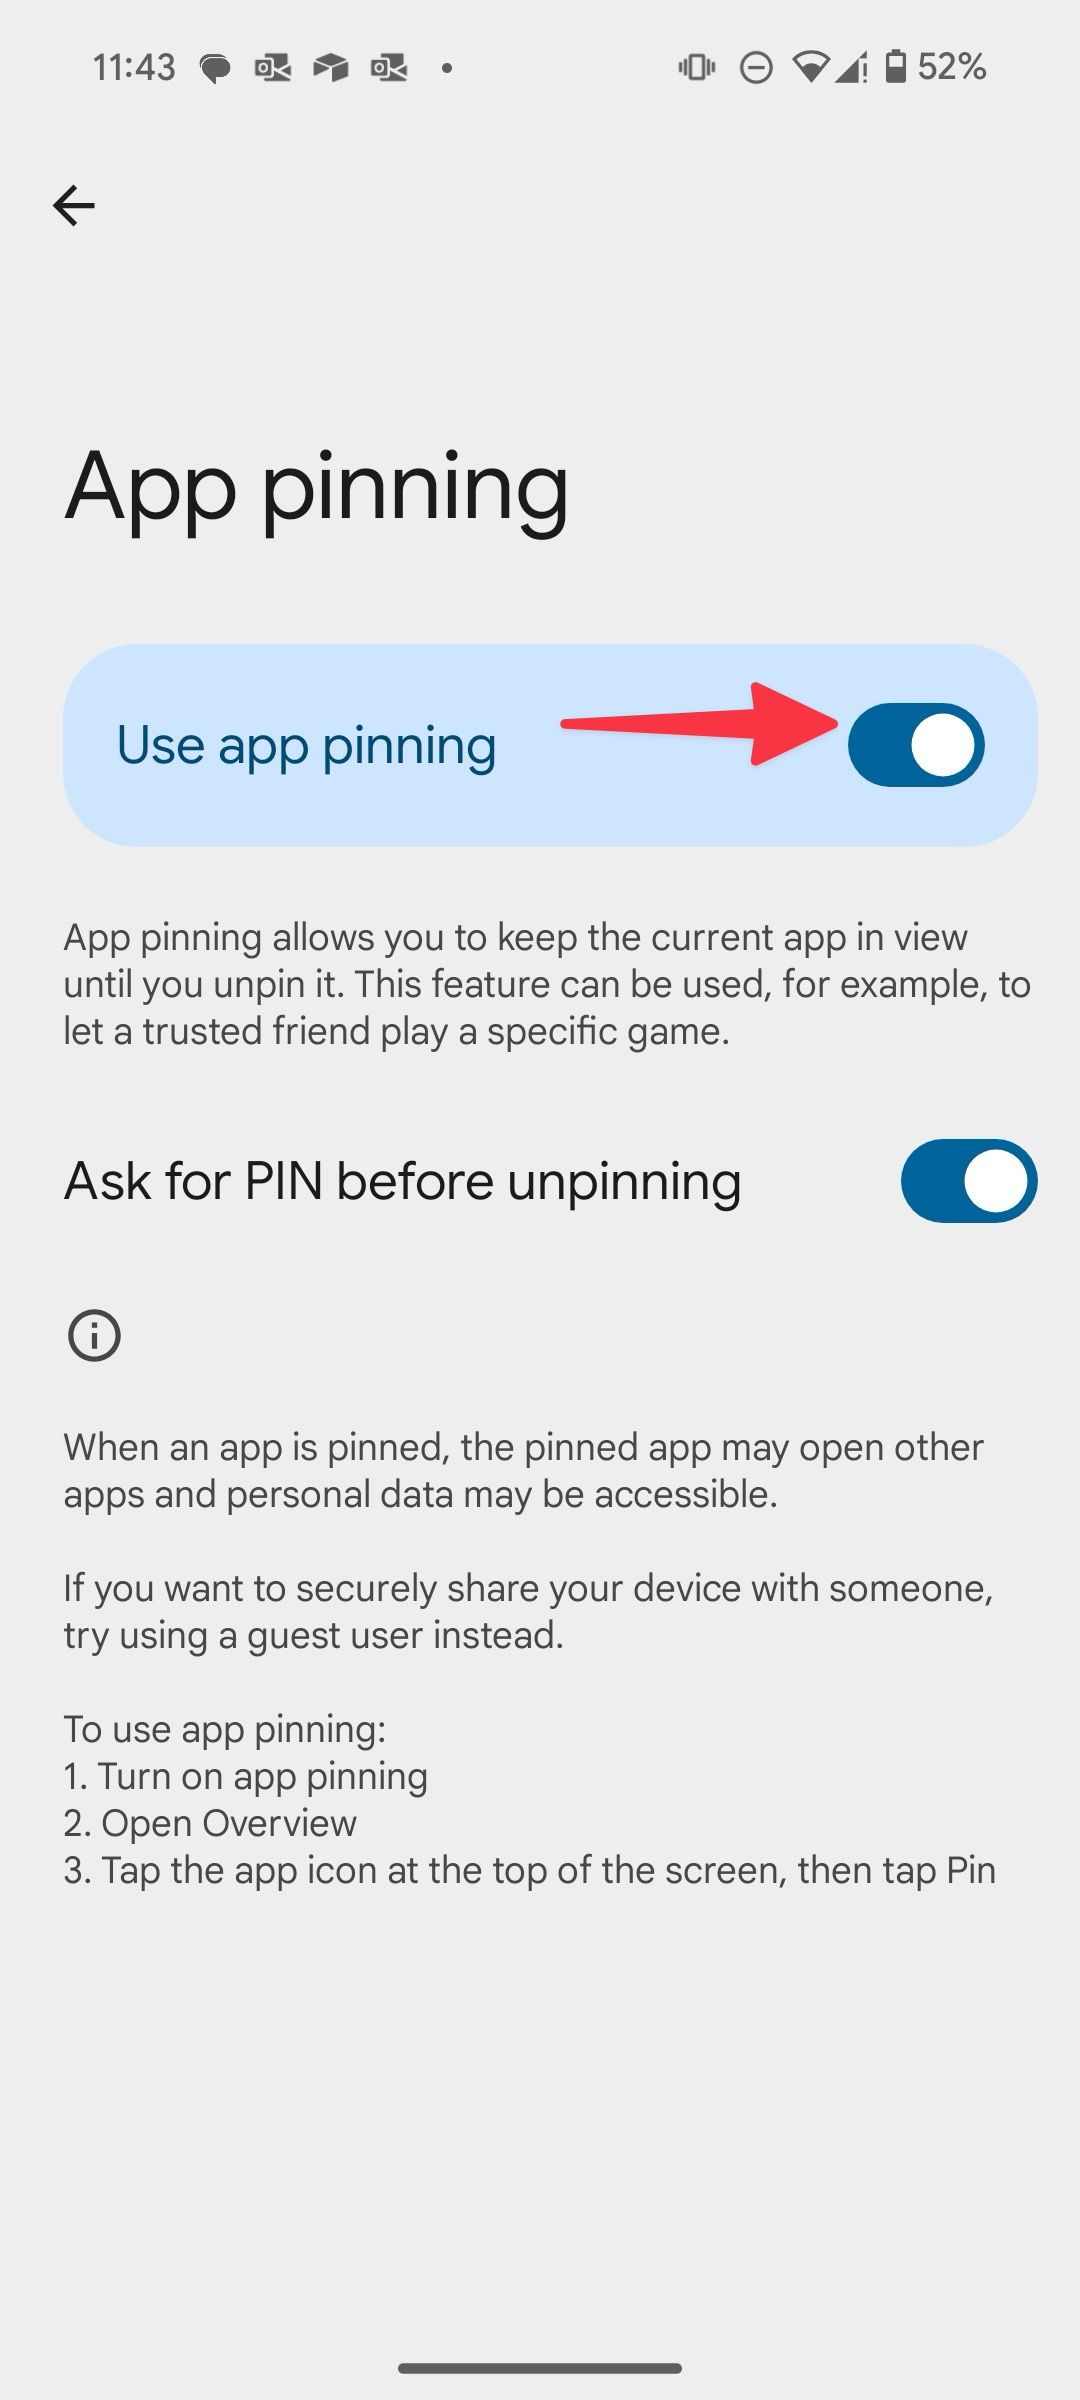
- Select App pinning and turn it on from the following menu.
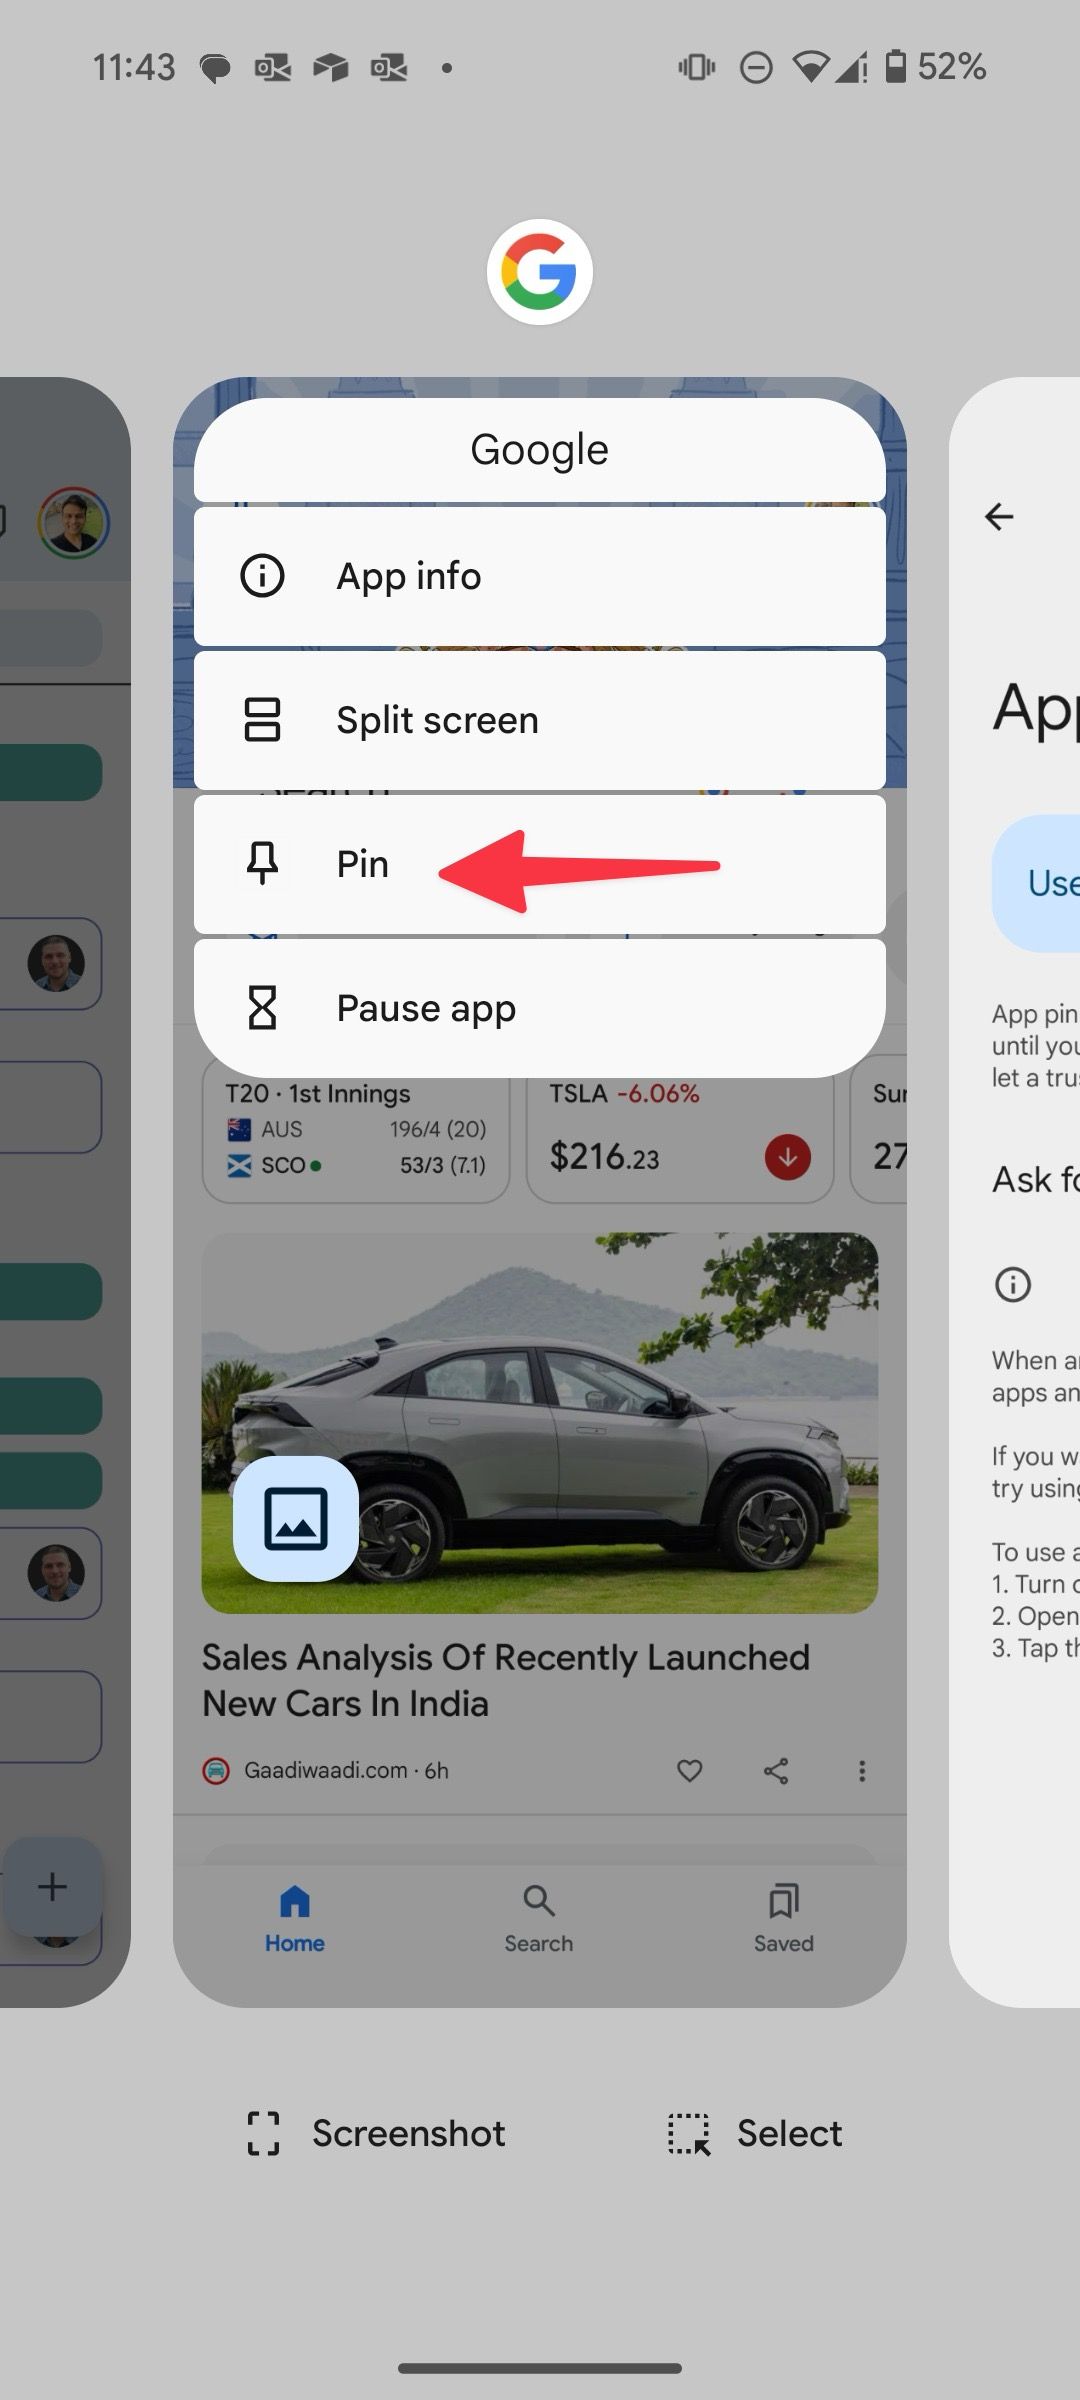
- Switch to the app overview menu, tap the app icon at the top, and select Pin.
- Swipe and hold it from the bottom and use biometrics to unpin it.


1 Set rules to automate your settings
Rules let you automate different Android settings like a pro. You can set rules based on location and the Wi-Fi network. For example, you can configure the system to activate vibrate mode when your phone connects to the office Wi-Fi network. Here’s how:
- Open Settings.
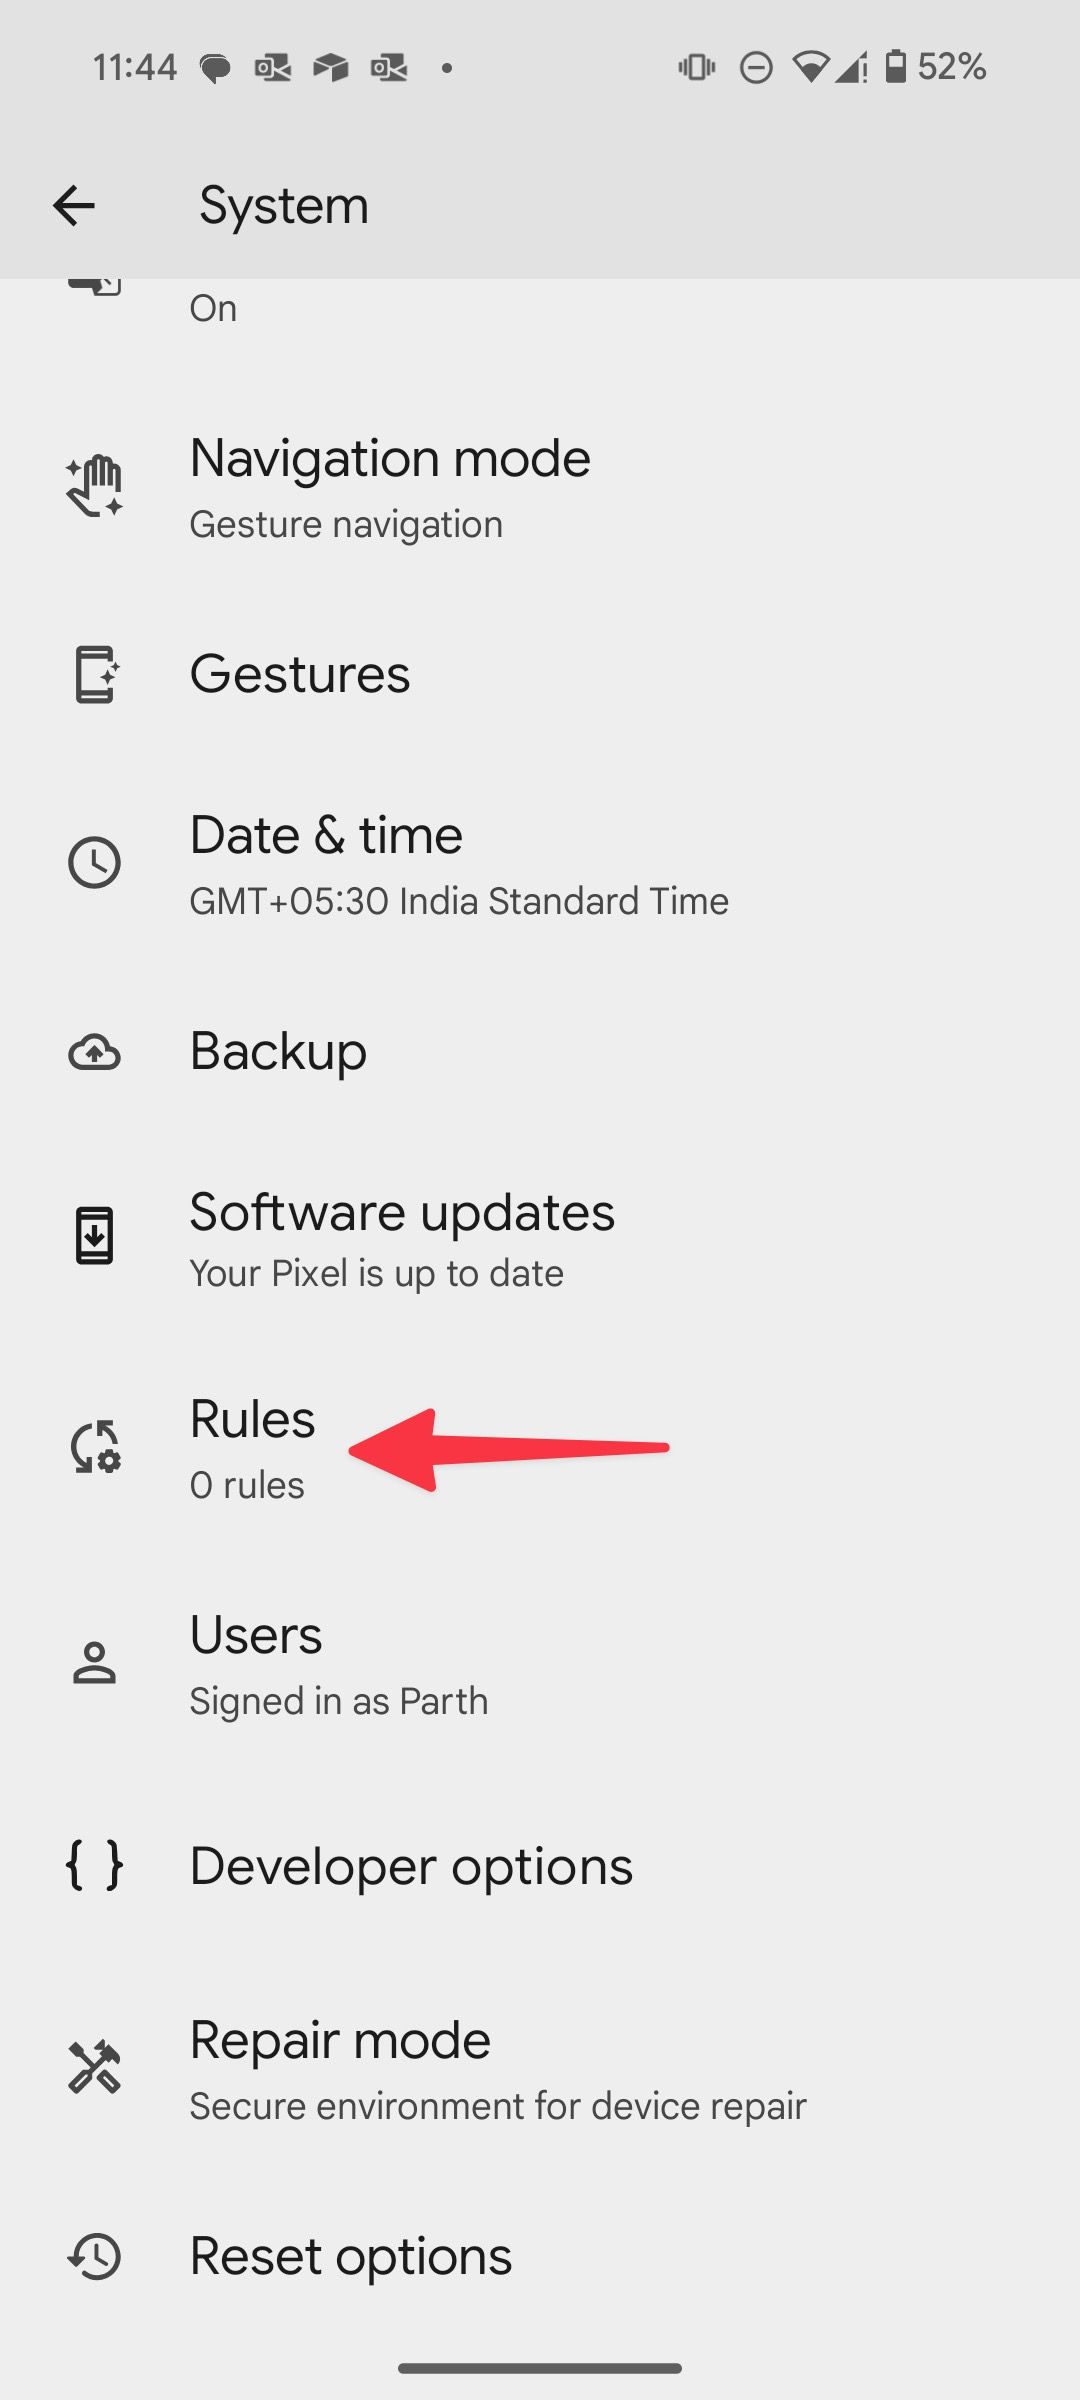
- Scroll to System.
- Select Rules.
- Tap Add rule.
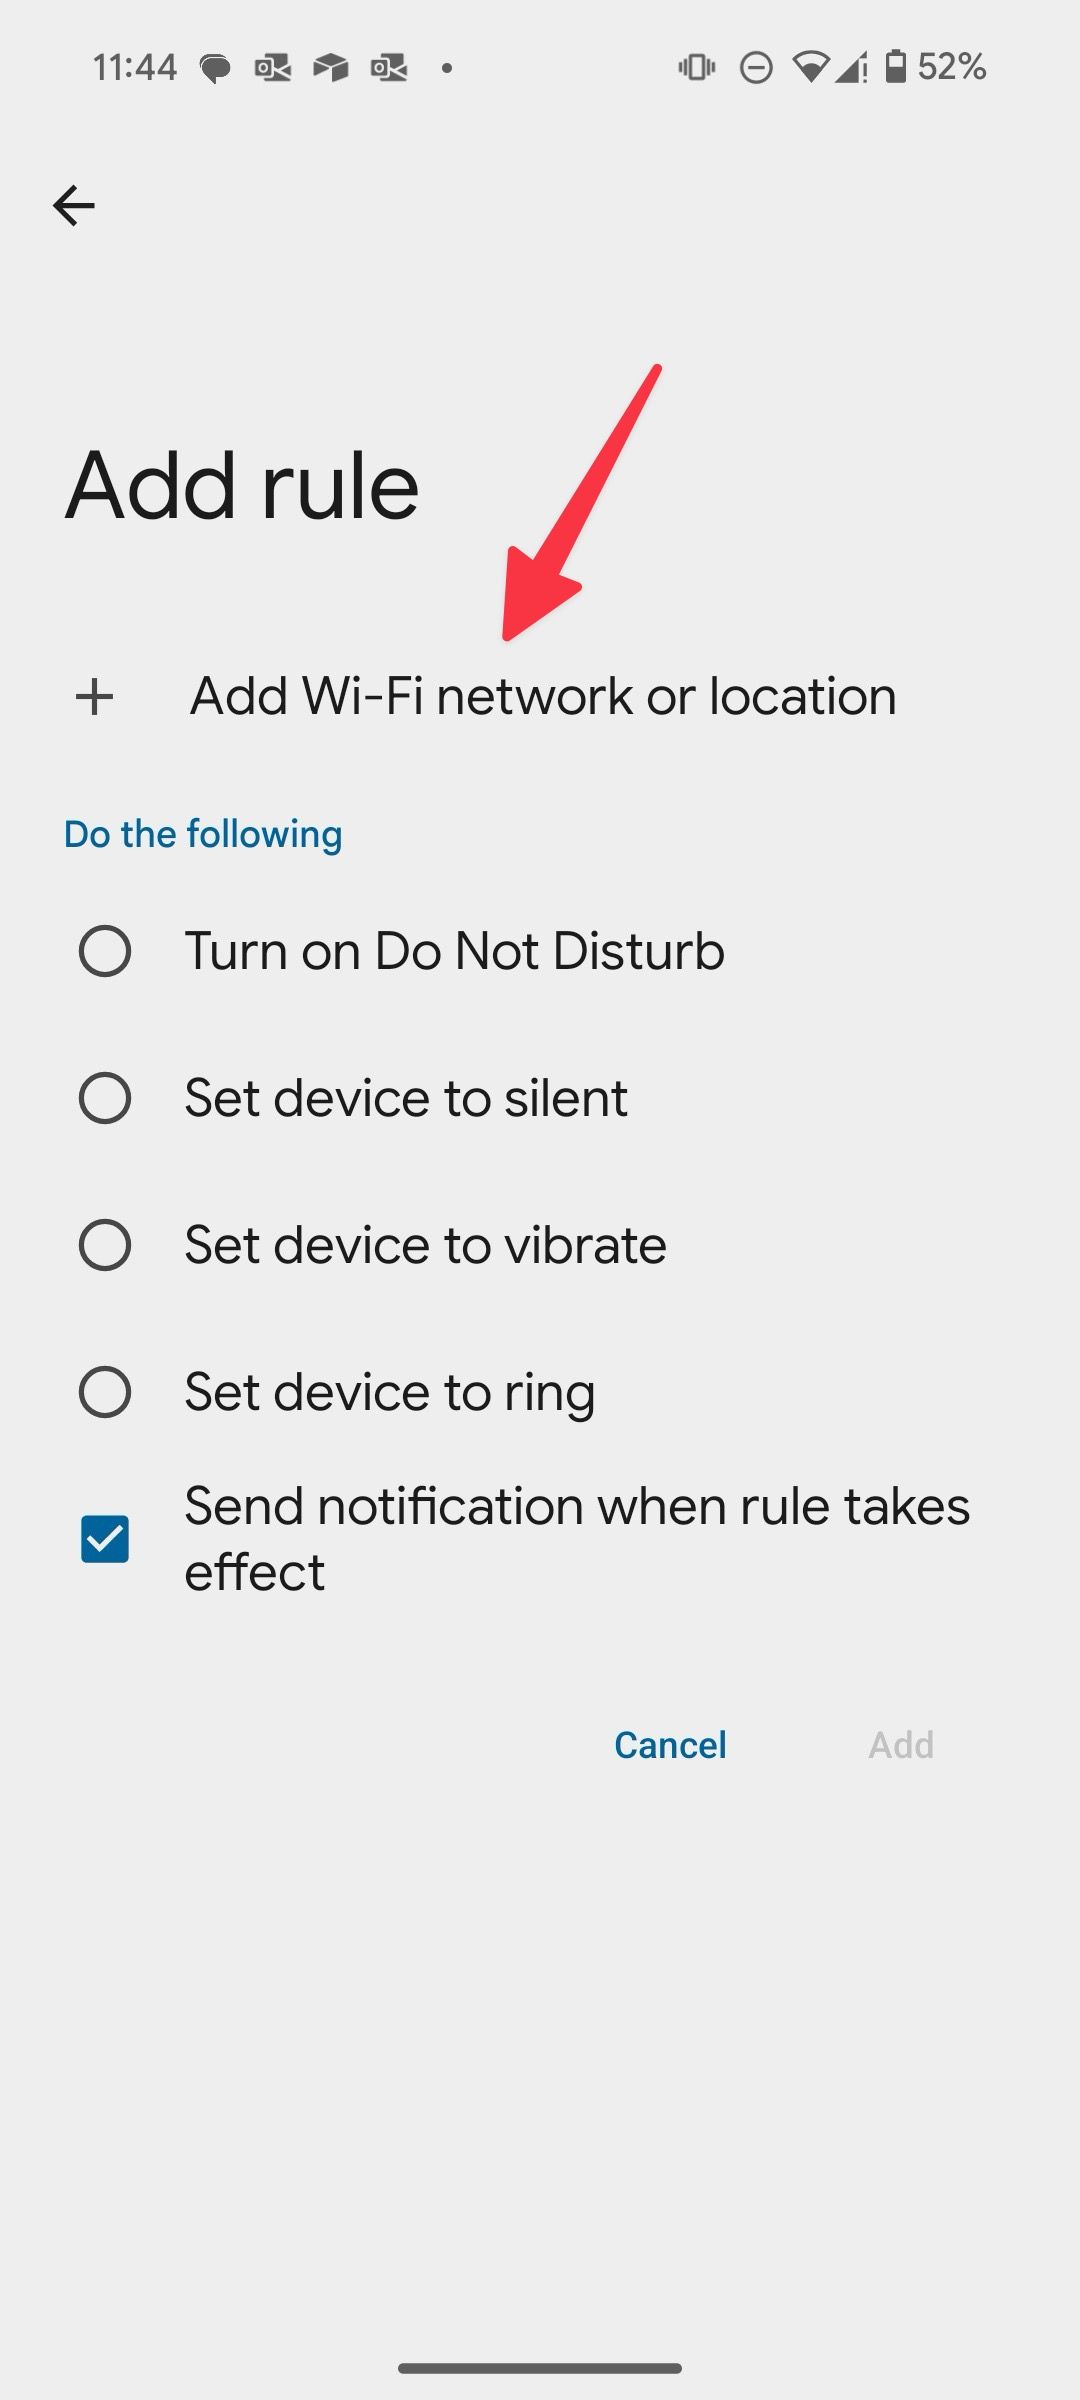
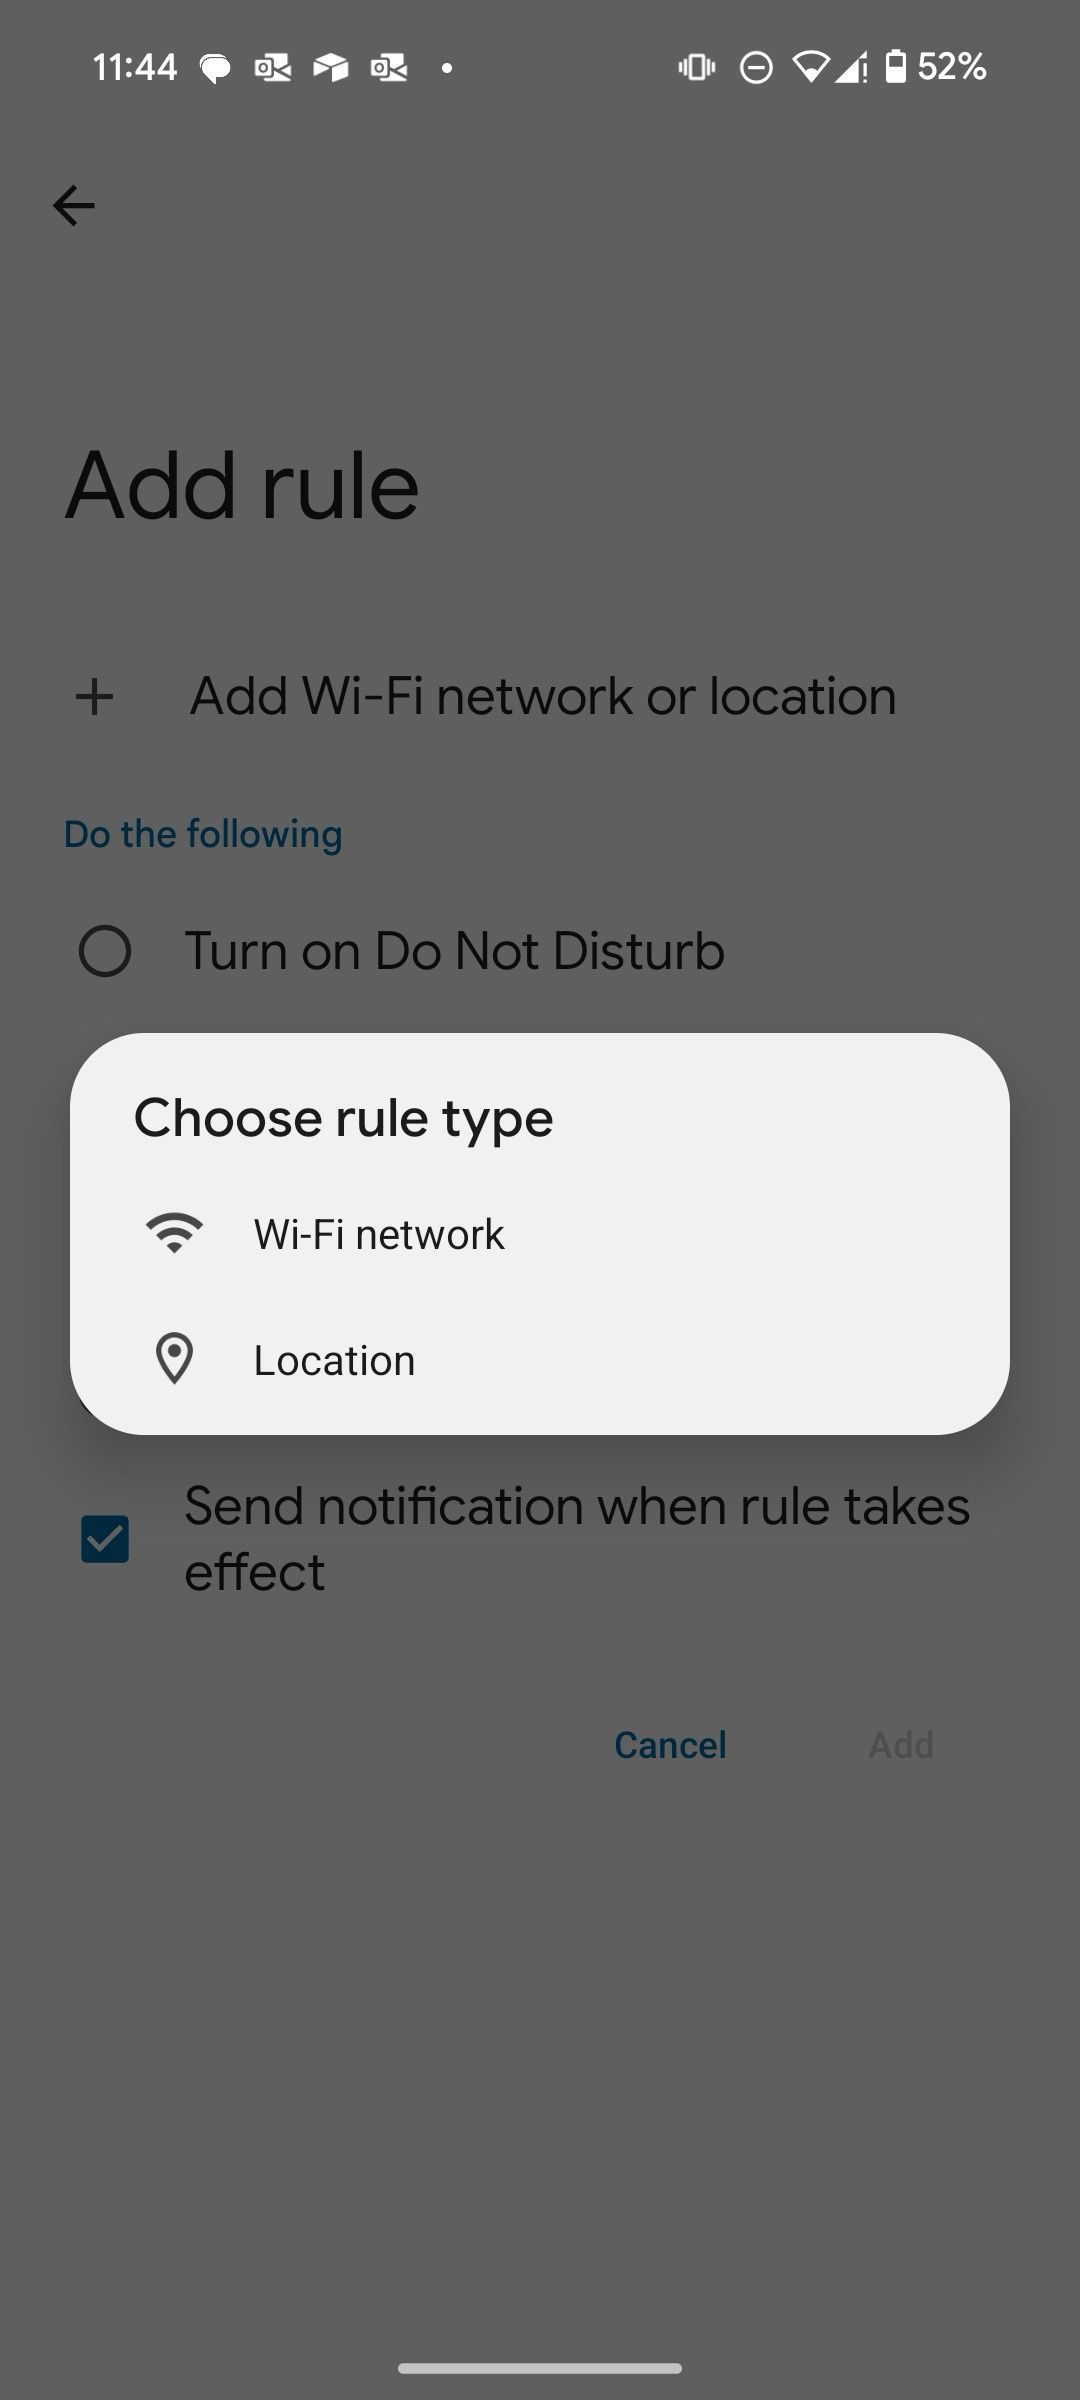
- Select Wi-Fi network or Location and pick your saved network.
- Tap the radio button beside Set device to vibrate, and you are good to go.
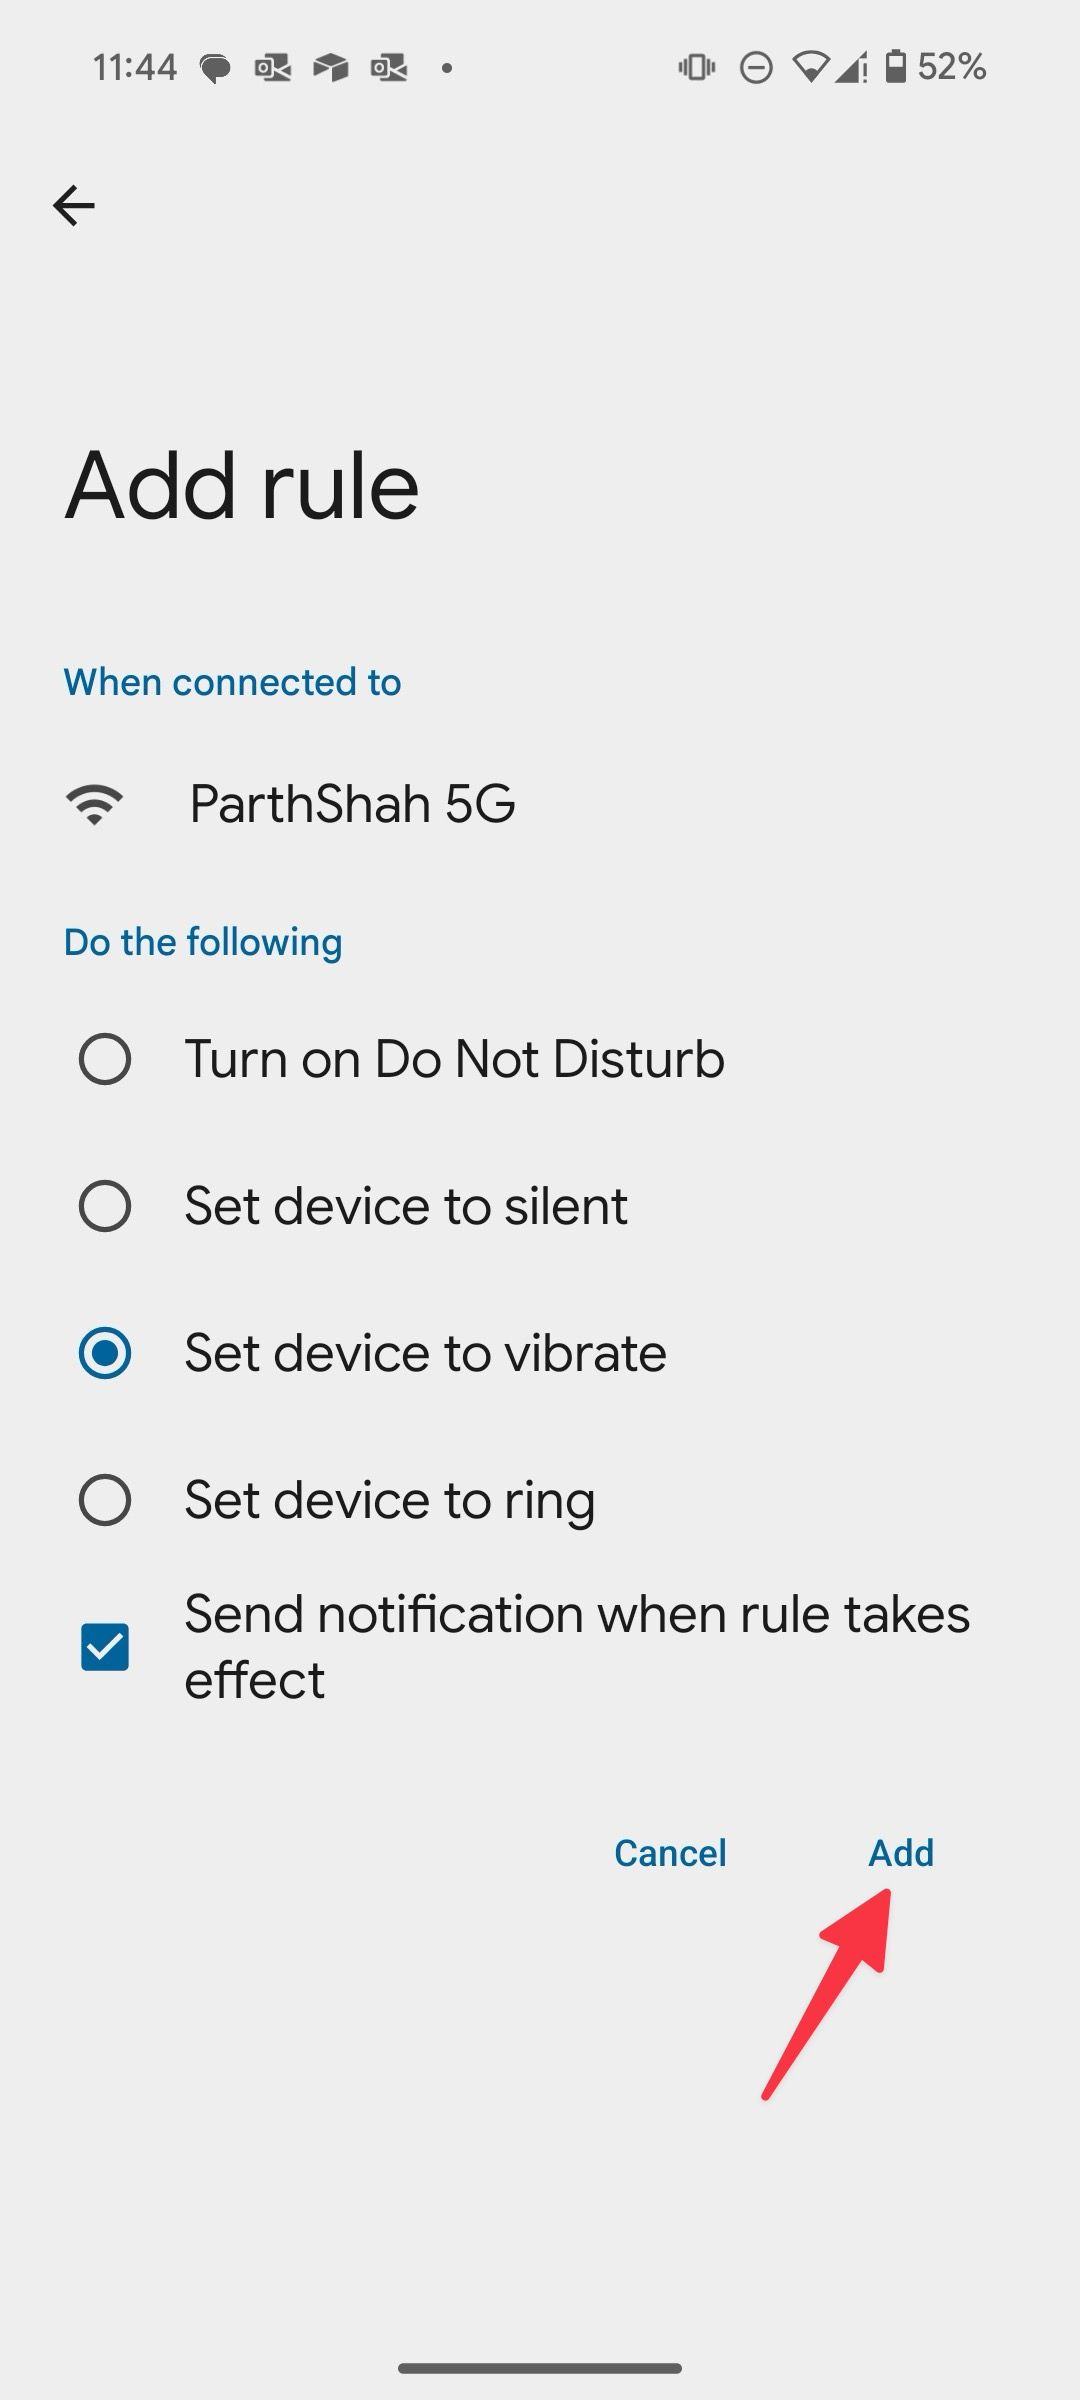


The options are limited, but they are still handy for some.
Unlock your Android’s potential
Your Android phone goes beyond the familiar brightness slider and home screen settings. These under-the-radar tweaks turn your phone into a productivity powerhouse and add a personalization touch. What are you waiting for? Whether you are a casual user or an Android enthusiast, there is something for everyone.
Similarly, Google offers several settings to customize your Android Auto experience. Check out our separate post to elevate your behind-the-wheel setup.
Source link

