
Chromebooks are great devices for power users and the budget-conscious. They are easy to use and secure, which makes them great devices for everyone from younger students to older parents. Even though Chromebooks run well most of the time, you may run into issues. ChromeOS includes a Diagnostics app to help troubleshoot your problem. This guide walks you through how to launch the Diagnostics app, how to use it, and what features are included.
How to access the Diagnostics app on a Chromebook
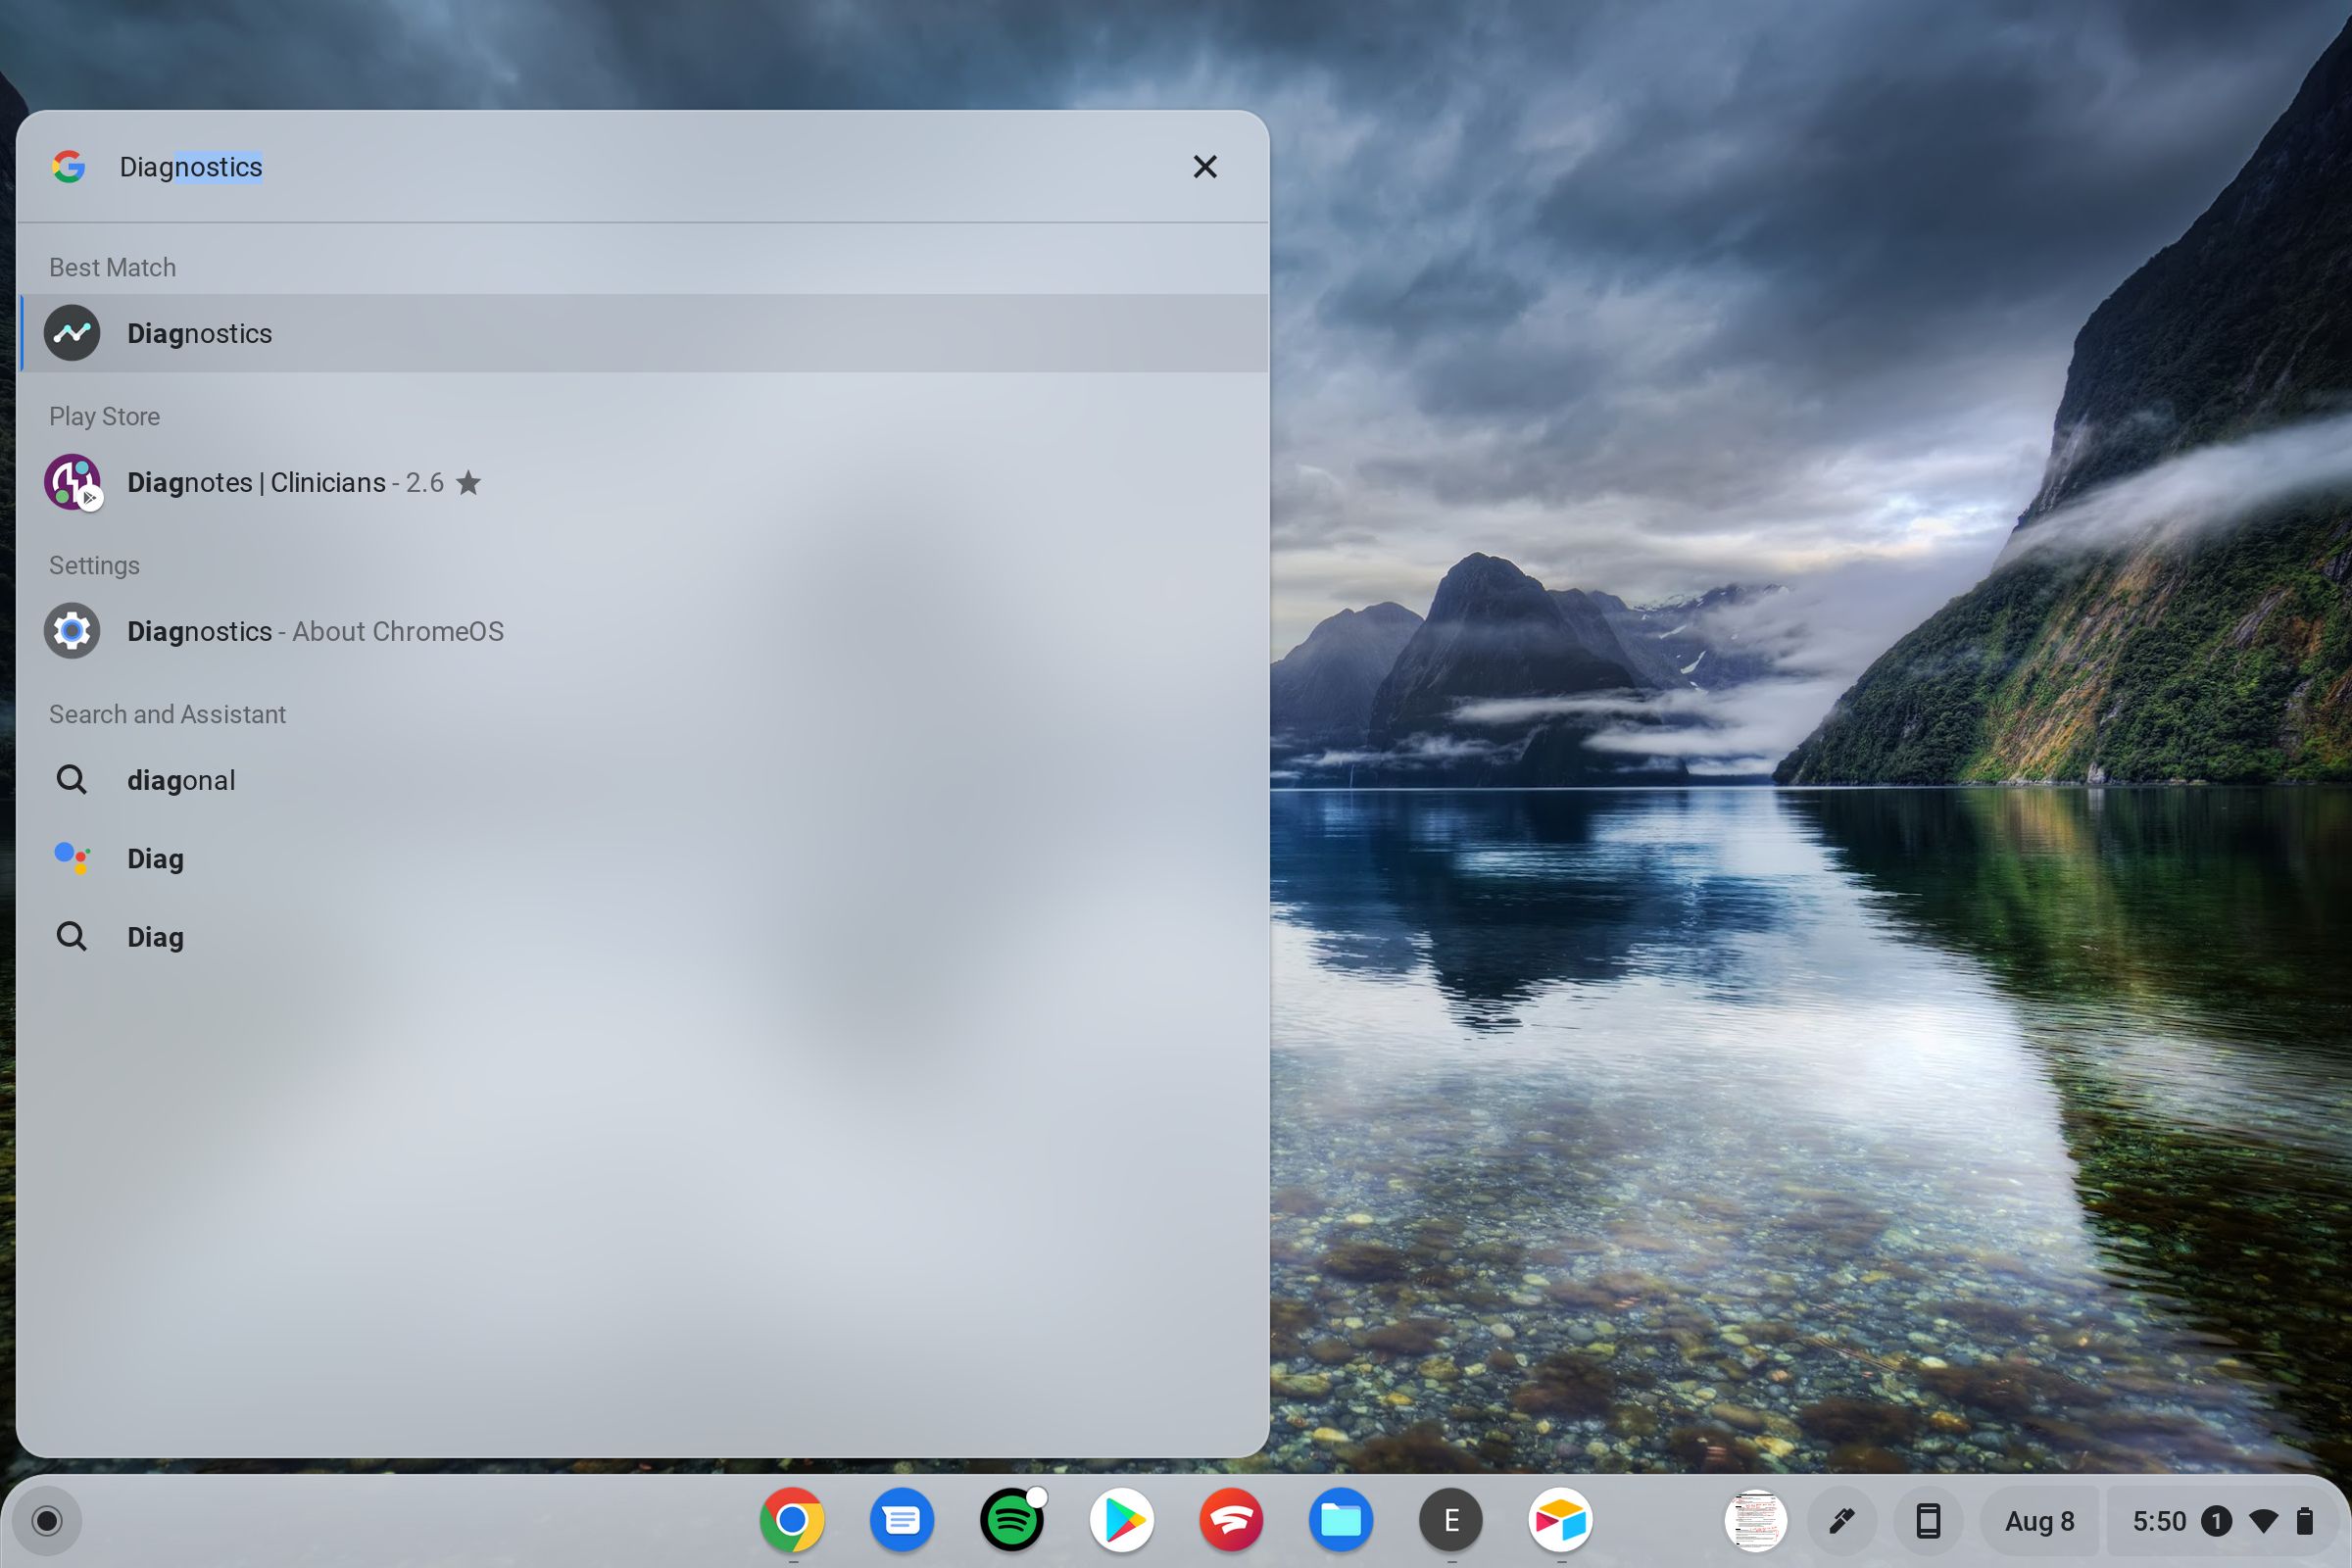
The Diagnostics app is not in an obvious location, but you can find it using ChromeOS’s search feature.
- Click the Search or Launcher button on your keyboard. Alternatively, tap the Launcher button in the lower-left corner of your screen.
- Start typing the word Diagnostics into the search bar until Diagnostics pops up.
- Select the Diagnostics app icon.

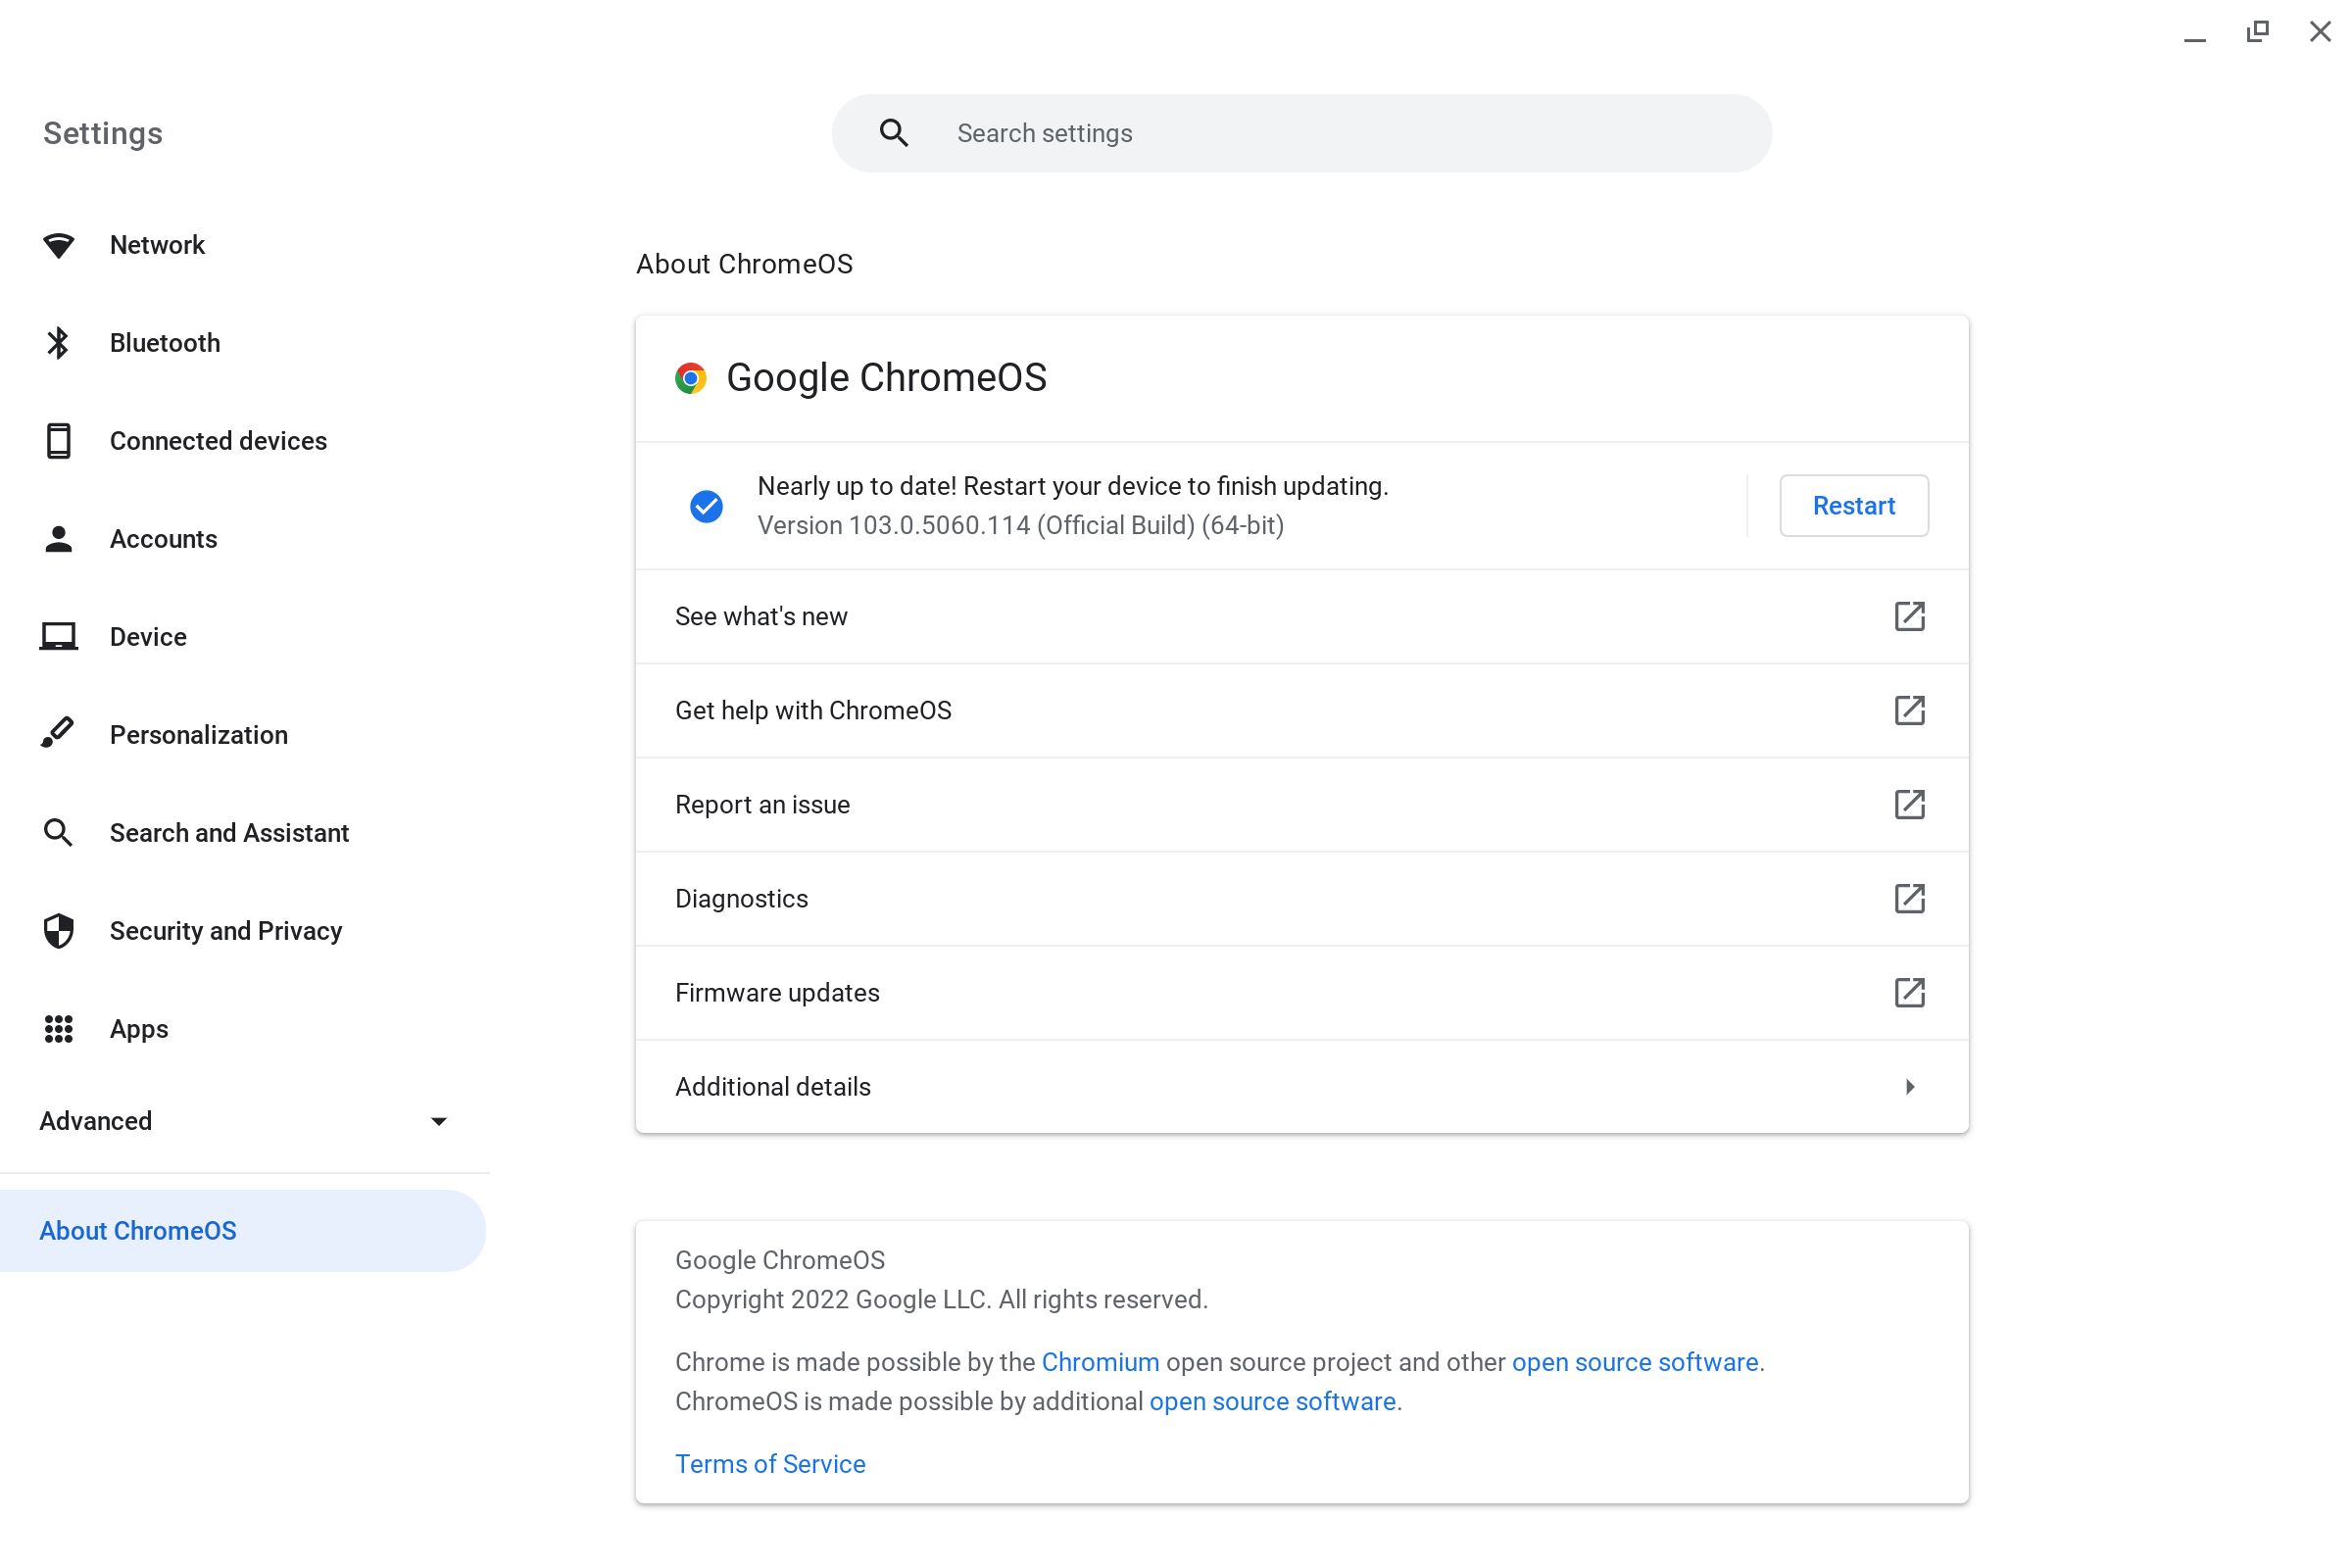
You can also launch the Diagnostics tool through quick settings.
- Tap the time in the lower-right corner.
- Tap the settings gear.
- Select About ChromeOS in the lower-left corner.
- Select Diagnostics.

No matter how you got there, the Diagnostics app is ready to solve your problem.
What information can the ChromeOS Diagnostics app show you?
Now that you know how to open the app, let’s explore what it can show you. You’ll see three tabs on the left: System, Connectivity, and Keyboard. Let’s review the features in each tab.
The System tab
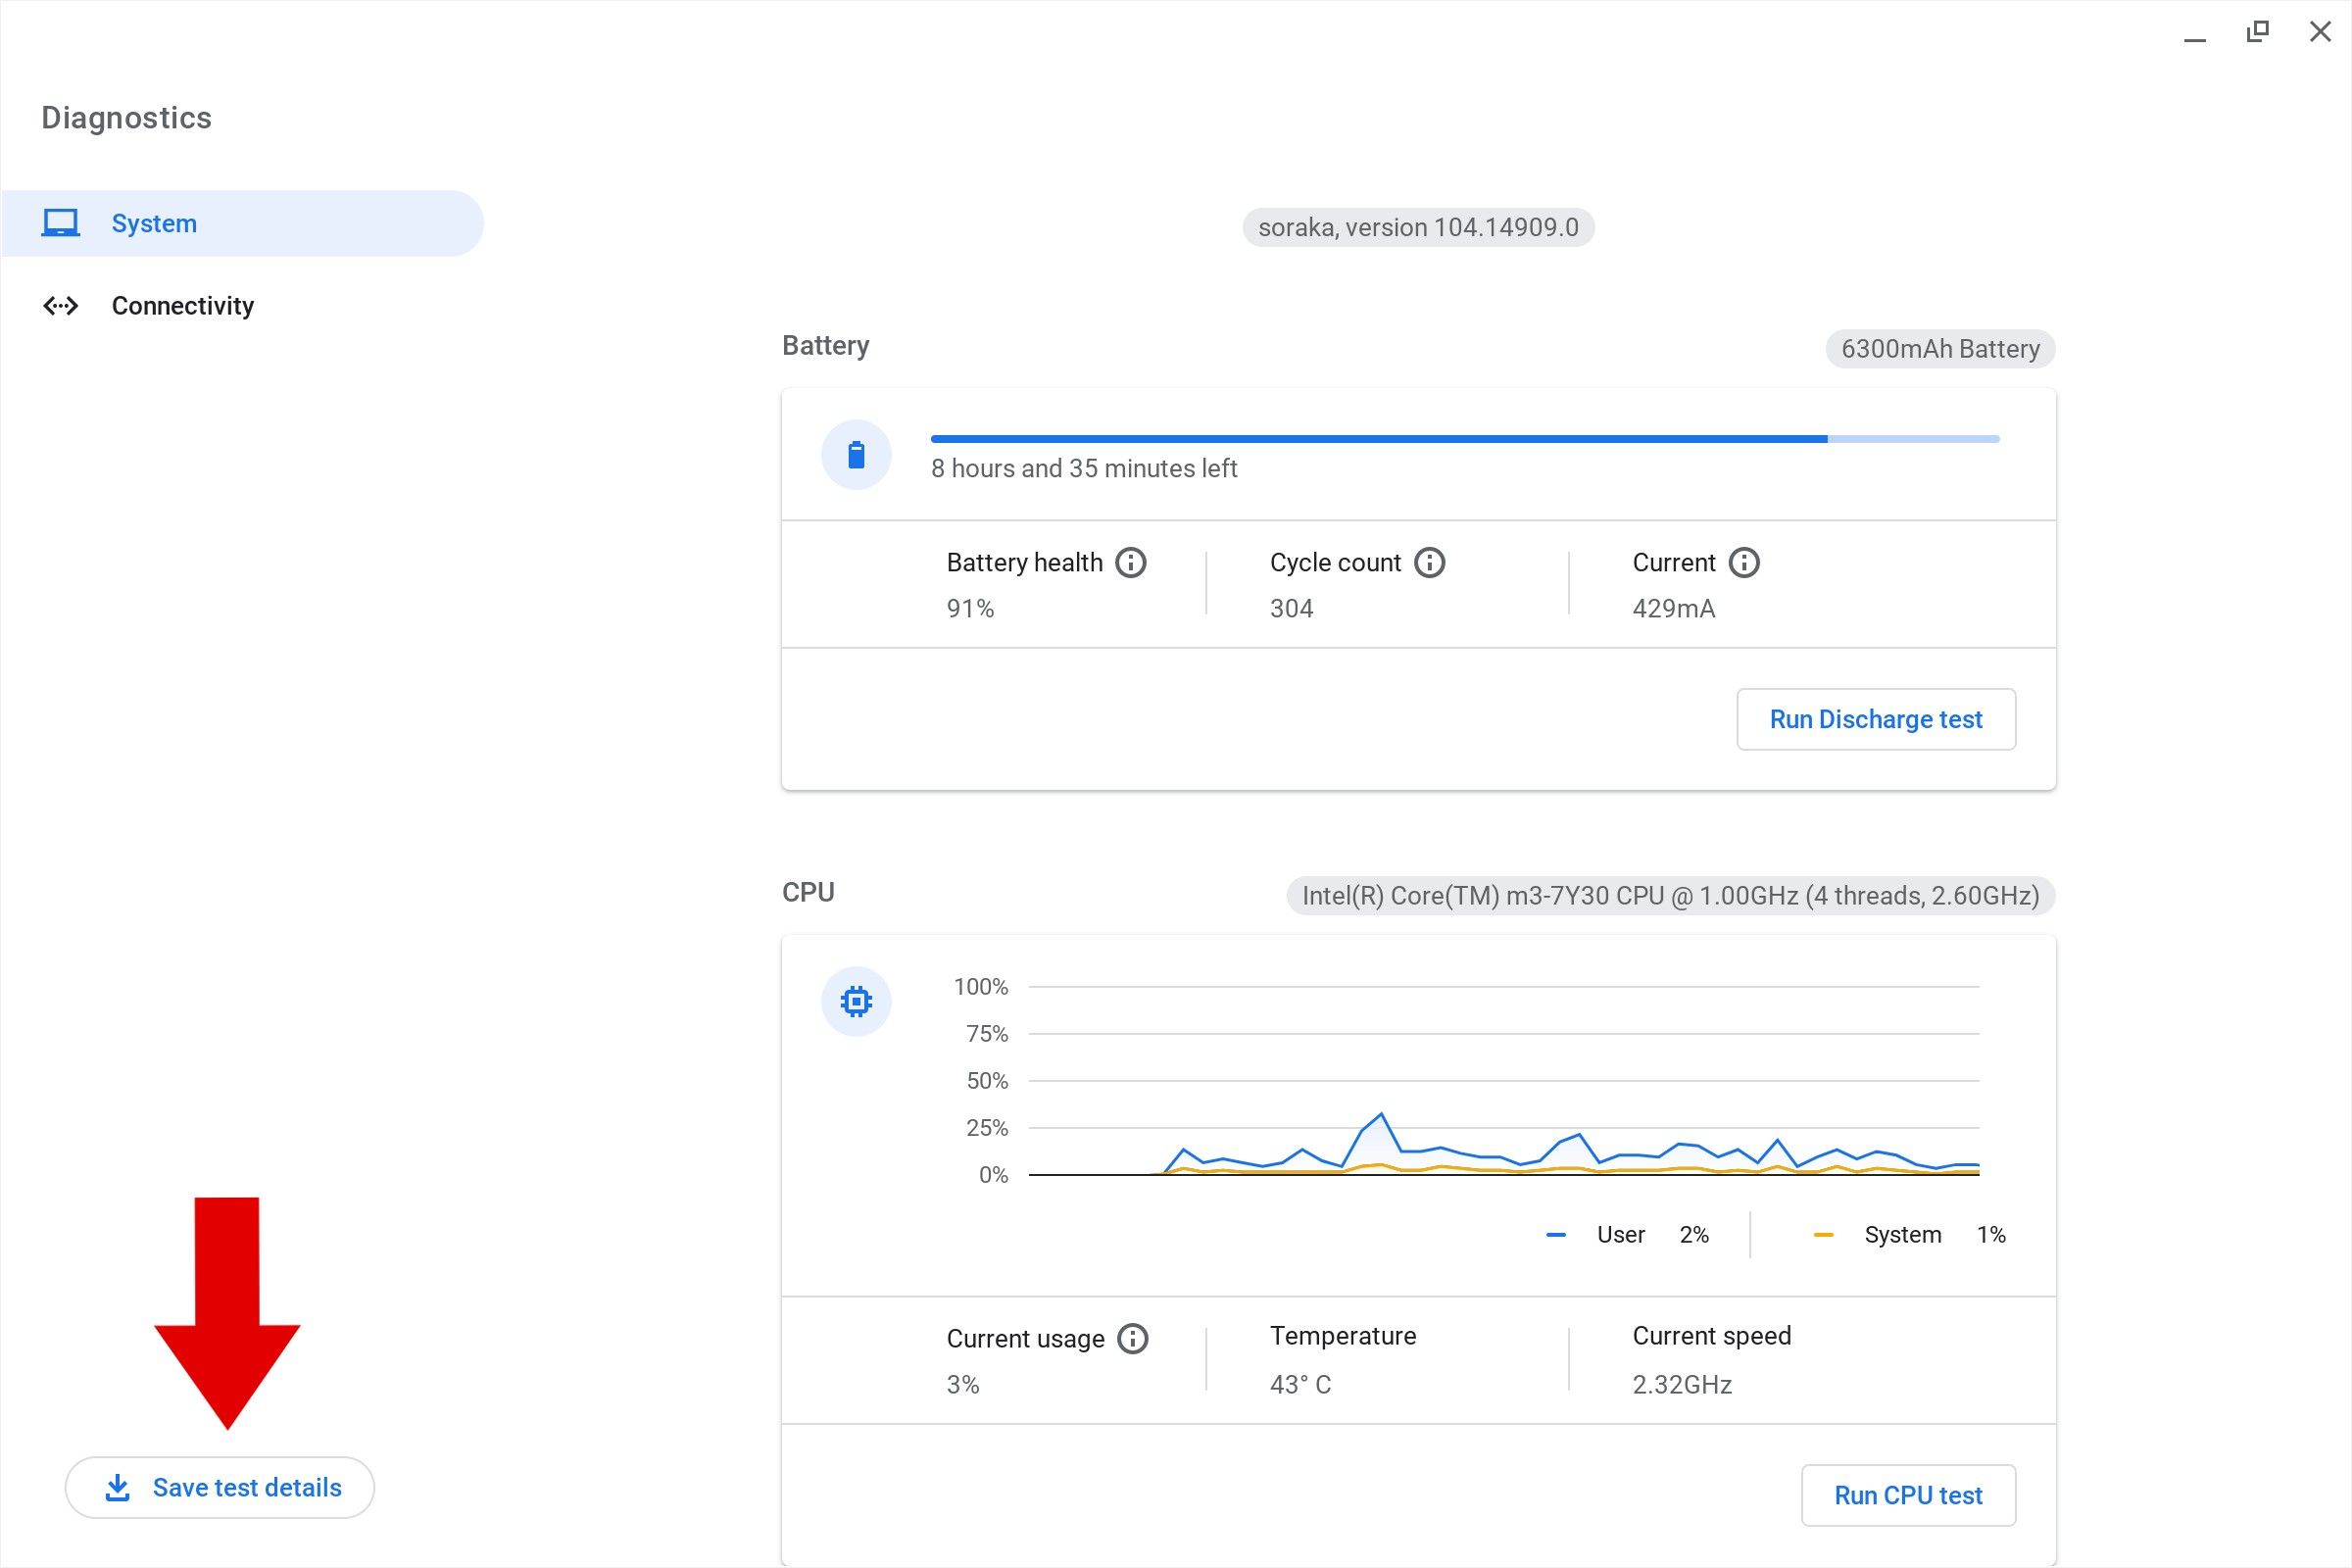
- Build: Listed at the top of the page are the build name and number of ChromeOS installed on your Chromebook.
- Battery: This section shows your device’s battery capacity, current estimated battery life, battery health, cycle count, and current. Select Run Discharge test to conduct a battery test.
- CPU: This section starts by displaying the characteristics and name of your device’s CPU. Below is a graph of the current CPU usage, usage percentage, temperature, and current speed. Tap Run CPU test to start a series of stress tests on the CPU for more information.
- Memory: This section shows how much memory your device is using. Click Run Memory test to activate a memory diagnostic test.

The Connectivity tab
This tab shows your network status and information about your current Wi-Fi network, such as the MAC address, network name, IP address, DNS information, and more.

The Keyboard tab
This tab allows you to test any keyboard hooked up to your Chromebook. Select a keyboard to test and click the Test button. When you’re in the test, press any key to make sure the system registers it correctly. When you’re done, tap the Done button in the lower-right corner.


You’re now on your way to diagnosing problems that crop up in your Chromebook.
How do I share diagnostic data?
Test results from the Diagnostics app can help a technician fix your device. Screenshots work sometimes, but the Diagnostics app has a built-in way to do so.
- Open the Diagnostics app.
- Click the Save test details button in the lower-left corner.
- Choose where to save the TXT file and what to name it.
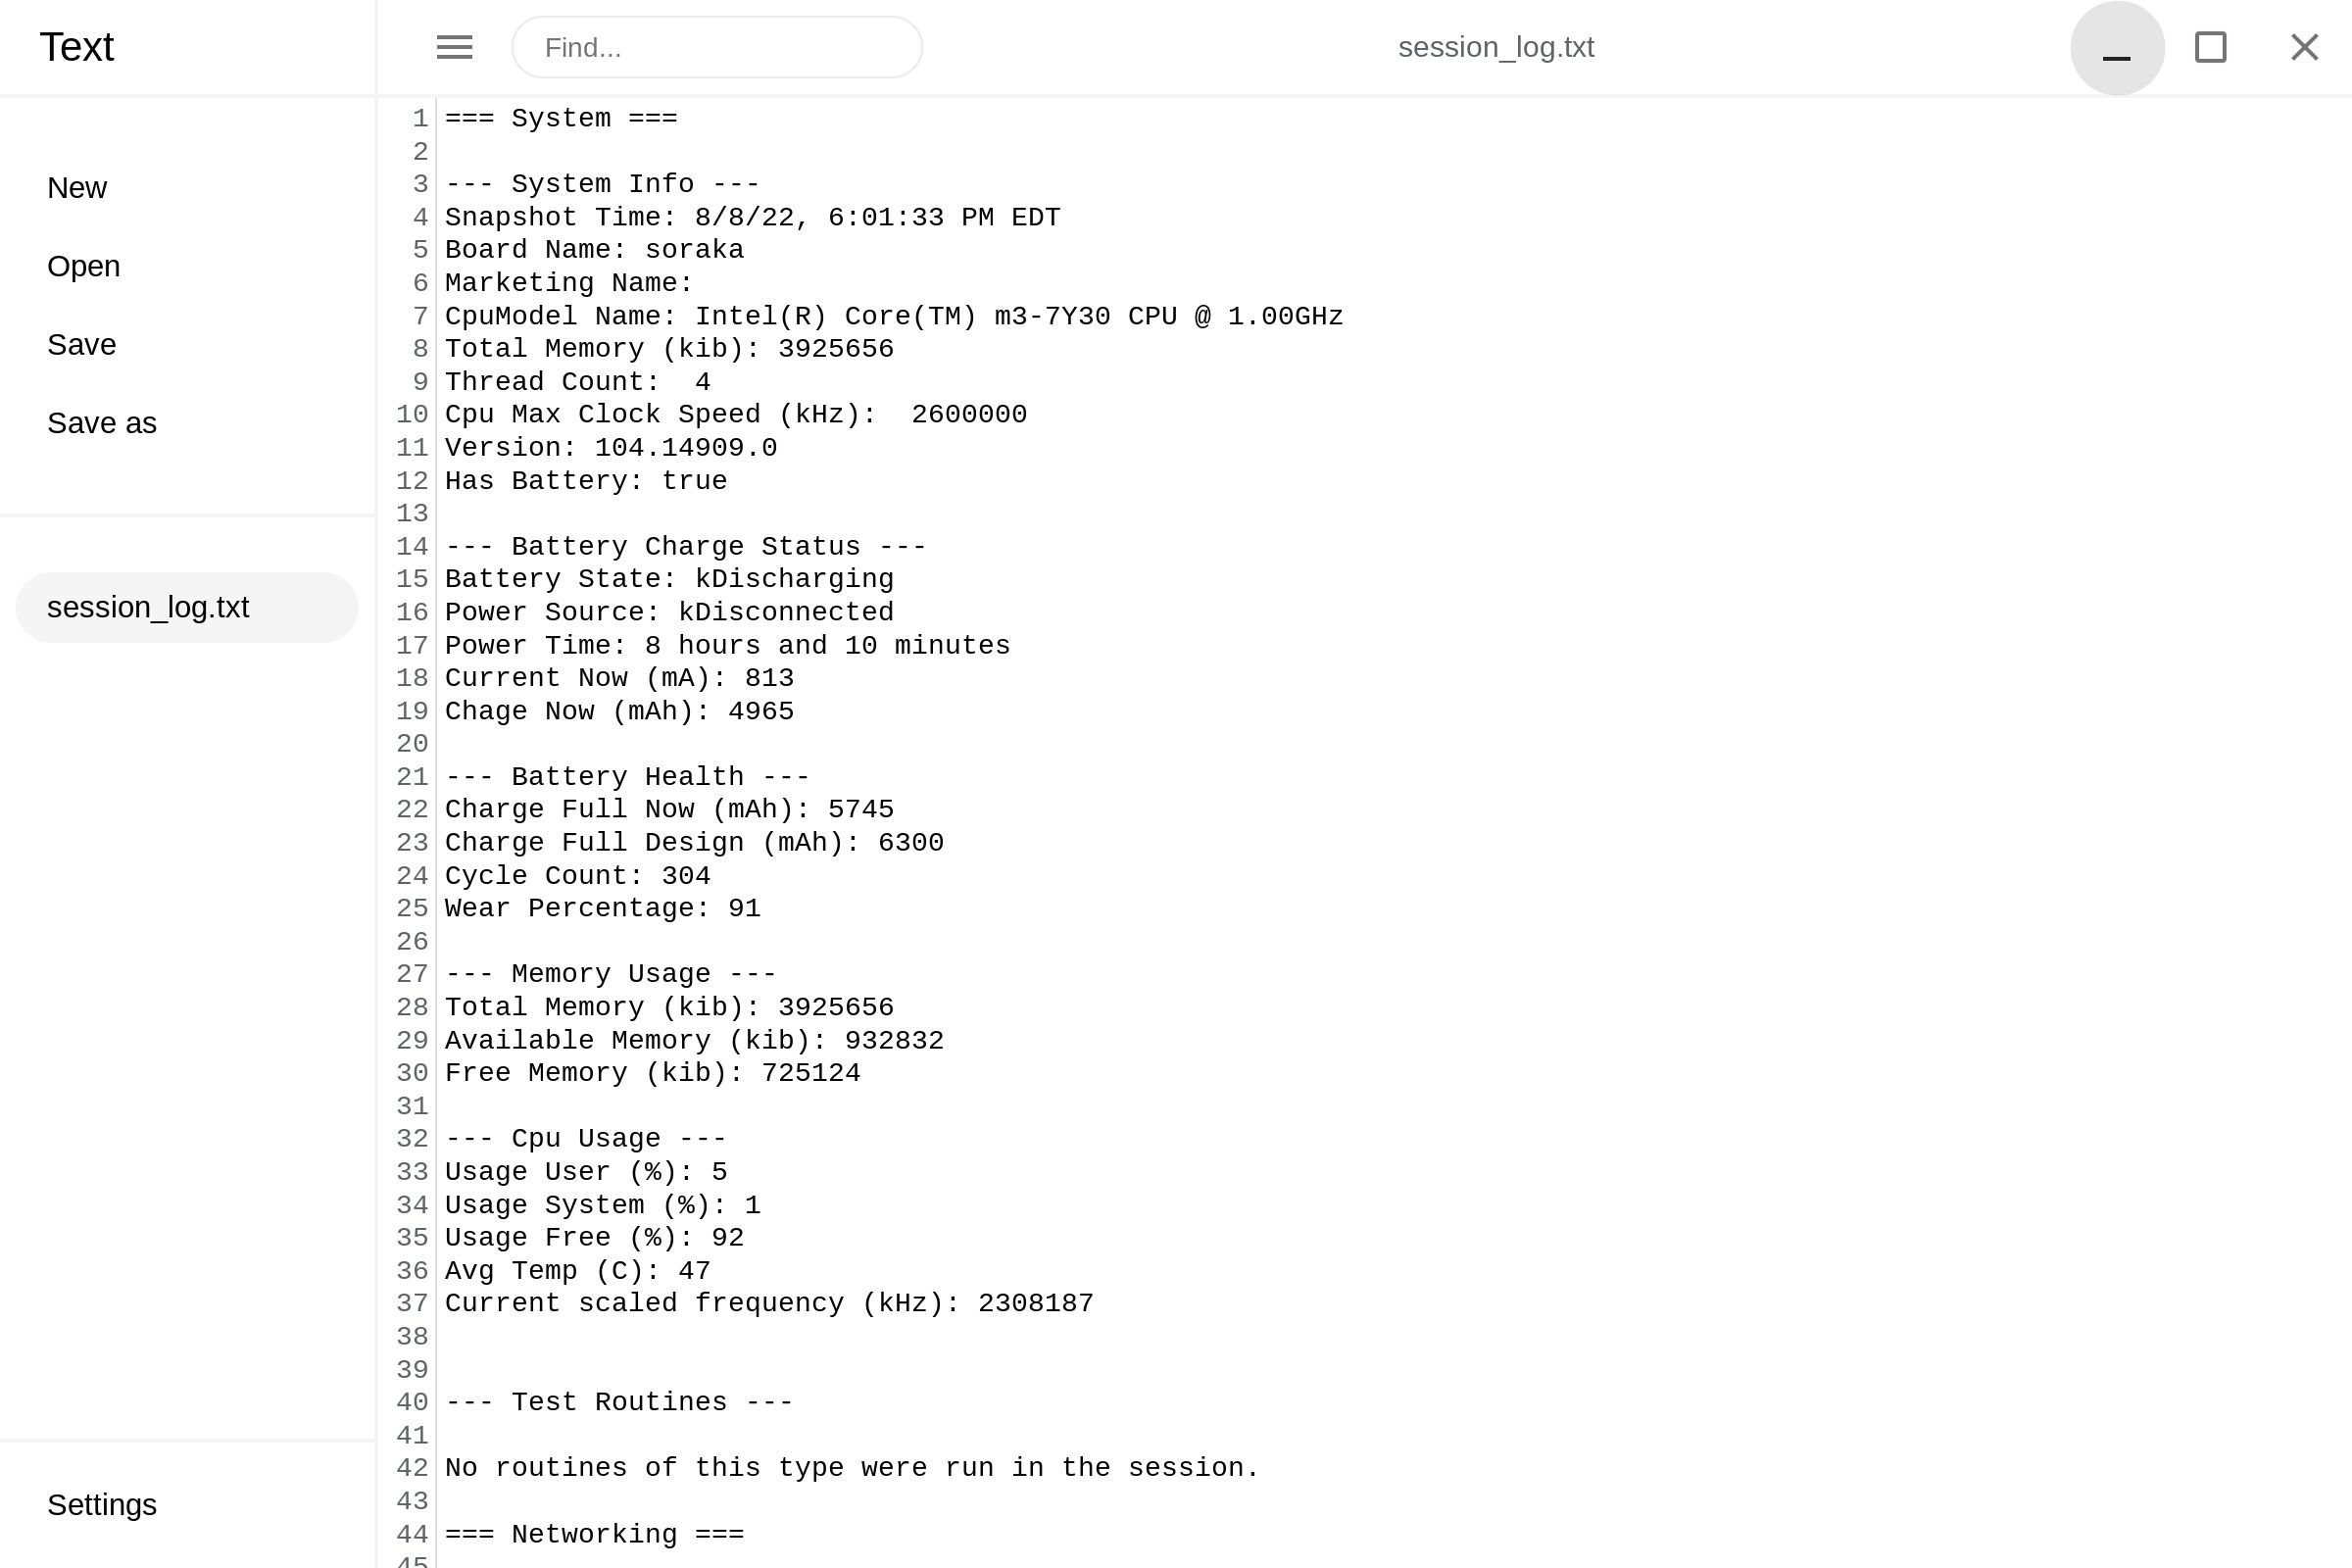


When you have the text file, send it off to get the help you need.
Update for a fix
Issues with your devices are inevitable. The Diagnostics app makes these issues less stressful and can get them solved faster. Another reason you may have issues is because your device is out of date. Updating your Chromebook operating system is straightforward and adds new features to your device.
Source link

