The Google Pixel 8 and 8 Pro support eSIM. However, activating your eSIM is more complex than the tried-and-tested method of slotting a physical SIM card into your phone. While eSIM support for Pixel phones goes back years, improving the user experience has mostly stayed the same. This guide will walk you through activating an eSIM on your Pixel 8 phone and migrating an eSIM from an earlier Pixel phone.
These steps work for the three major US carriers and cheaper data plans from smaller carriers. If you’ve grown weary of the Pixel experience, you can transfer your eSIM to another Android phone since many eSIM-compatible options exist.
How to transfer E-Sims between Android phones
Start using your new phone in seconds
What you need to activate your eSIM
The Google Pixel 8 and Pixel 8 Pro have eSIM compatibility, so all you need is the eSIM. If you’re unfamiliar with this modern iteration of the venerable SIM card, you might be confused about where to get it.
If you buy an eSIM when you buy your Pixel 8, you only need to connect your phone to a Wi-Fi network, which we explain in detail later.
If you already have your Pixel 8, your carrier should send you your eSIM as a QR code to the email address associated with your account. If you don’t have this QR code, contact your carrier before you begin.
How to activate the eSim on your Google Pixel 8
Activate your eSim during your Google Pixel 8 setup stage. If you want to activate it later or there was an error, you don’t need to reset your Pixel 8. Follow the instructions for activating an eSim after setup.
Activate an eSim during the set up process
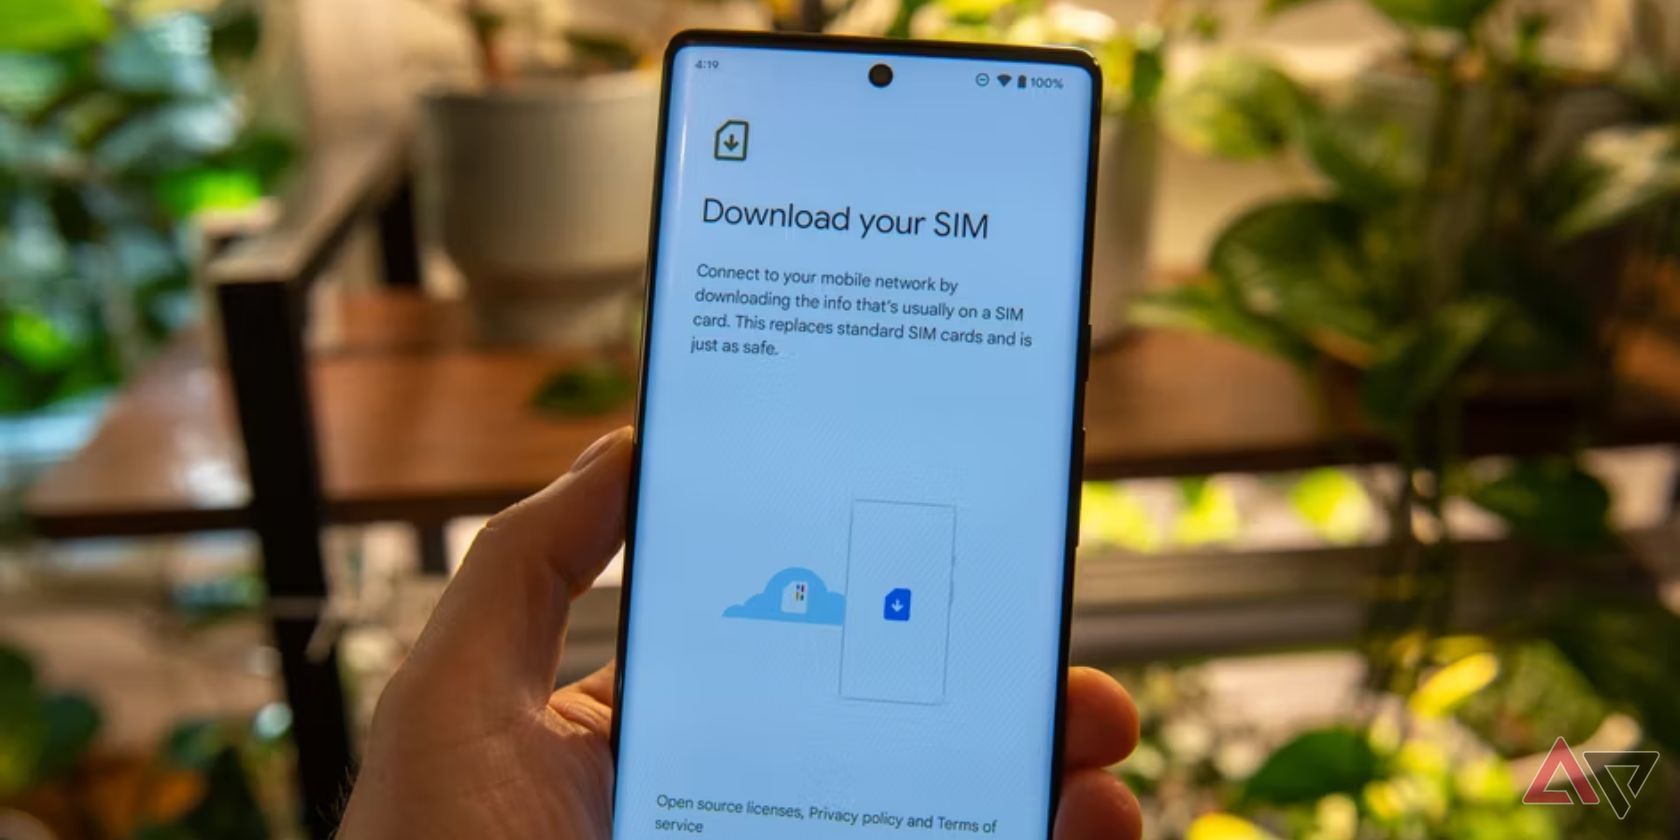
If you bought an eSim from a carrier alongside the phone, you’re prompted to connect to your carrier’s network after connecting your phone to Wi-Fi. Downloading an eSIM profile in this manner takes about five minutes.
If your eSIM doesn’t show up at this stage, you can find it manually by following the steps below.
Activate an eSim after your phone is set up
This method can activate an eSIM anytime, whether you just bought a Pixel 8 or switching from a regular SIM card to an eSIM. All you need is the QR code provided by your carrier. Contact your carrier’s customer support service if you don’t have a QR code.
You can skip most of these steps by scanning the QR code with your Pixel phone’s camera app. This takes you to the download confirmation screen.
1. Open your Pixel 8’s Settings app.
2. Tap Network & Internet.
3. Tap SIMs.
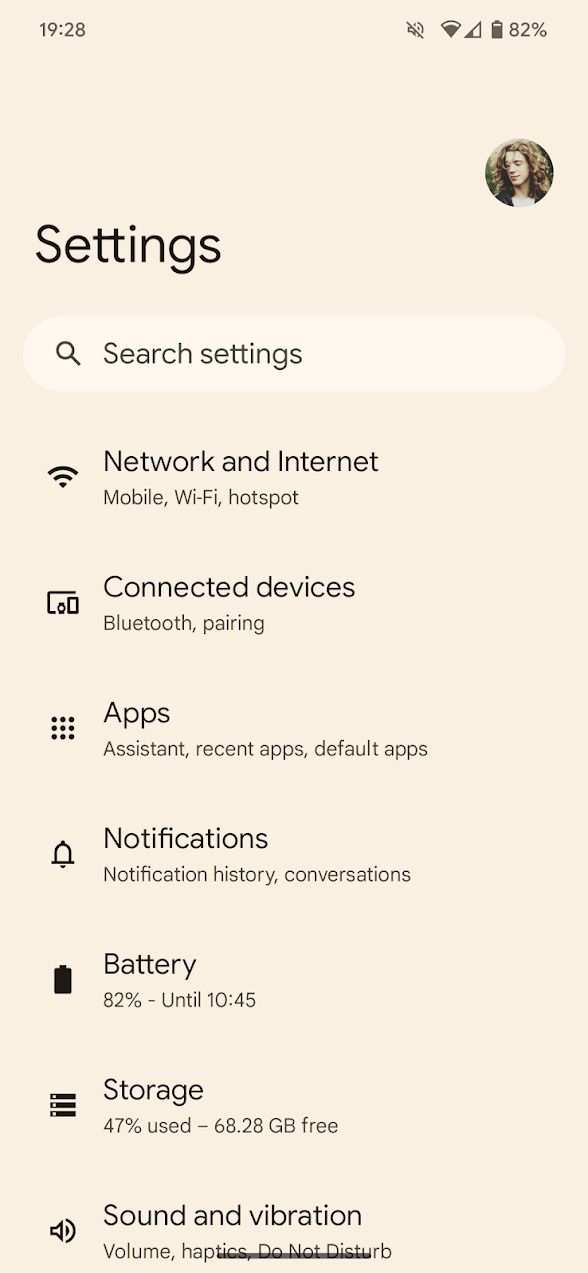
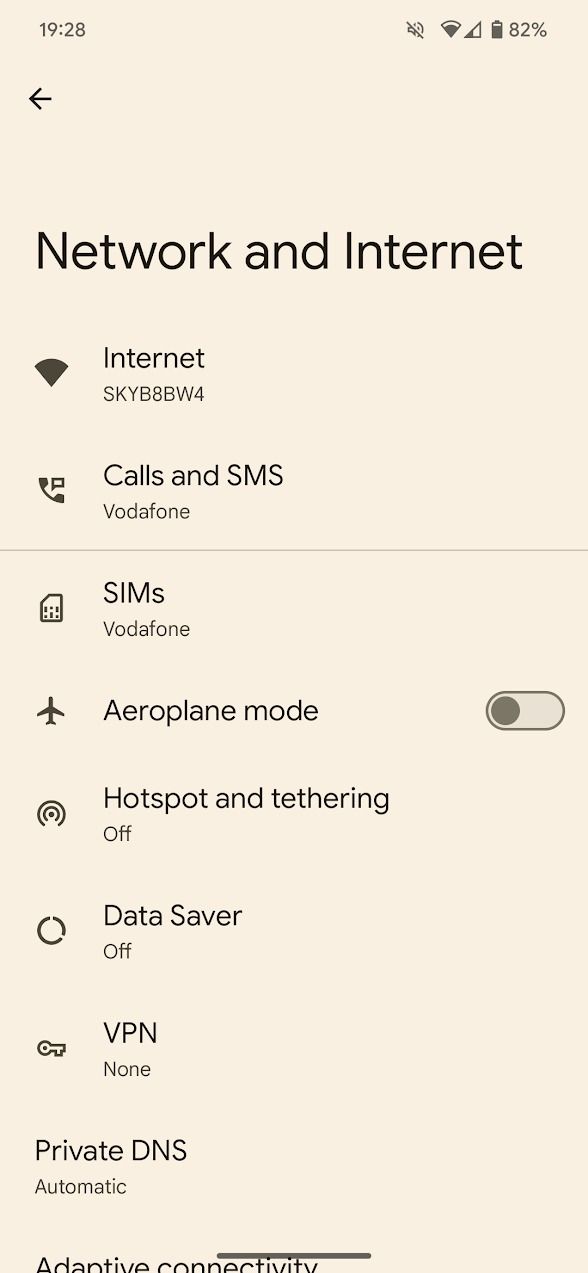
4. Tap Add SIM.
5. Tap Download a new eSIM.
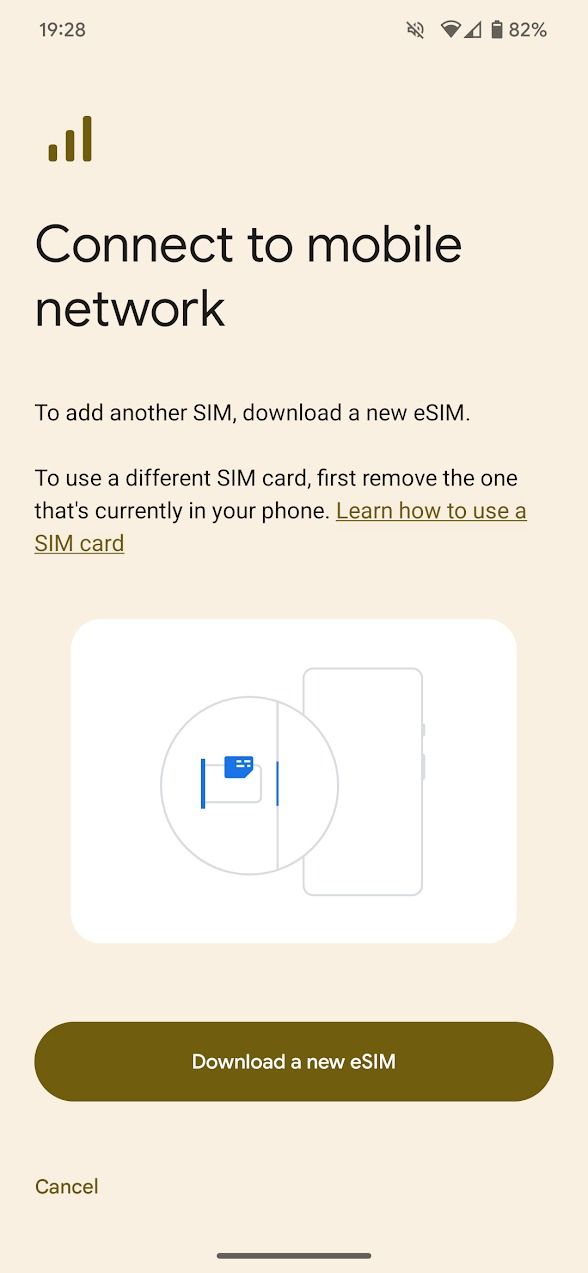

6. Scan the QR code provided by your carrier.
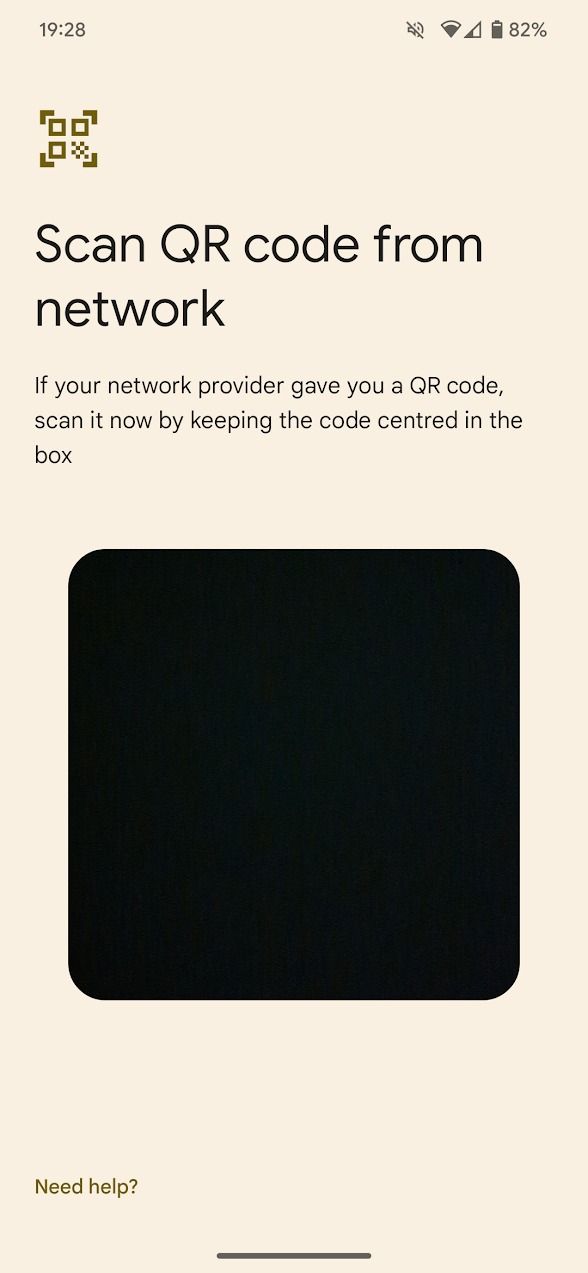
7. Confirm your eSIM by tapping Download in the lower-right corner of your screen.
Your eSIM takes about five minutes to download. After it’s downloaded, your Pixel phone automatically connects to your carrier’s network.
How to migrate an existing eSIM to your Google Pixel 8
When you upgrade from an older Pixel phone to a Pixel 8 or Pixel 8 Pro, you can transfer your eSIM directly rather than deactivating and reactivating it manually. While you can only transfer eSIMs to a Pixel 8 phone, you can transfer from any eSIM-compatible Pixel phone.
This option appears during the setup process for your new Pixel 8 phone.
After setting up your Pixel 8, transfer your eSIM by deactivating it on your old phone and following the steps above to activate a new eSIM. This may involve reaching out to your carrier.
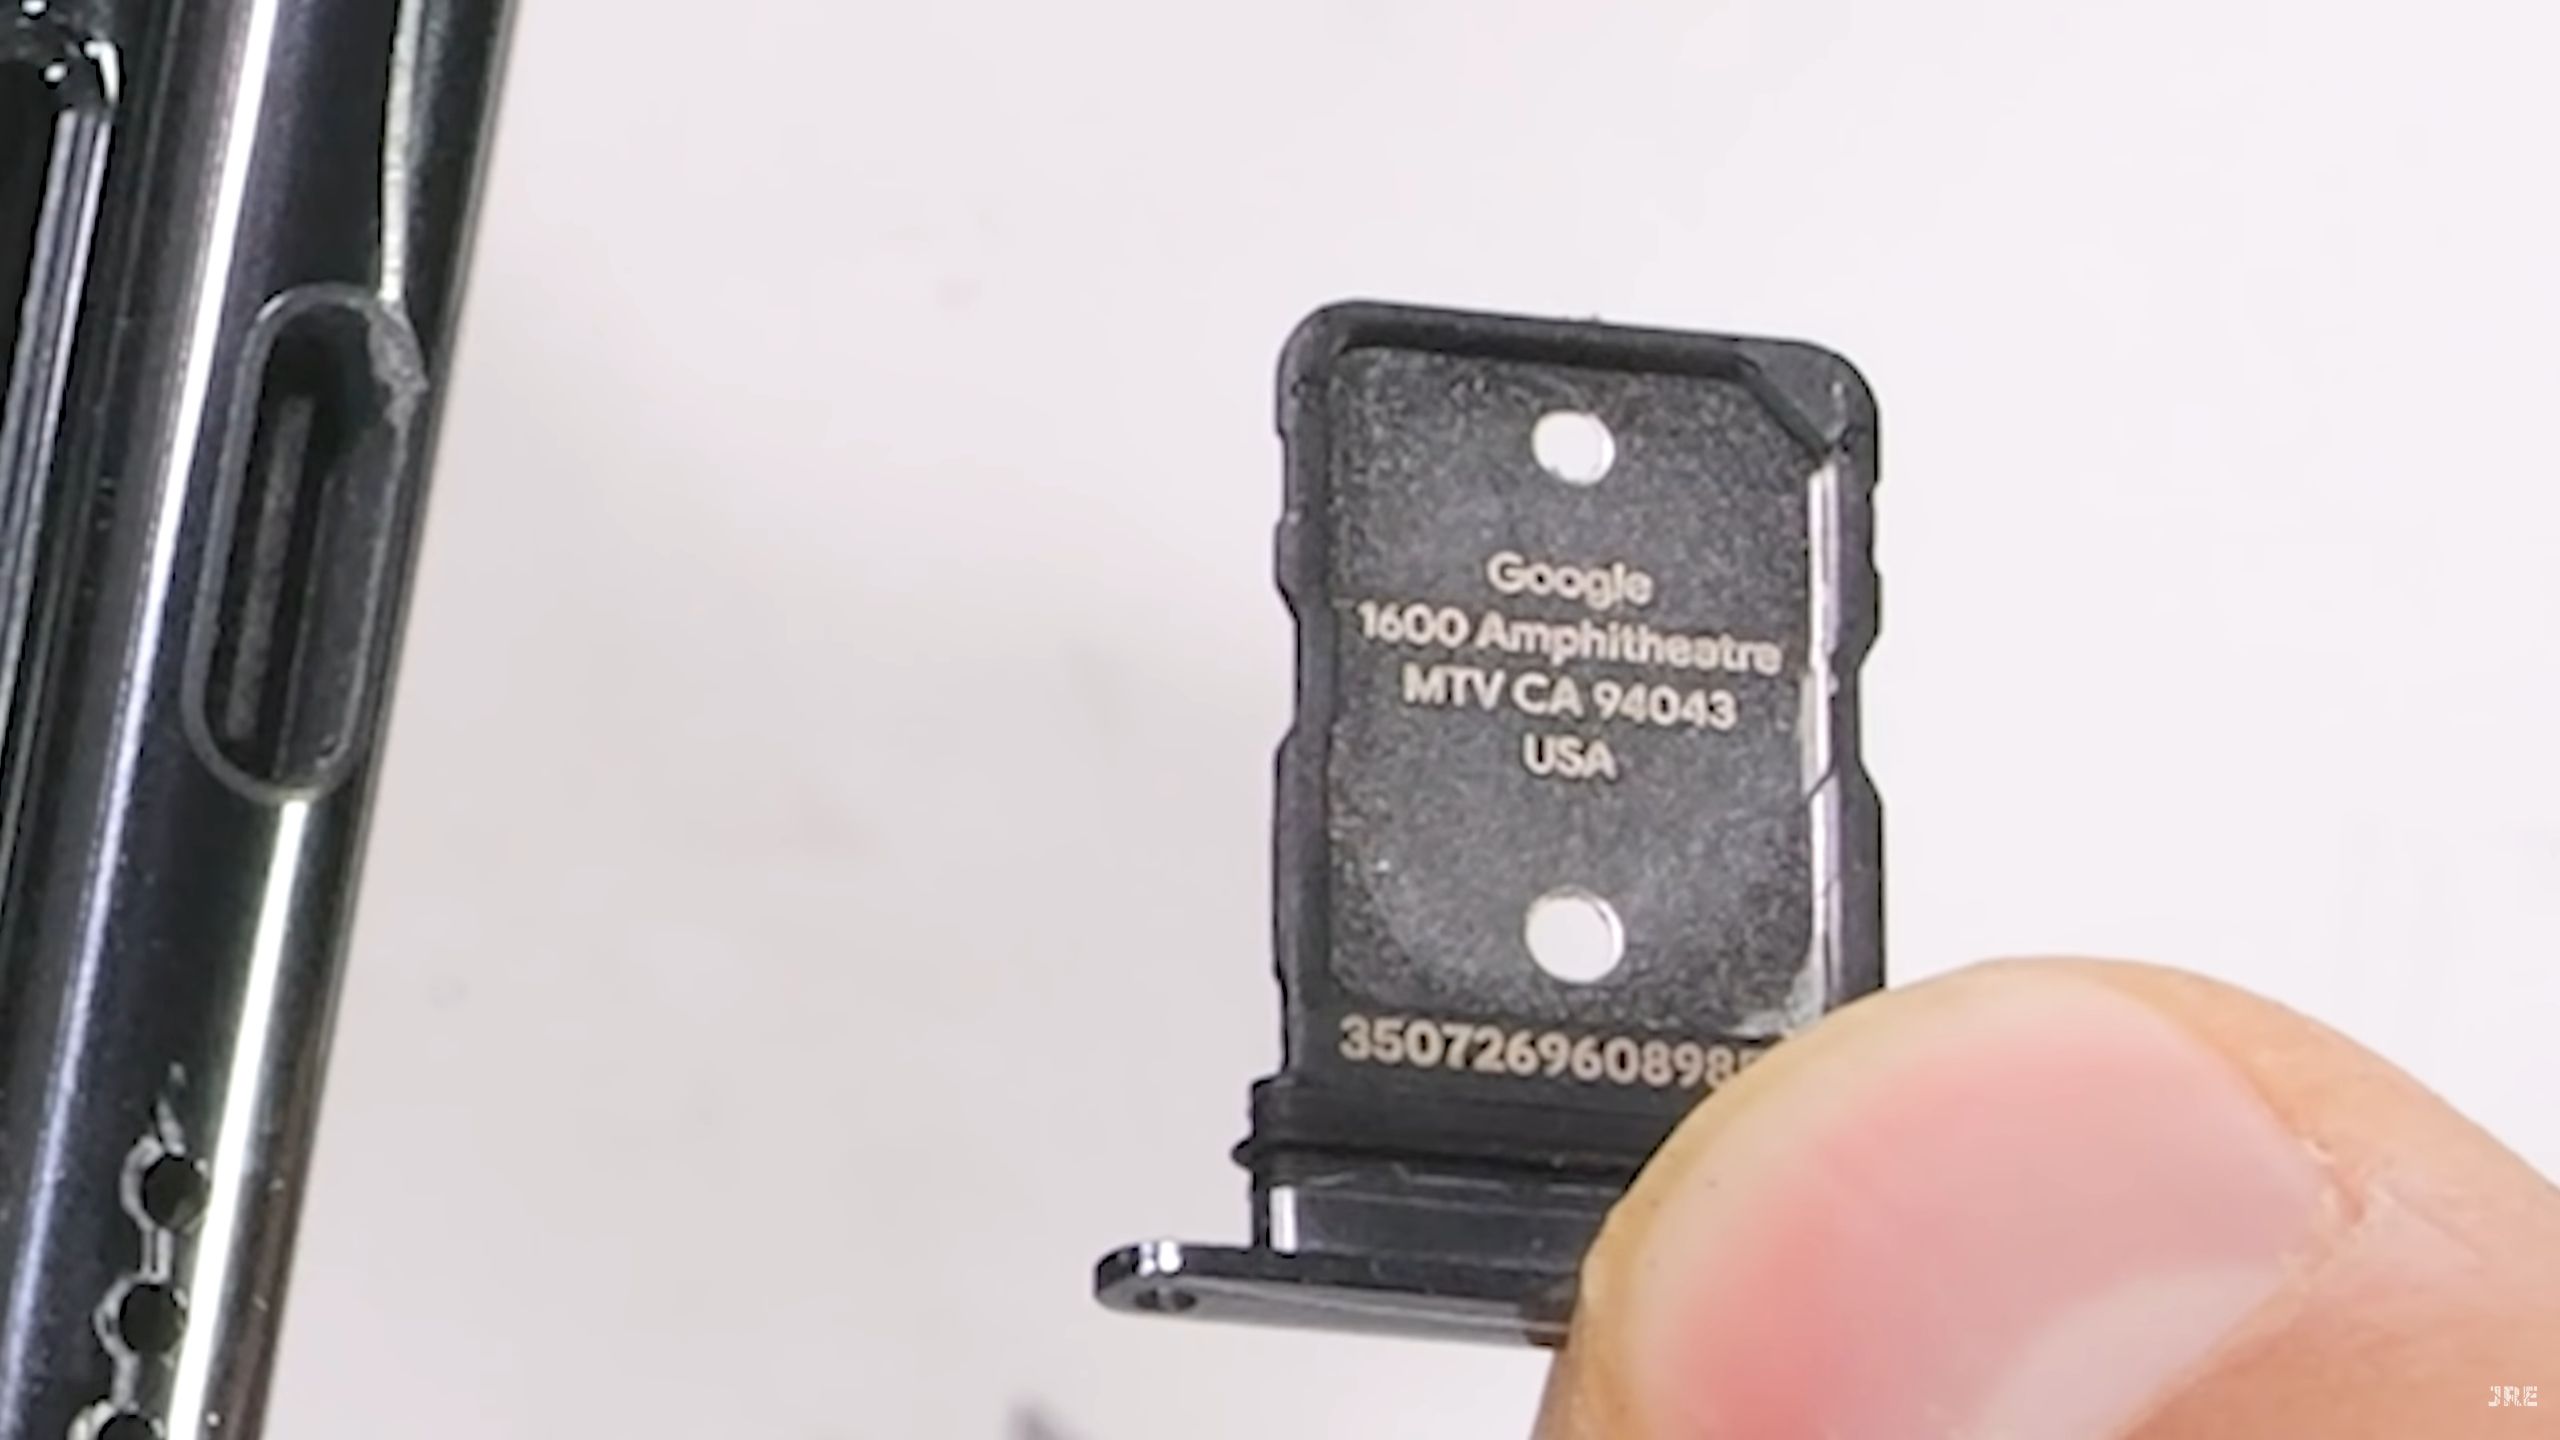
How to use Google’s eSIM transfer tool
Move your eSIM to your new phone with ease
Activate an eSIM alongside a SIM card in a Pixel 8
If a SIM card is installed in your Pixel 8, you can activate an eSIM using the steps above. This lets you have two SIM profiles active on the same phone.
You can use an eSIM alongside a SIM card or another eSIM on most carriers. However, some carriers may restrict this functionality. Instead, store multiple eSIM profiles and use one at a time.
To switch SIM profiles, go to the
SIMs
menu in your Pixel 8’s
Settings
app.
Does eSIM activation vary per carrier?
Yes. eSIM activation is slowly getting more accessible, but the method varies depending on your phone and carrier. If the steps outlined above don’t work for your Pixel 8 or Pixel 8 Pro, follow our guide on activating an eSIM on every major US carrier (Verizon, T-Mobile, AT&T).
If you’re still stumped, contact your carrier. They can walk you through the steps or activate it remotely. You may need to visit one of your carrier’s stores, where they can download and activate your eSIM in person.
Stay connected with your Pixel 8
The connectivity issues that plagued the Pixel 6 and Pixel 7 were mostly fixed with the Pixel 8’s Tensor G3 chip. You can pair it with an eSIM without worrying about losing your connection.
While this was one of the more noticeable improvements in the Pixel 8, it still shipped with a few problems. We hope the Pixel 9 addresses some of the issues we’ve had with the Pixel 8.
Source link

