Everyone seems to have a pair of fantastic earbuds with cutting-edge features or larger over-the-ear headphones with better battery life. However, there’s a recurring theme with consumer-grade audio gear, or at least everything I’ve bought.
Nearly all the headphones and earbuds I’ve bought in the past 15 years, wired or not, disintegrate soon after the warranty expires, no matter how well I maintained them. While that could be planned obsolescence, it creates an e-waste problem, leaving behind perfectly functional drivers and circuitry. After trying to find headphones that last, I decided to go the open source route, looking for answers while willing to make a few compromises.
Why assemble your own headphones?
The industry forced my hand
Repairability-oriented headphones and earbuds, like products from Fairphone, offer a glimmer of hope, but aren’t readily available everywhere or greatly personalizable, and tend to corner you into an ecosystem of proprietary hardware. Moreover, these options are just another purchase that doesn’t solve the growing e-waste problem in your headphone graveyard.
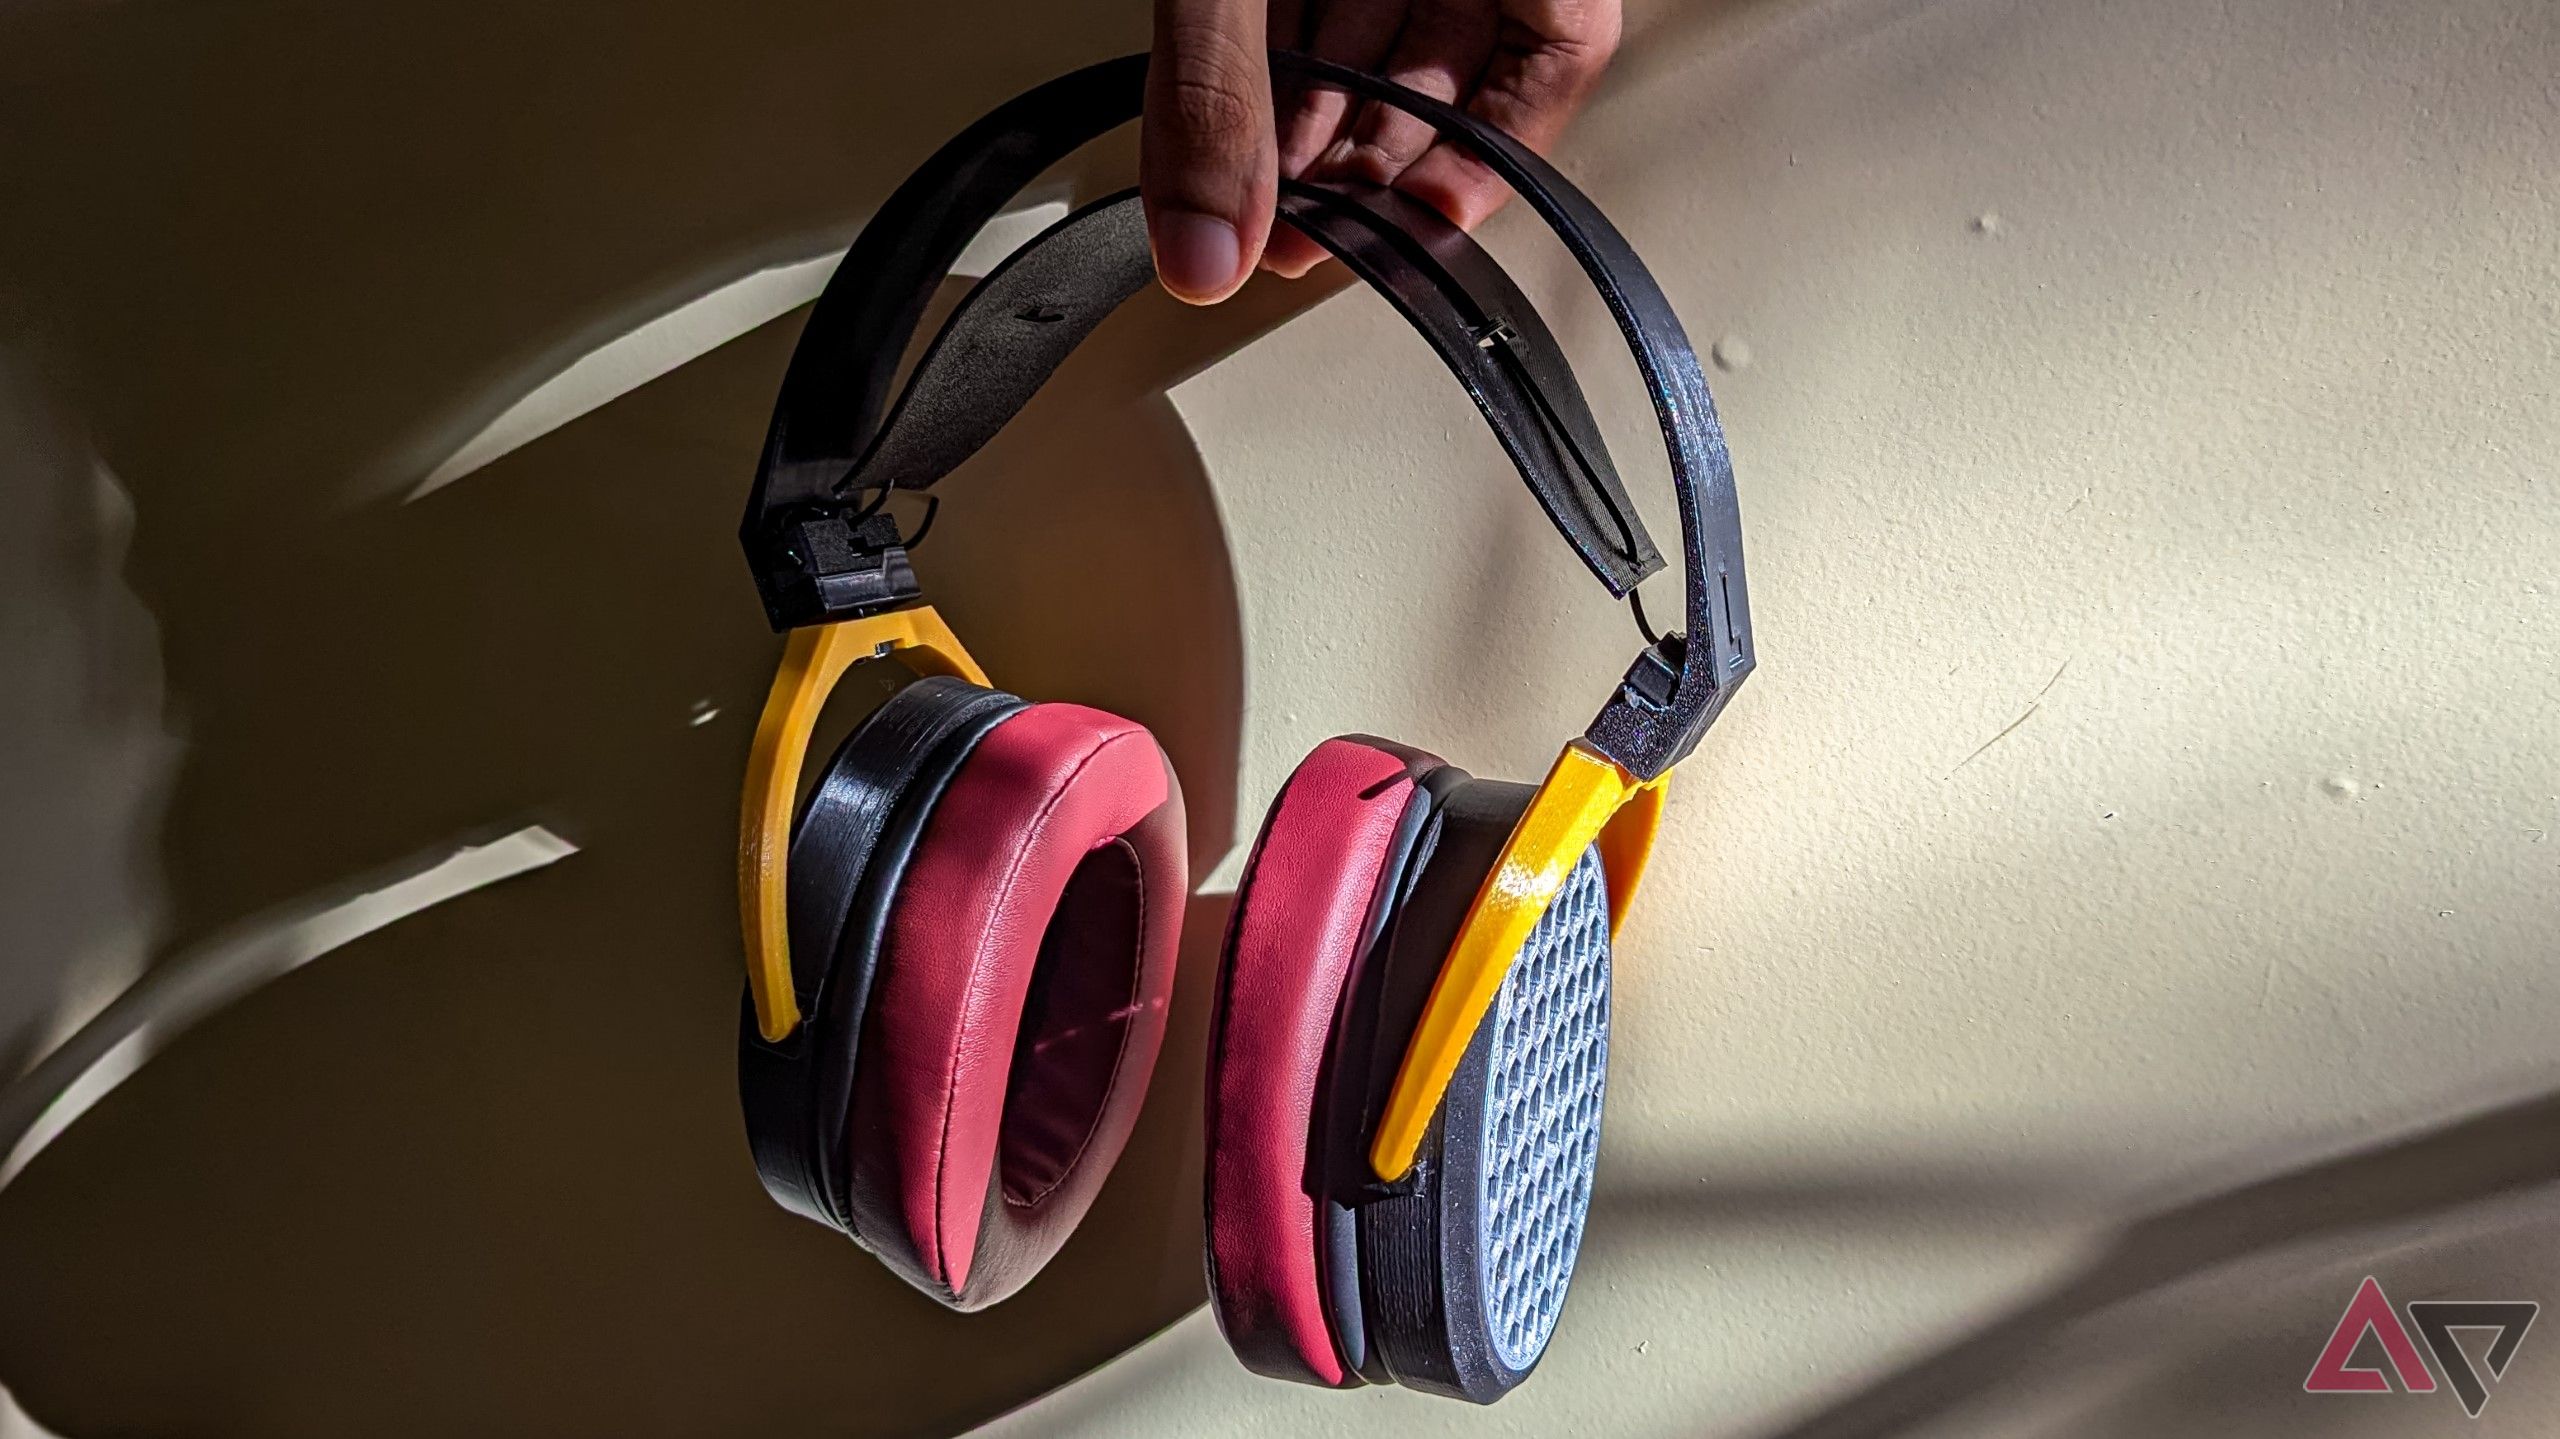
Looking on the internet, I found a few open source designs which could upcycle what I have at minimal additional expense. Although there are several other options, I decided to assemble a Variable Openmod headphone kit designed by Ryan. I built version one of the headphones because at the time of writing, the build guide for version two wasn’t available.
The headphones trade wireless connectivity and other quality-of-life features like active noise cancelation for an airy open-back design, ultimate repairability, and granular customizability with colors and functional things like how much the earcups swivel.
I prefer the Variable Openmod project over similar initiatives because the original design files are available for modification, and everything except the speaker drivers and cable can be 3D-printed. The project uses readily available standard fasteners, has just eight solder joints in total, and requires neither minimal prior experience nor specialized equipment. You’ll need a few prefabricated parts like earpads and TRRS jacks, but they’re available off-the-shelf.
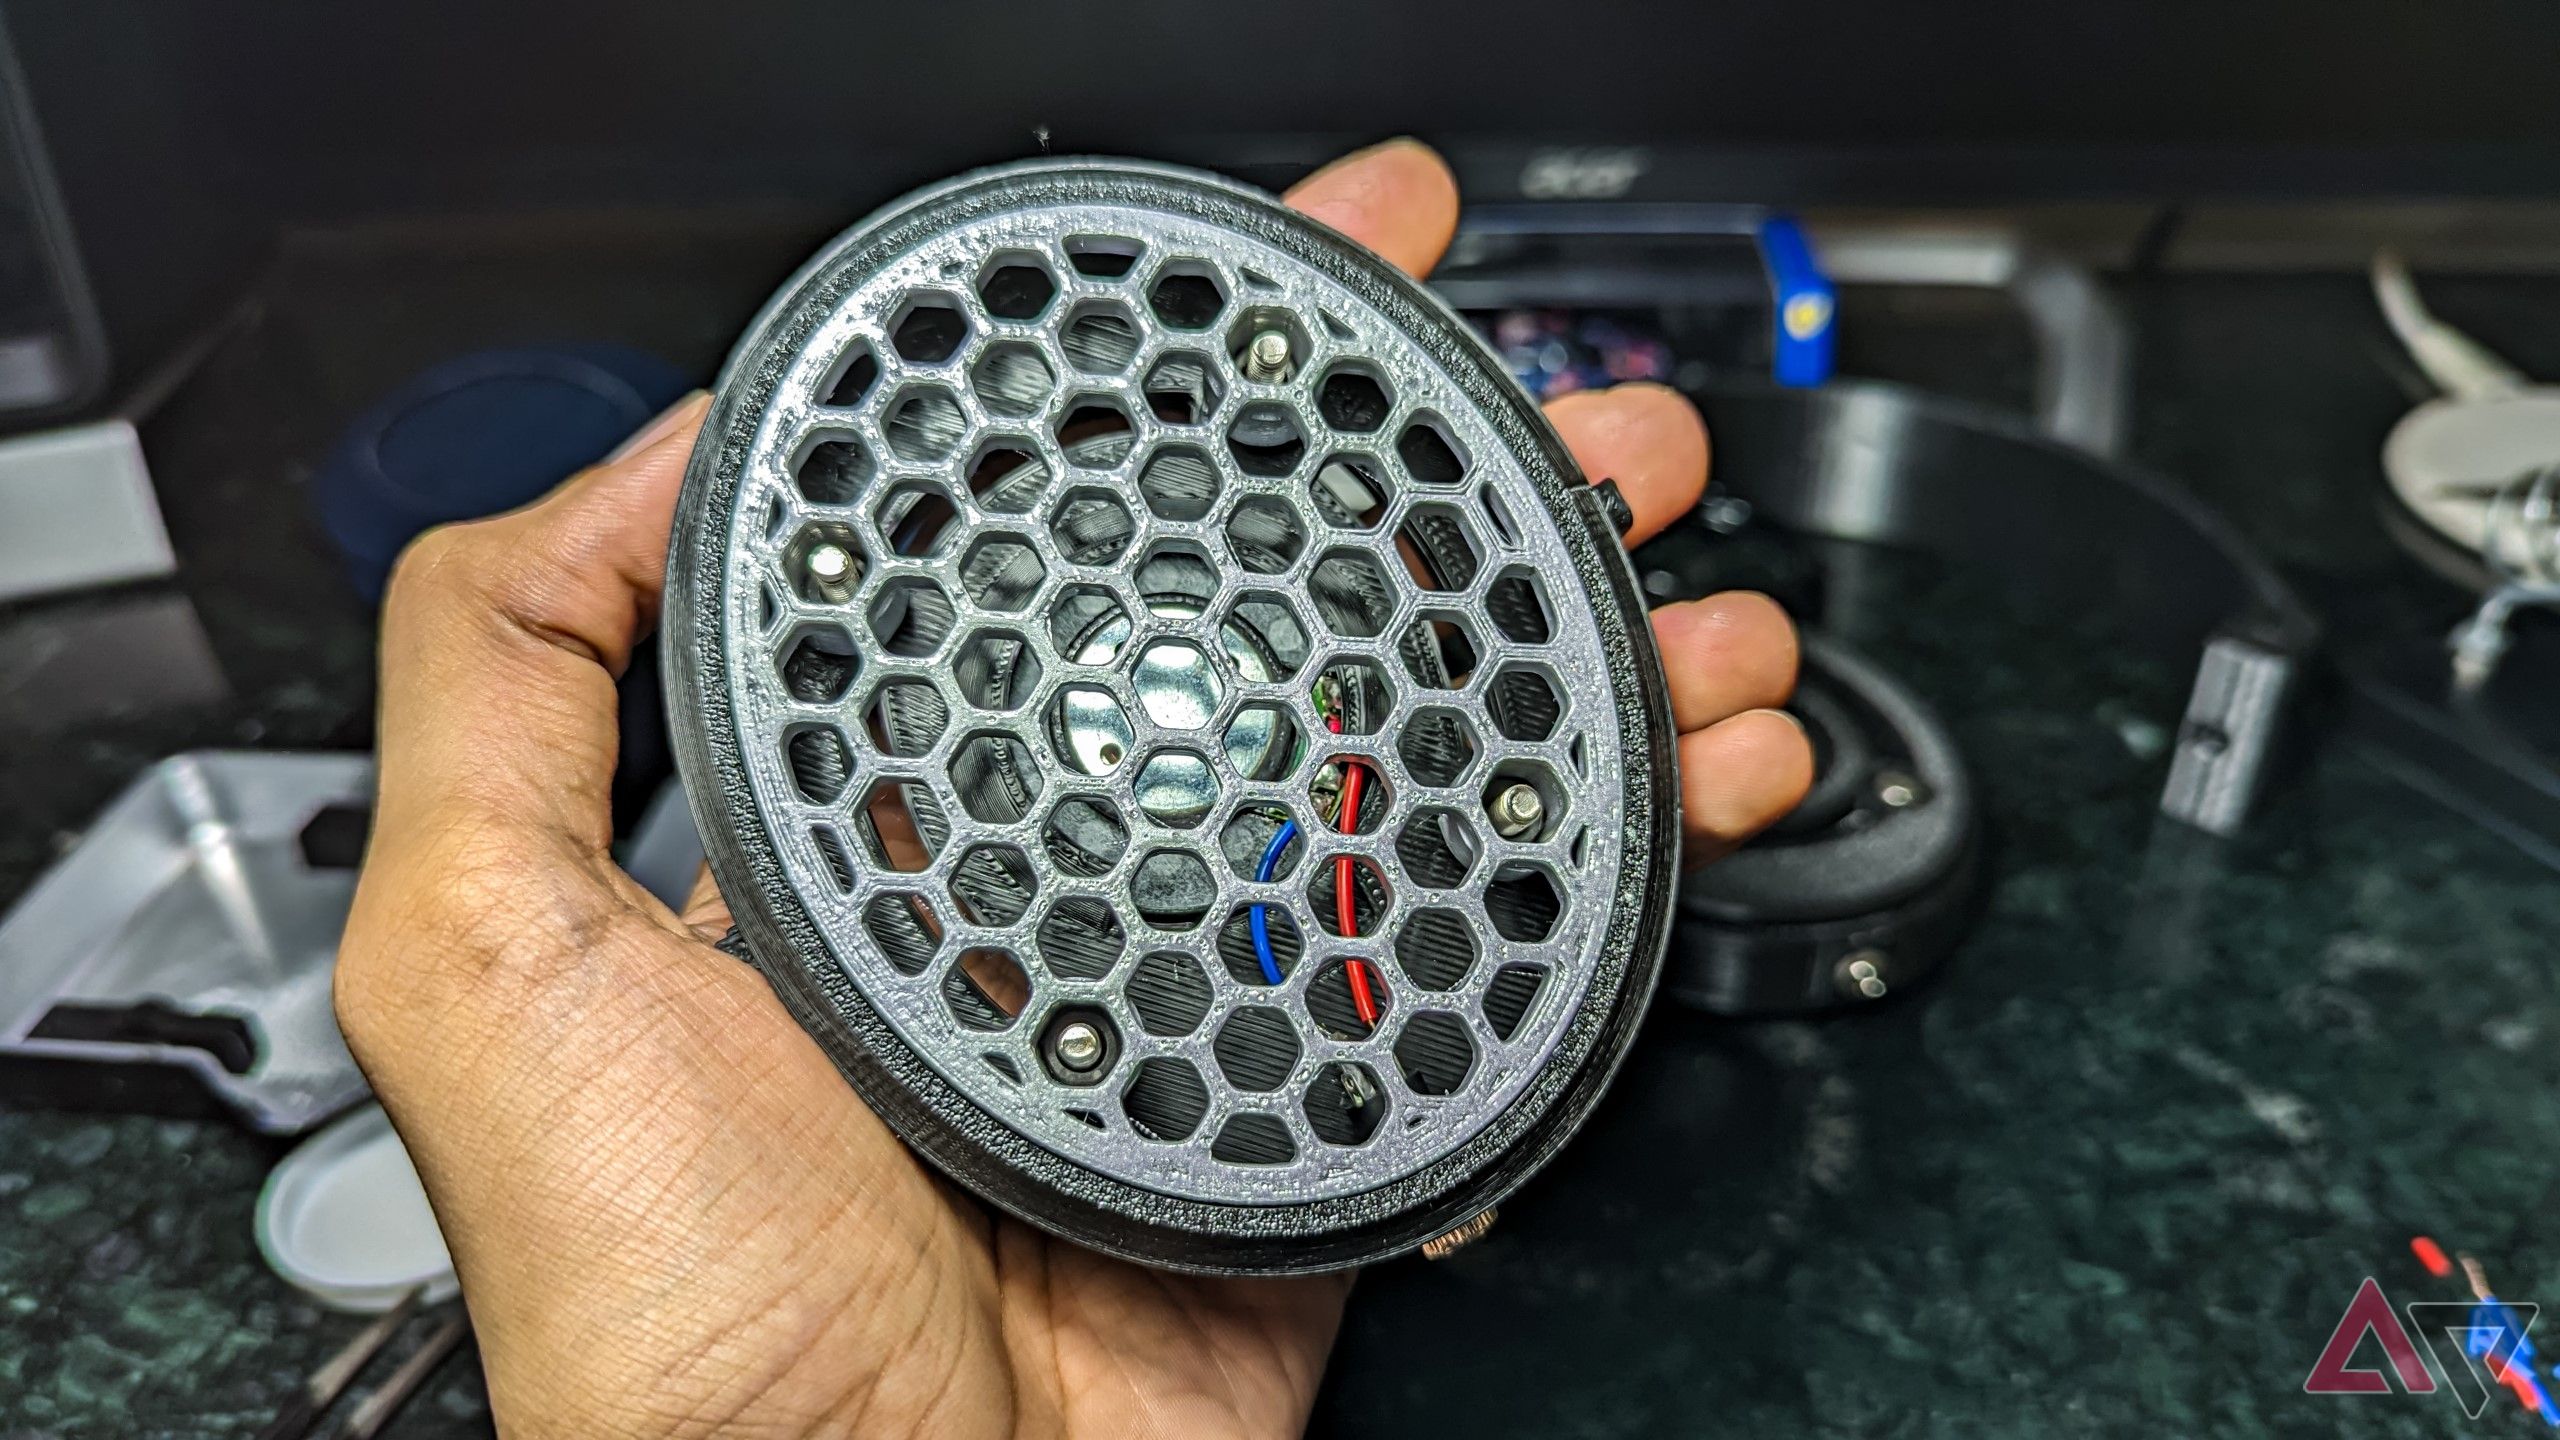
The designer also helpfully includes a long list of compatible speaker drivers of various sizes, some of which might be lying in your junk drawer, one Google search away from being ID’d. I assembled mine using 40mm dynamic drivers from a Marshall Major 3 with a flaking headband, and also tried out a pair of drivers graciously supplied by our friends at Sonic Lamb.
Assembling the headphones and a few quick thoughts
Nothing beats the satisfaction of upcycled headphones
All the parts you will need
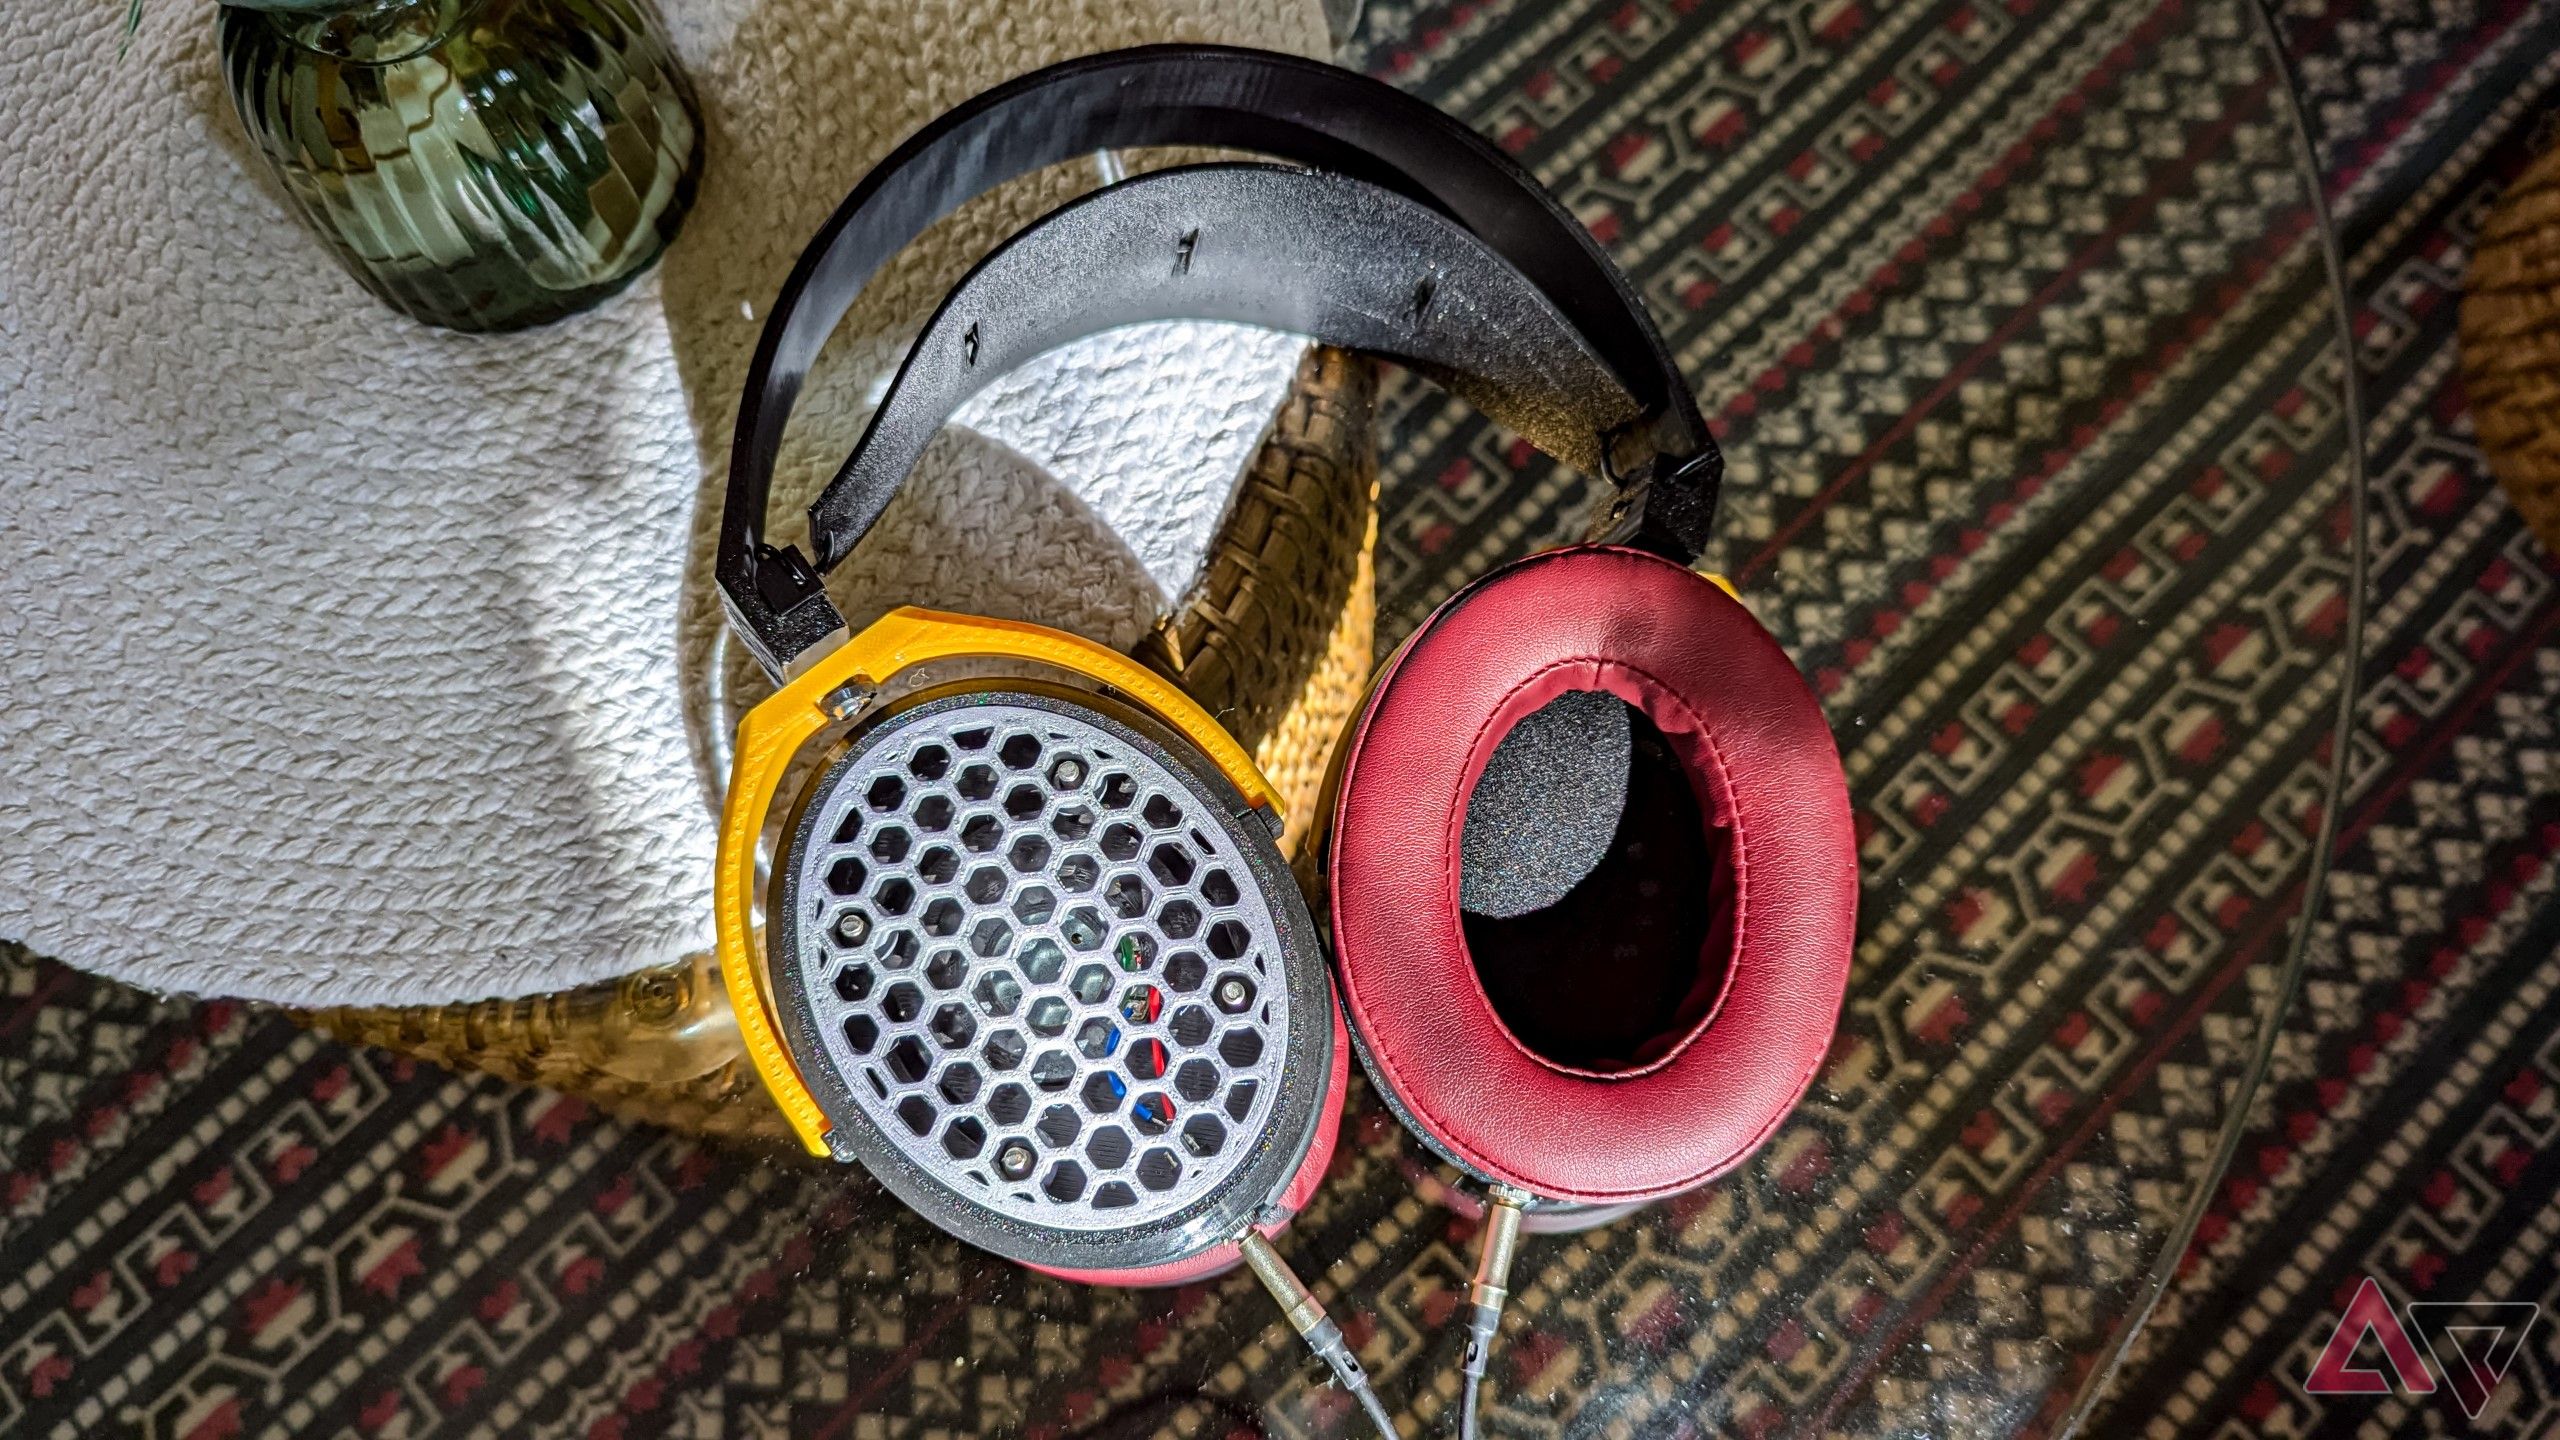
I started by commissioning 3D prints of all the structural components in the suggested materials. Braiwavz Audio came in clutch for earpads, and a cable from Romanian audiophile brand Meze Audio ensured I retained an inline mic, button controls, and high-quality connectors.
Assembly is fairly straightforward with the instructions provided on the Variable Openmod website, provided you print the correct variations of parts. You can choose between open-back and closed-back versions and multiple enclosure designs, all accommodating circular dynamic drivers between 40mm and 52mm in diameter.
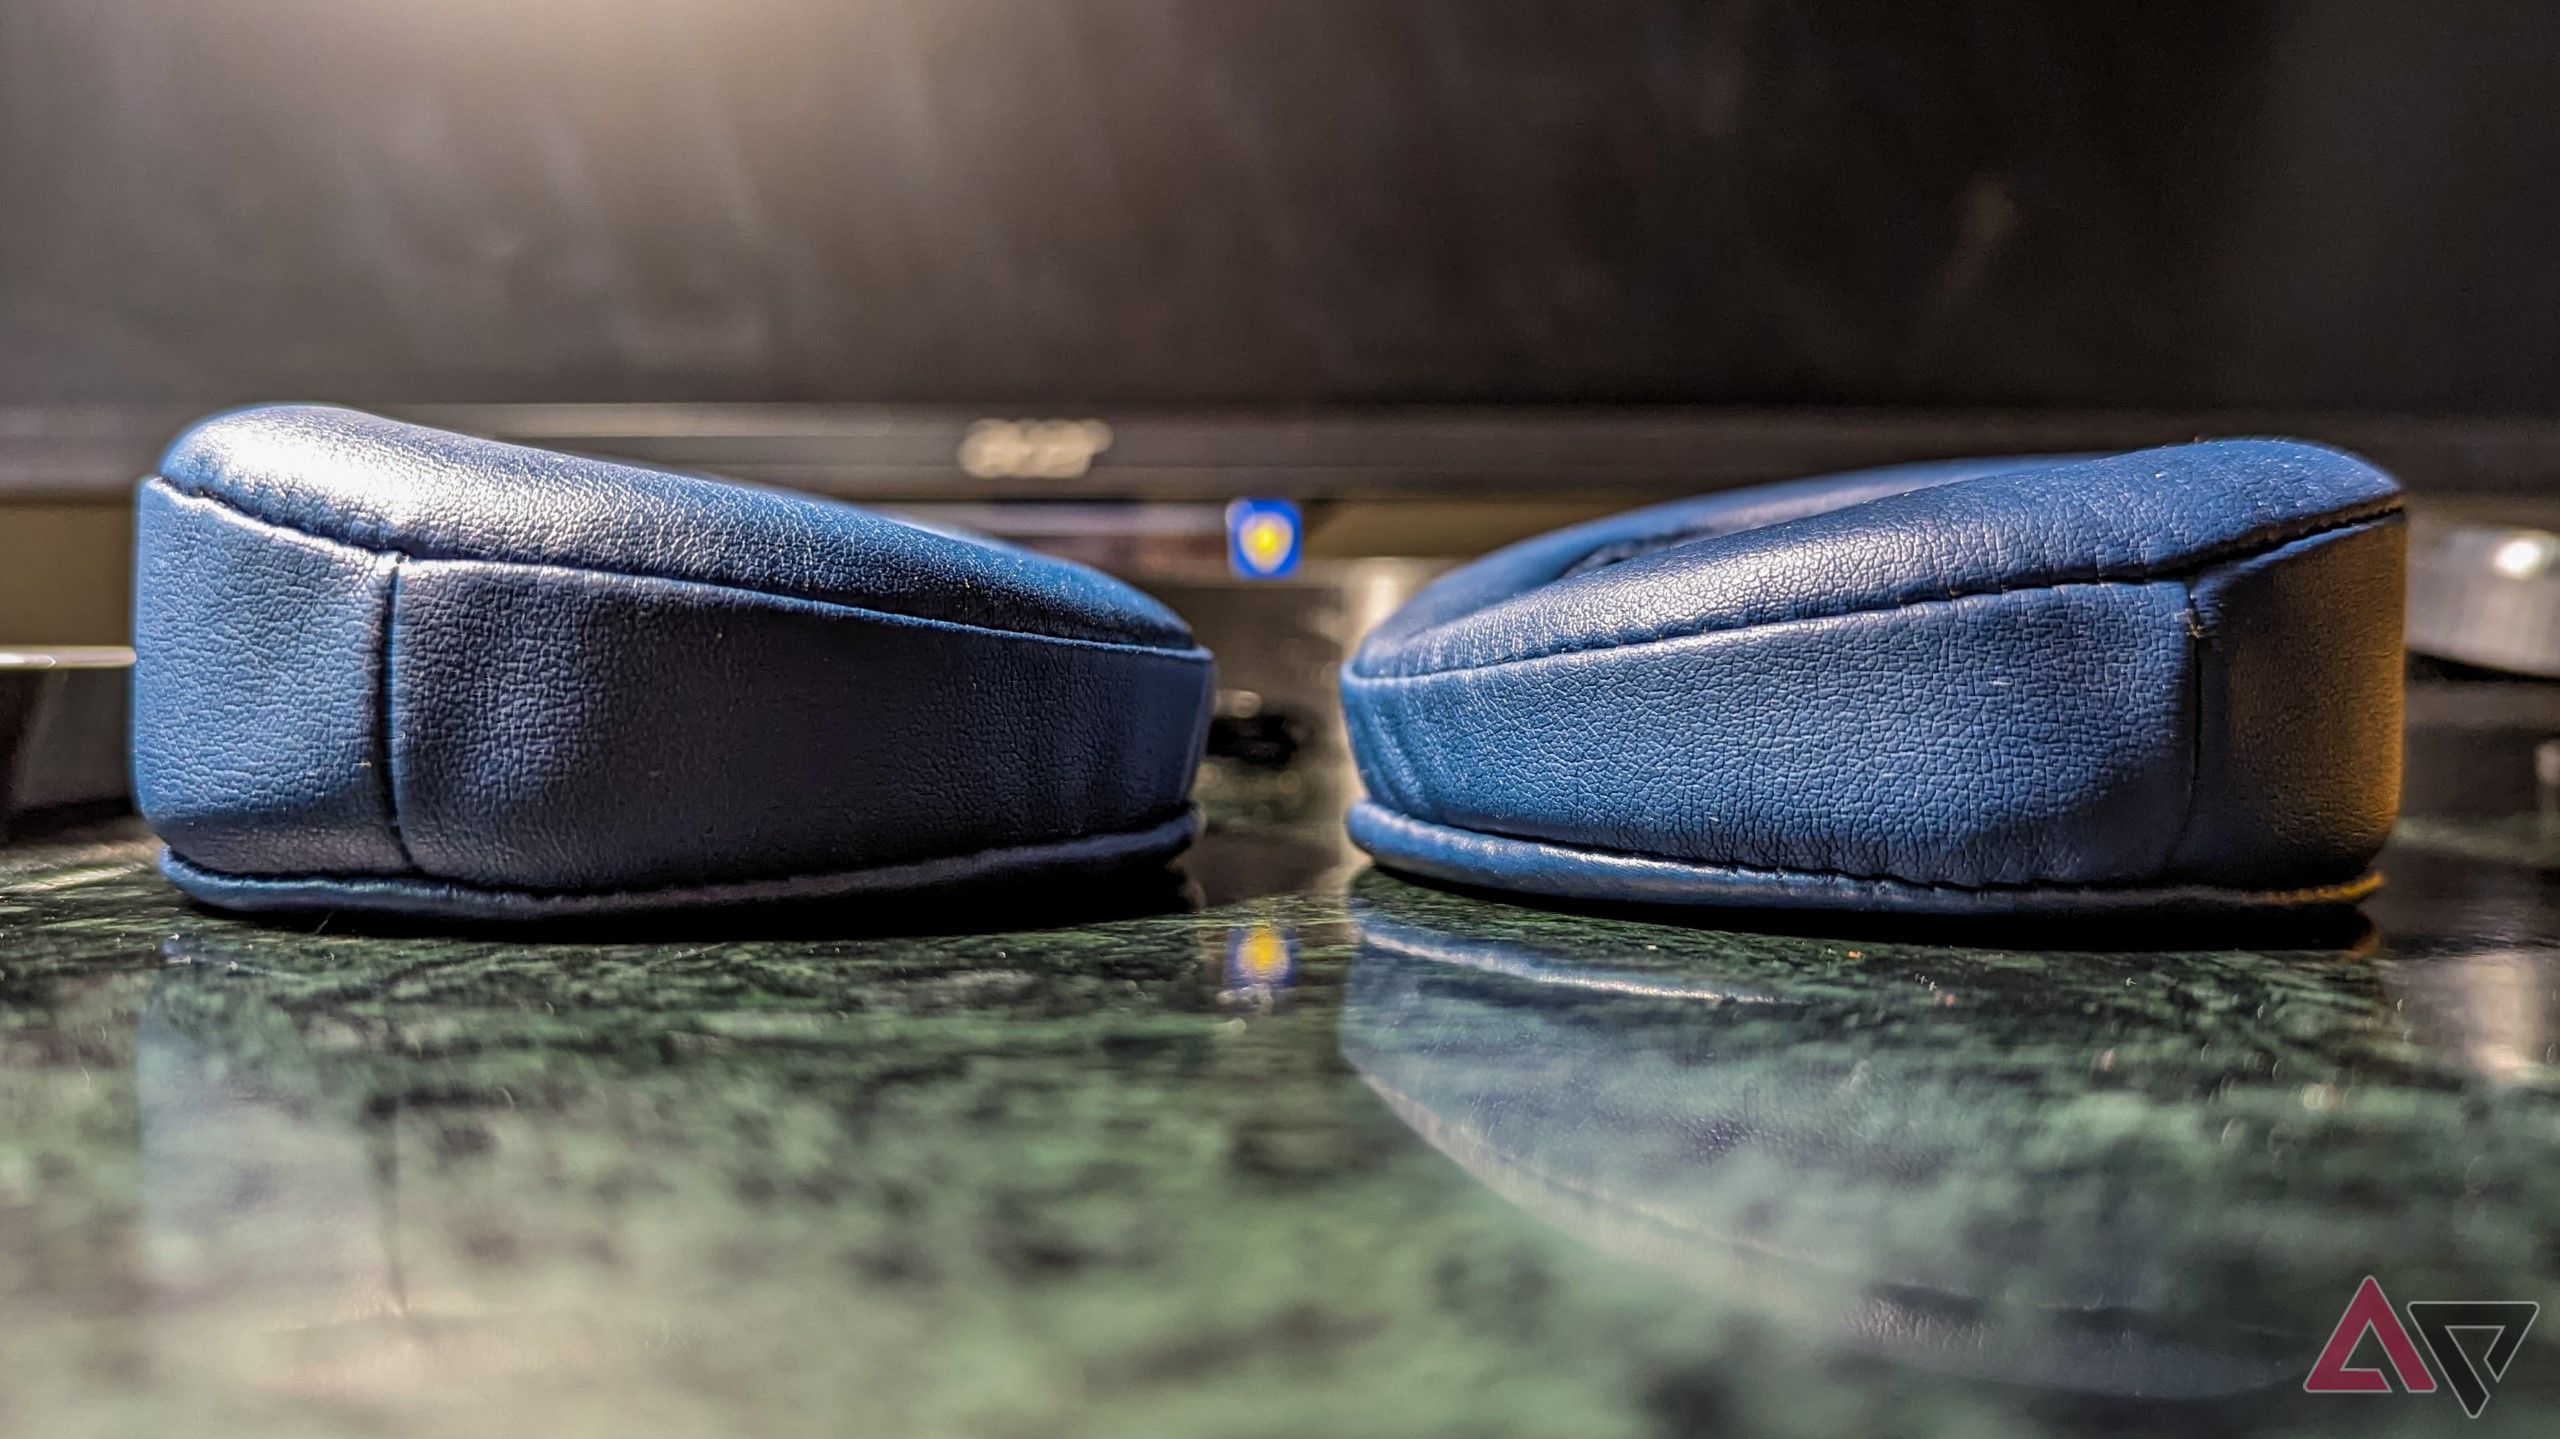
I had the blue angled earpads fail on me initially, but they were replaced with the burgundy pair under warranty. Having a warranty for individual components can also benefit a project like this, so you don’t need to ship the whole item off for repairs.
The Marshall drivers took some strength to harvest because they were glued in place. I had to mangle what was left of the Marshall’s earcups to extract the drivers, but using them in my Variable Openmod allowed using equalizer profiles designed for those headphones as a baseline for further adjustment to suit the new shell. I also opted for the open-back version to prevent the 3D-printed parts from coloring the sound in unidentifiable ways.
Moreover, sound isolation is merely an illusion because these headphones don’t have unibody construction and can never be truly sound-tight. That said, the multi-component kit is surprisingly easy to assemble.
Paired with PU earpads, I sacrificed a bit of the low-end response for more ventilation, which helps during longer listening sessions. I also defied the recommendation to use softer PETG filament for the headband, but am pleased to report that PLA isn’t clamping down too hard either. The large TPU suspension headband works as advertised, and could be swapped with premium materials like genuine leather, provided you have the tools for that.
Assembling the speaker drivers
I’d recommend printing a couple of spares for each part, so you don’t need to wait for reprints in case of accidents during assembly or testing. I had a few parts snap when people with slightly larger heads than mine tried the headphones. It’s worth mentioning the headband is adjustable, but you’ll need a screwdriver followed by some tugging on the TPU suspension headband. The project’s designer has remedied this in version 2.
I also skimped on the JST connectors that enable convenient driver swaps, and soldered the female TRRS jacks directly to the drivers, because I can easily reflow the joint and resolder new drivers when required. Fewer joints are just fewer points for potential failure. Given the layered nature of 3D-printed plastic, all the parts have a slight texture to them, but you can smoothen the swiveling bits using general-purpose grease.
Discussing the sound signature of these headphones is a moot point because every component you pick will alter it, and the drivers themselves are swappable. While your experience will certainly vary from mine, I was impressed by the stellar clarity and acoustic similarity to the original Marshall headphones.
The soundstage also felt wider and more airy, but there was significant sound leakage due to the design I chose — a limitation that doesn’t affect my day-to-day usage. The cans felt comfortable and light enough for everyday wear, with the weight concentrated at the center of the suspension headband.
Should you build your own open source headphones?
Eventually, you’ll get frustrated enough to pull the trigger
Building your own headphones is well within the realm of possibility. However, while the Variable Openmod ticks all the boxes for a repairable and modular design, there are caveats. For instance, a wireless connection isn’t possible without modifying the design files to accommodate buttons, charging ports, and PCBs, even though there’s enough space in the earcups for all that and a battery.
Also, while you can try different drivers and tweak the sound, these headphones aren’t for the discerning audiophile. However, you can mask most inadequacies with careful EQ tuning.
If you appreciate this project, but are looking for better audio quality at an additional expense, Ploopy has a ready-to-ship kit with all the printed parts and planar magnetic drivers. However, you might need to pair them with a suitable amplifier to achieve the required loudness.
If you don’t want such a hands-on approach, look into the TMA-2 headphones from Aiaiai Audio, which lets you choose everything, including the drivers, headband, fit, and connecting cables. However, you end up paying for the convenience of a plug-and-play product. Whichever route you pick, keeping functional headphones out of a landfill is always a cool thing to do, even the cheap options. I think I could use these for many years to come.
Source link


