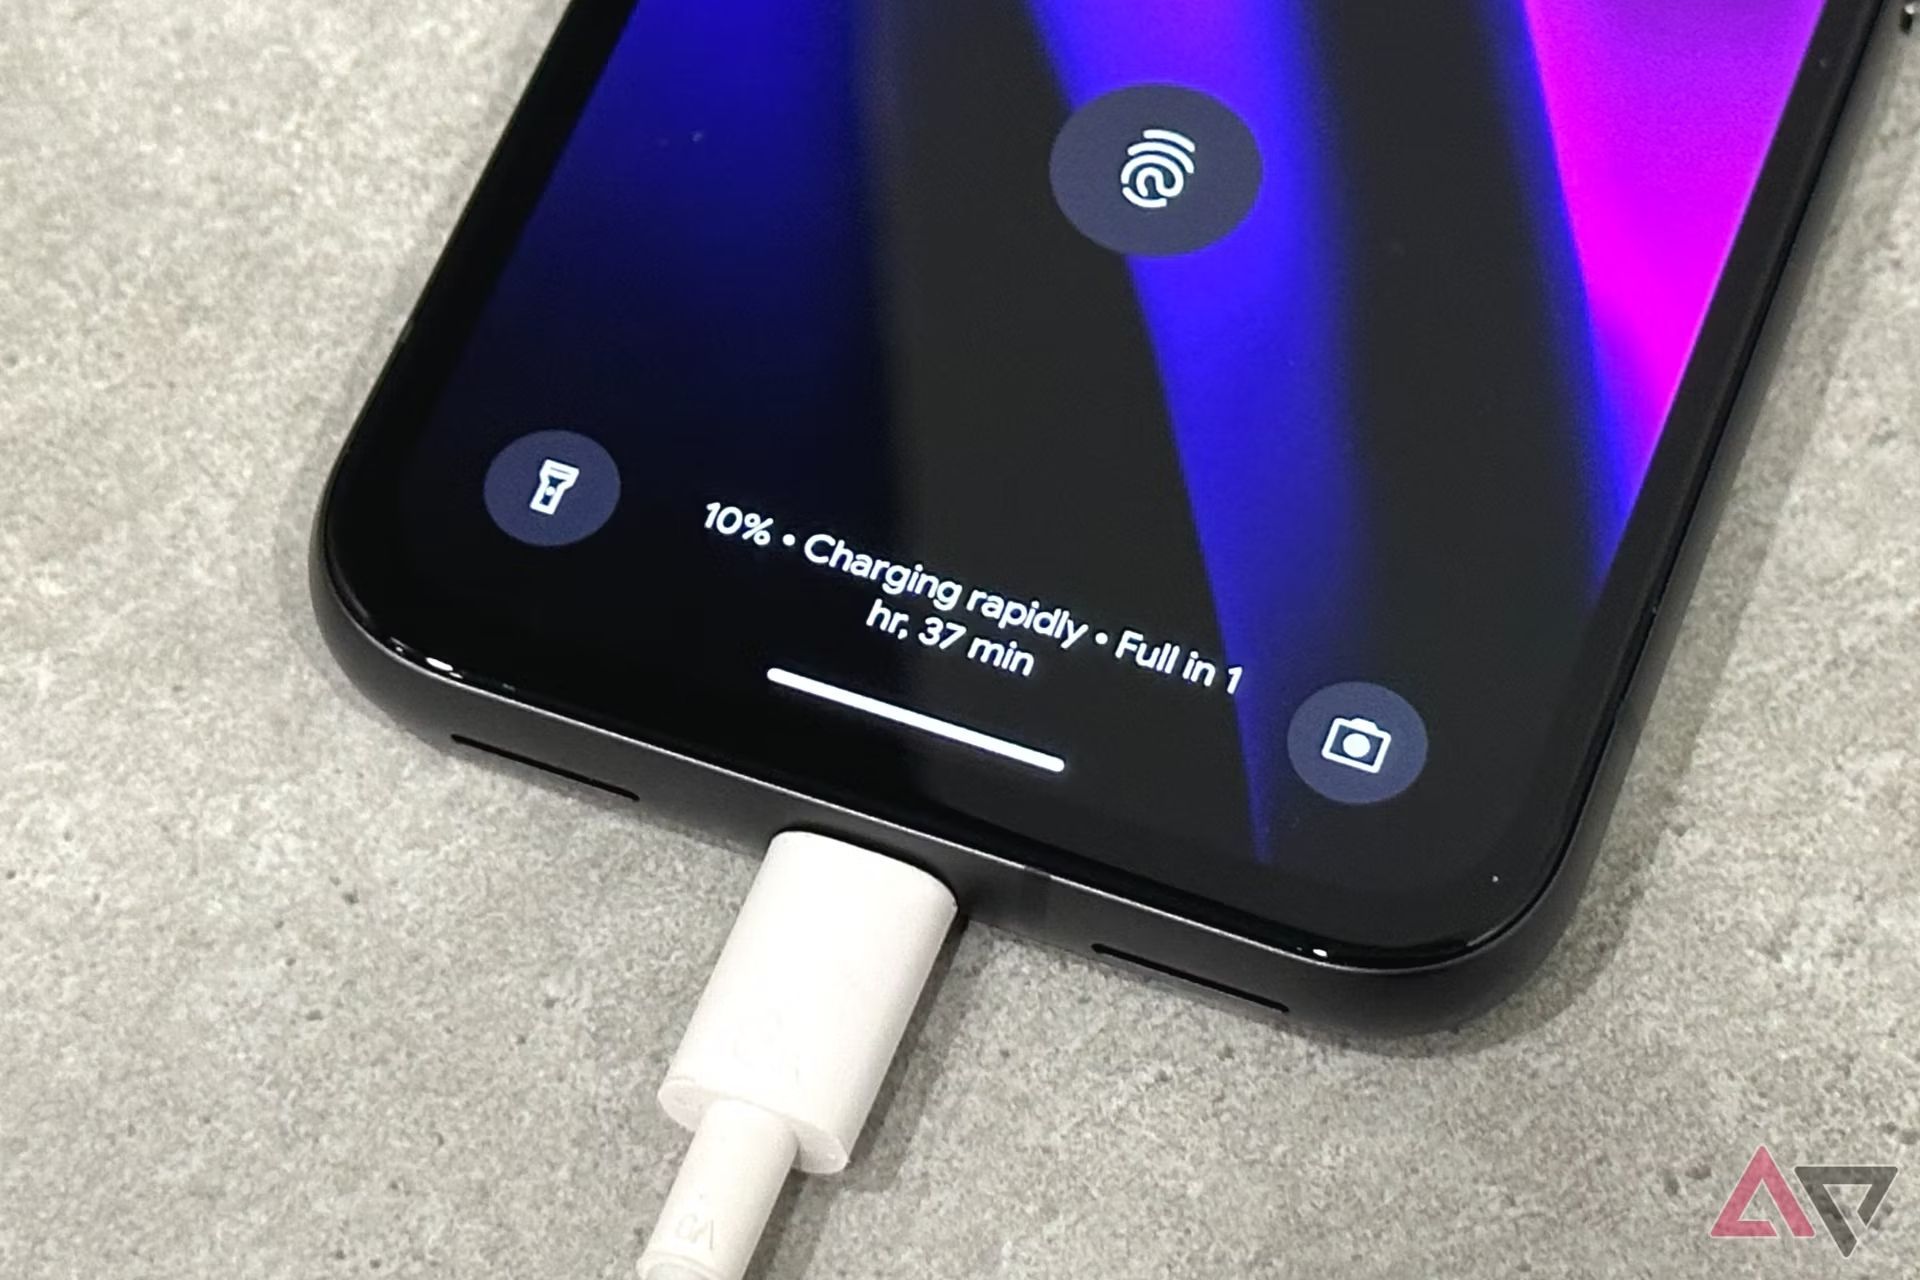
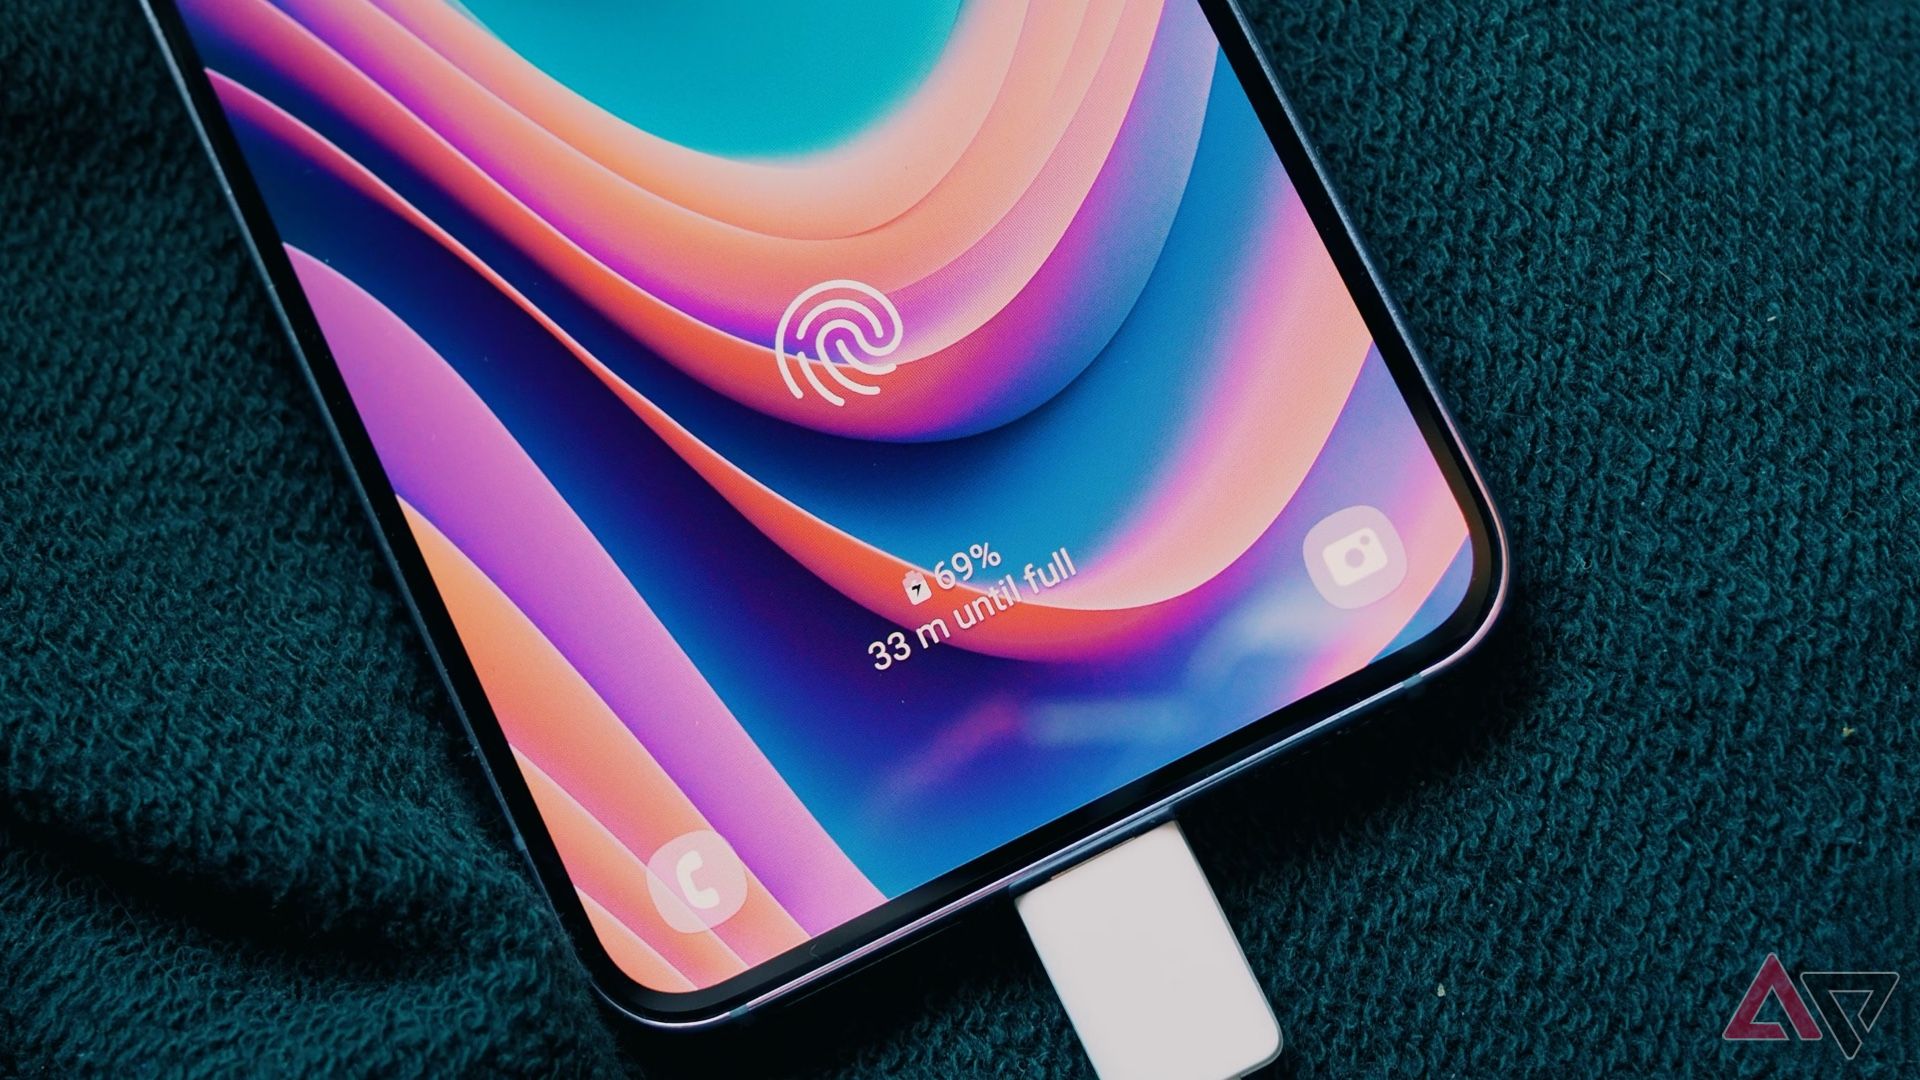
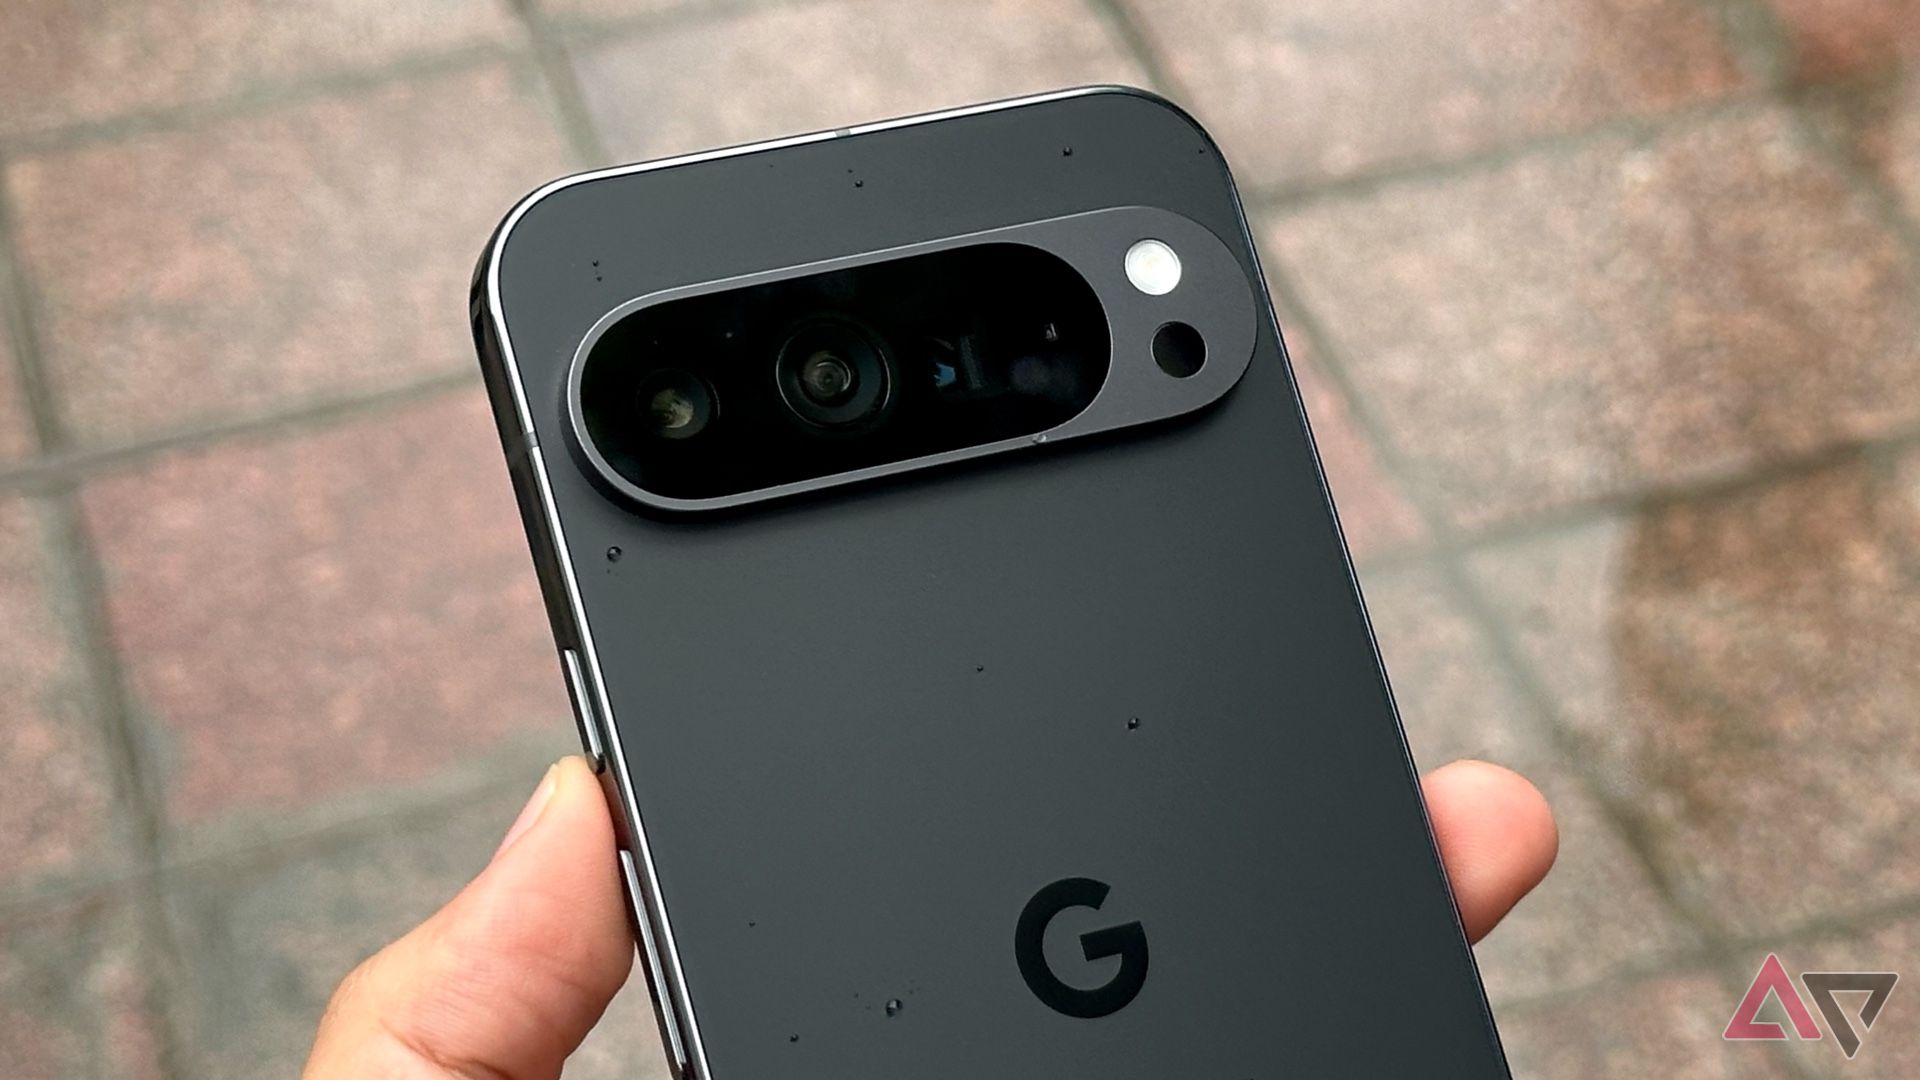
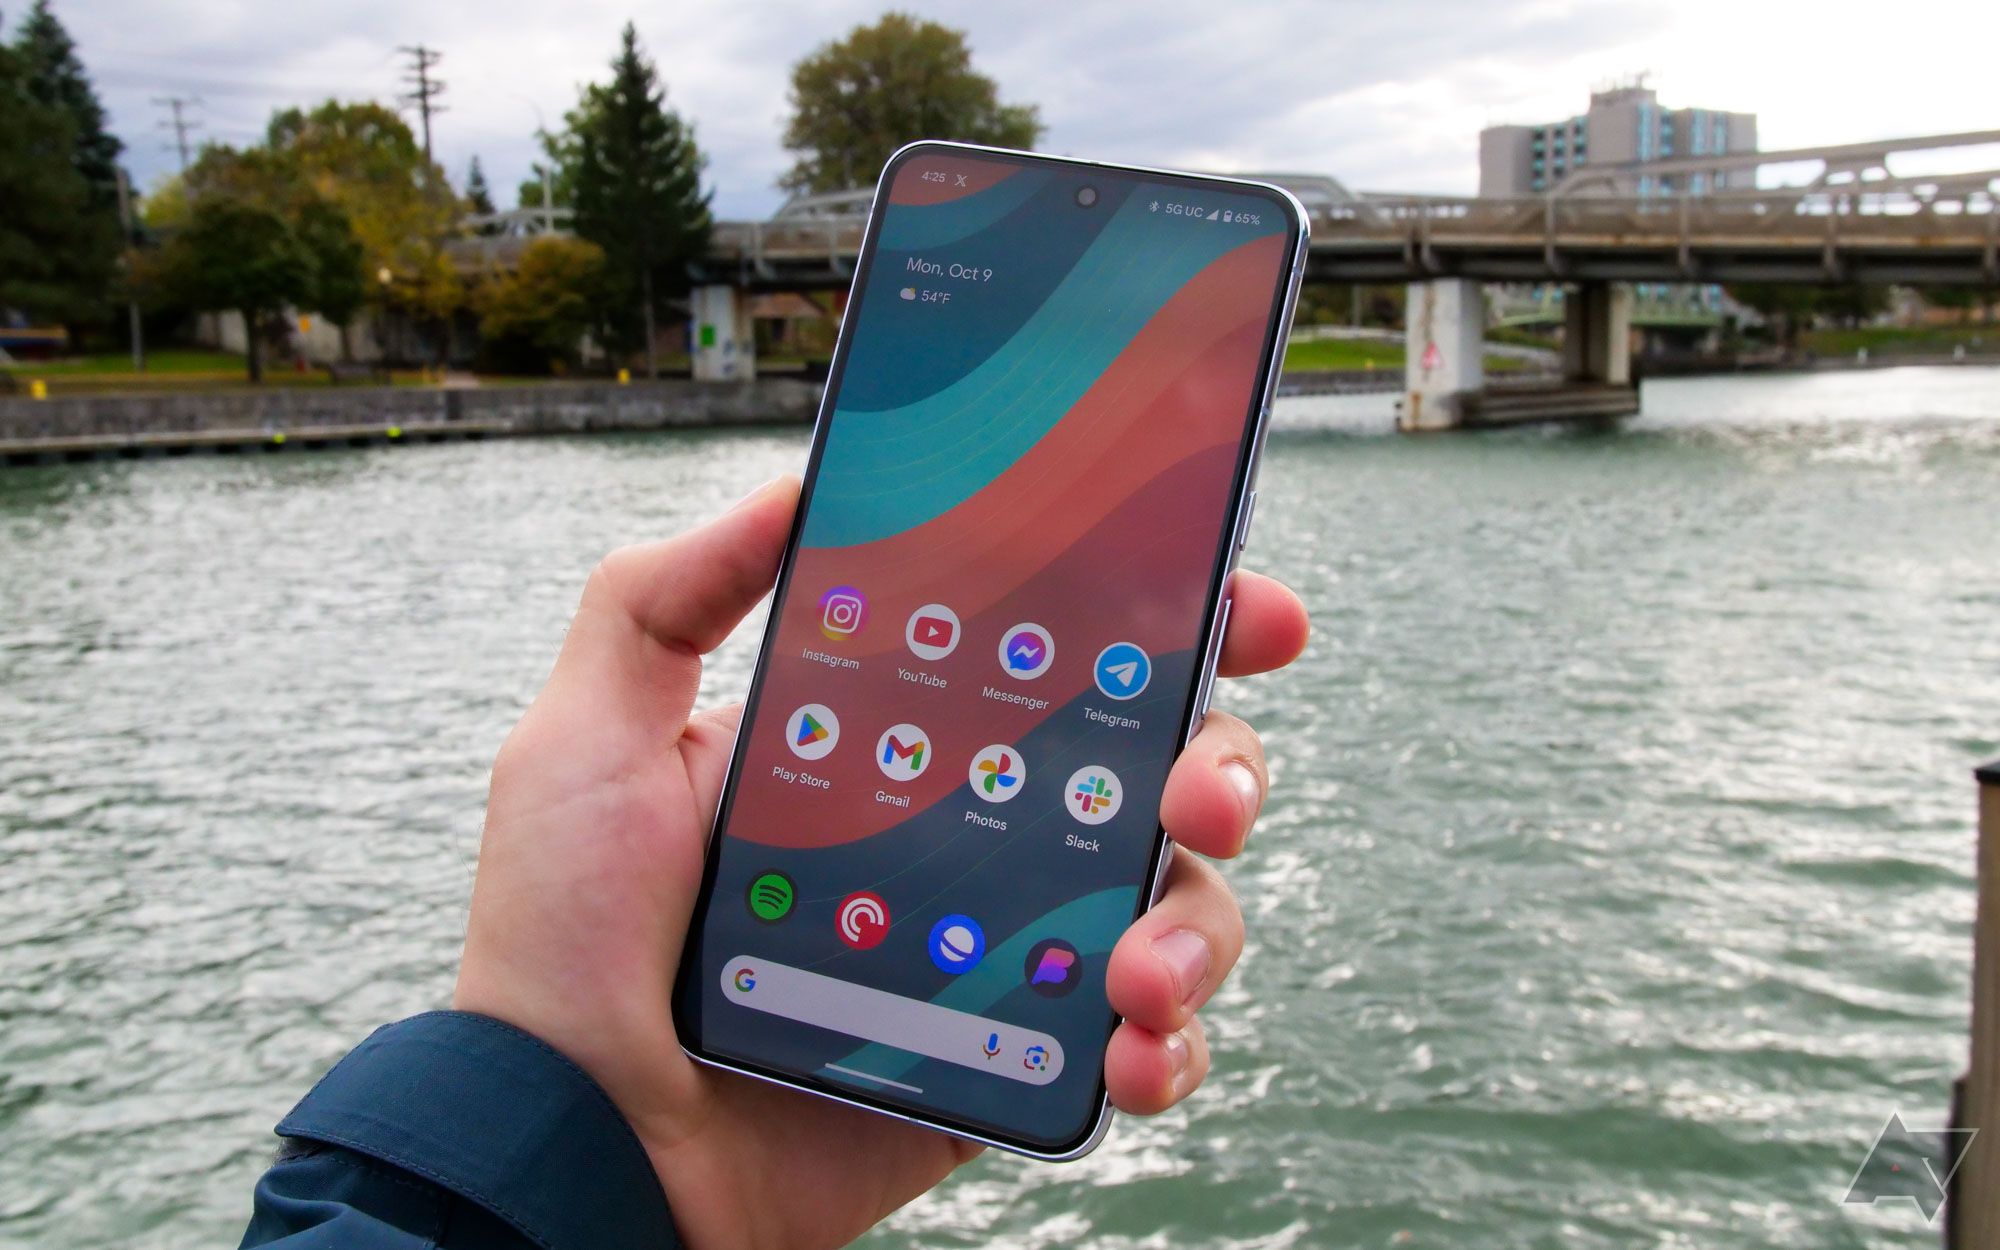
While Android smartphones have become incredibly advanced — from capturing distant objects in full resolution to holding full-fledged conversations with you — they can still face basic issues, like not charging at all. If you find yourself in this frustrating situation where your phone refuses to charge, here are some quick fixes you can try before taking it to a repair shop.
1 Restart your device
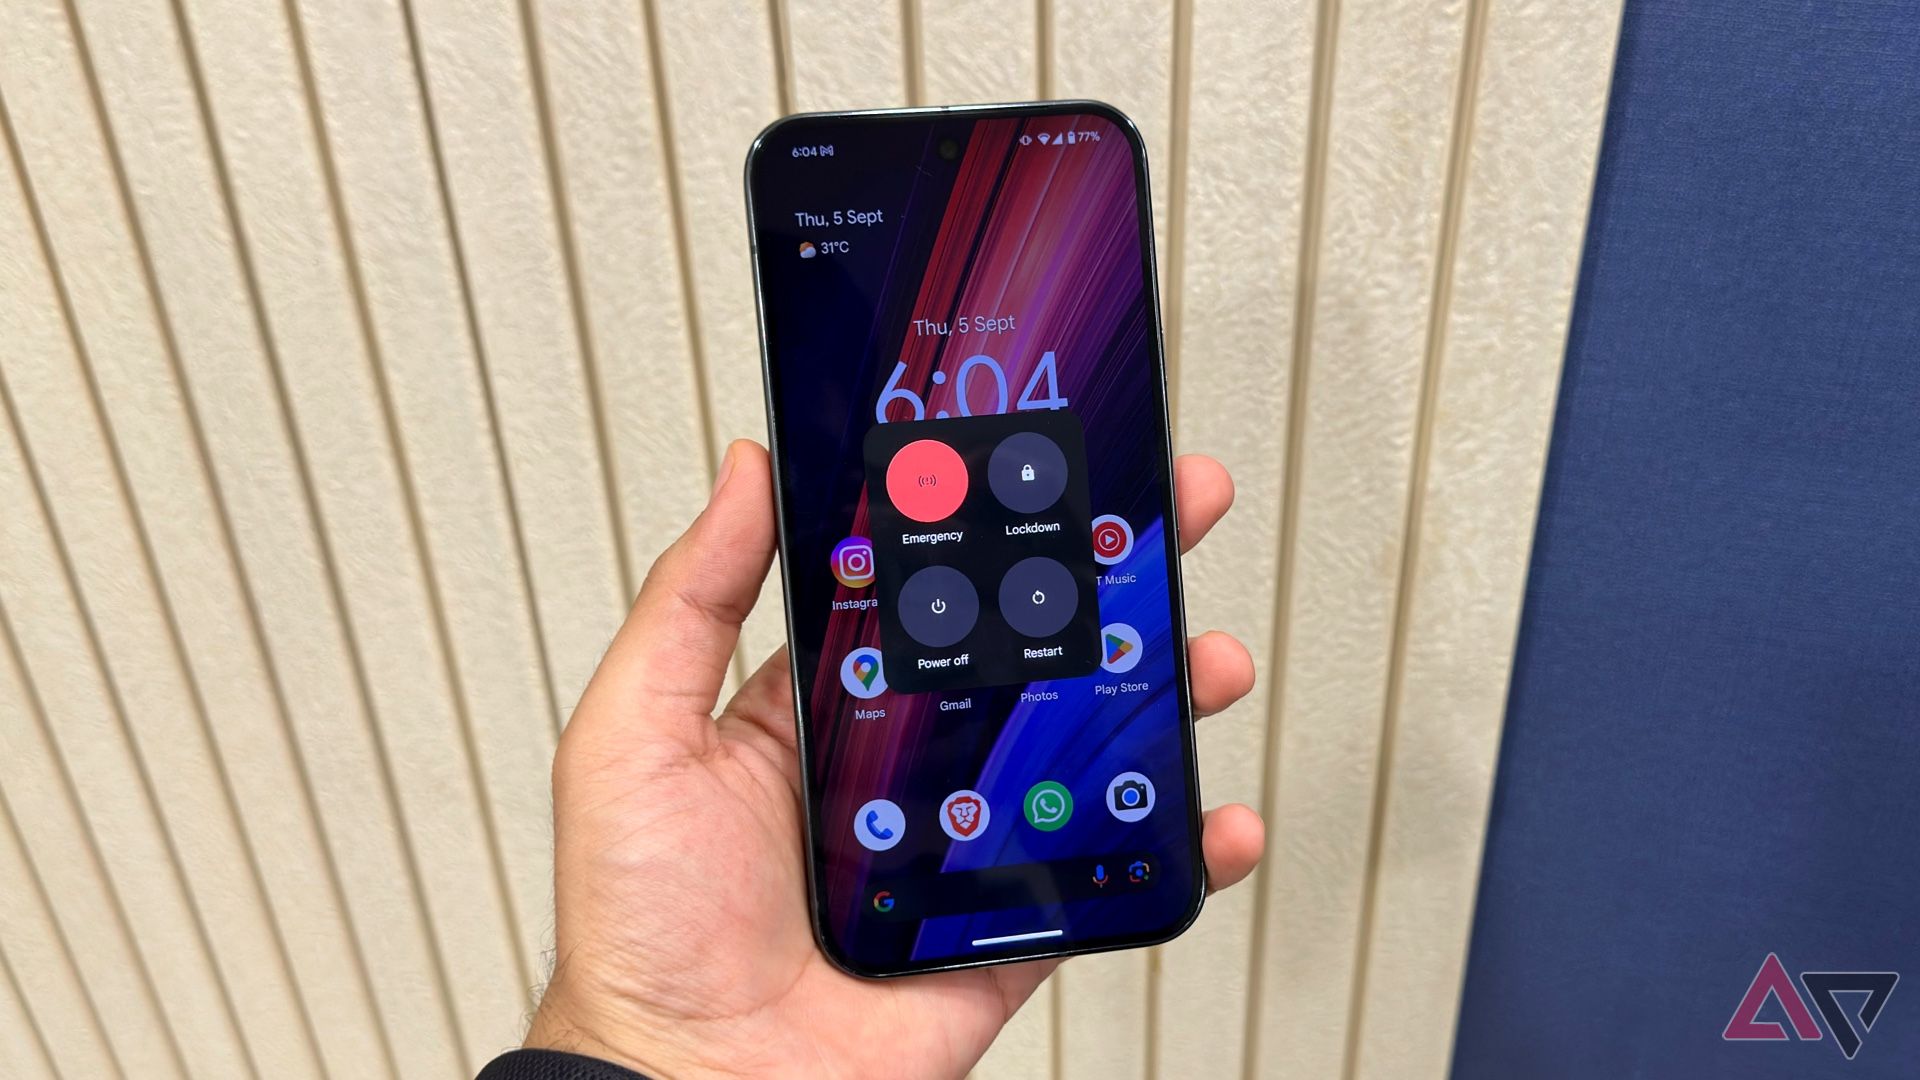
The first fix that is applicable not only to this specific issue, but to any issue with your Android smartphone, is to reboot your device. Restarting your device will clear any faulty app or service from memory that might be interfering with charging.
To restart your phone, hold down the power button for 5–7 seconds (or, in some cases, the power and volume up buttons together) to access the power menu, select “Power Off,” then wait about a minute before turning it back on. Once the phone has rebooted, try plugging it in again to see if it starts charging.
2 Check the power outlet
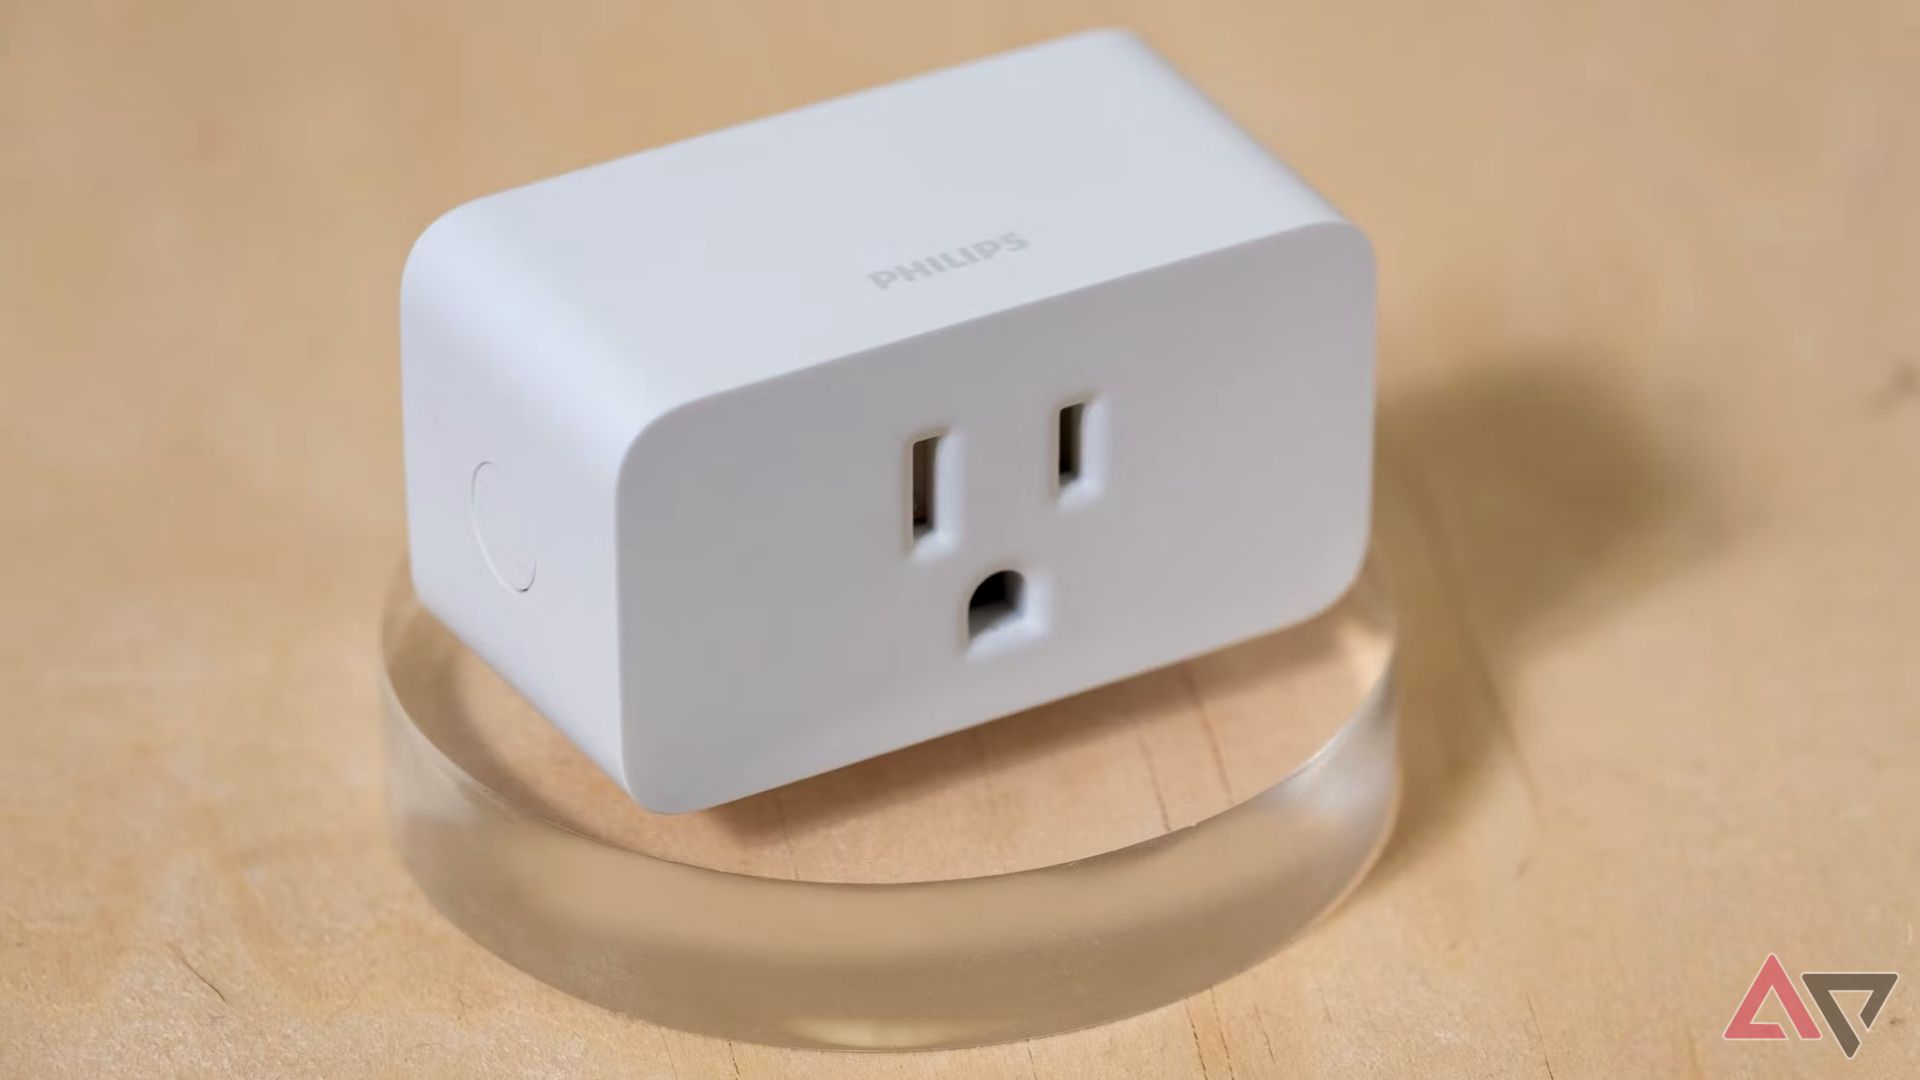
Next, one of the simplest fixes you can try if your phone isn’t charging is to check the power source. The problem might be with the power outlet itself, so plug another device into the same socket to see if it powers on or charges. Additionally, try changing the power source for your charger by using a different outlet or plugging it into a USB port on your laptop or a power bank to see if that resolves the issue.
3 Use a different charging cable and adapter
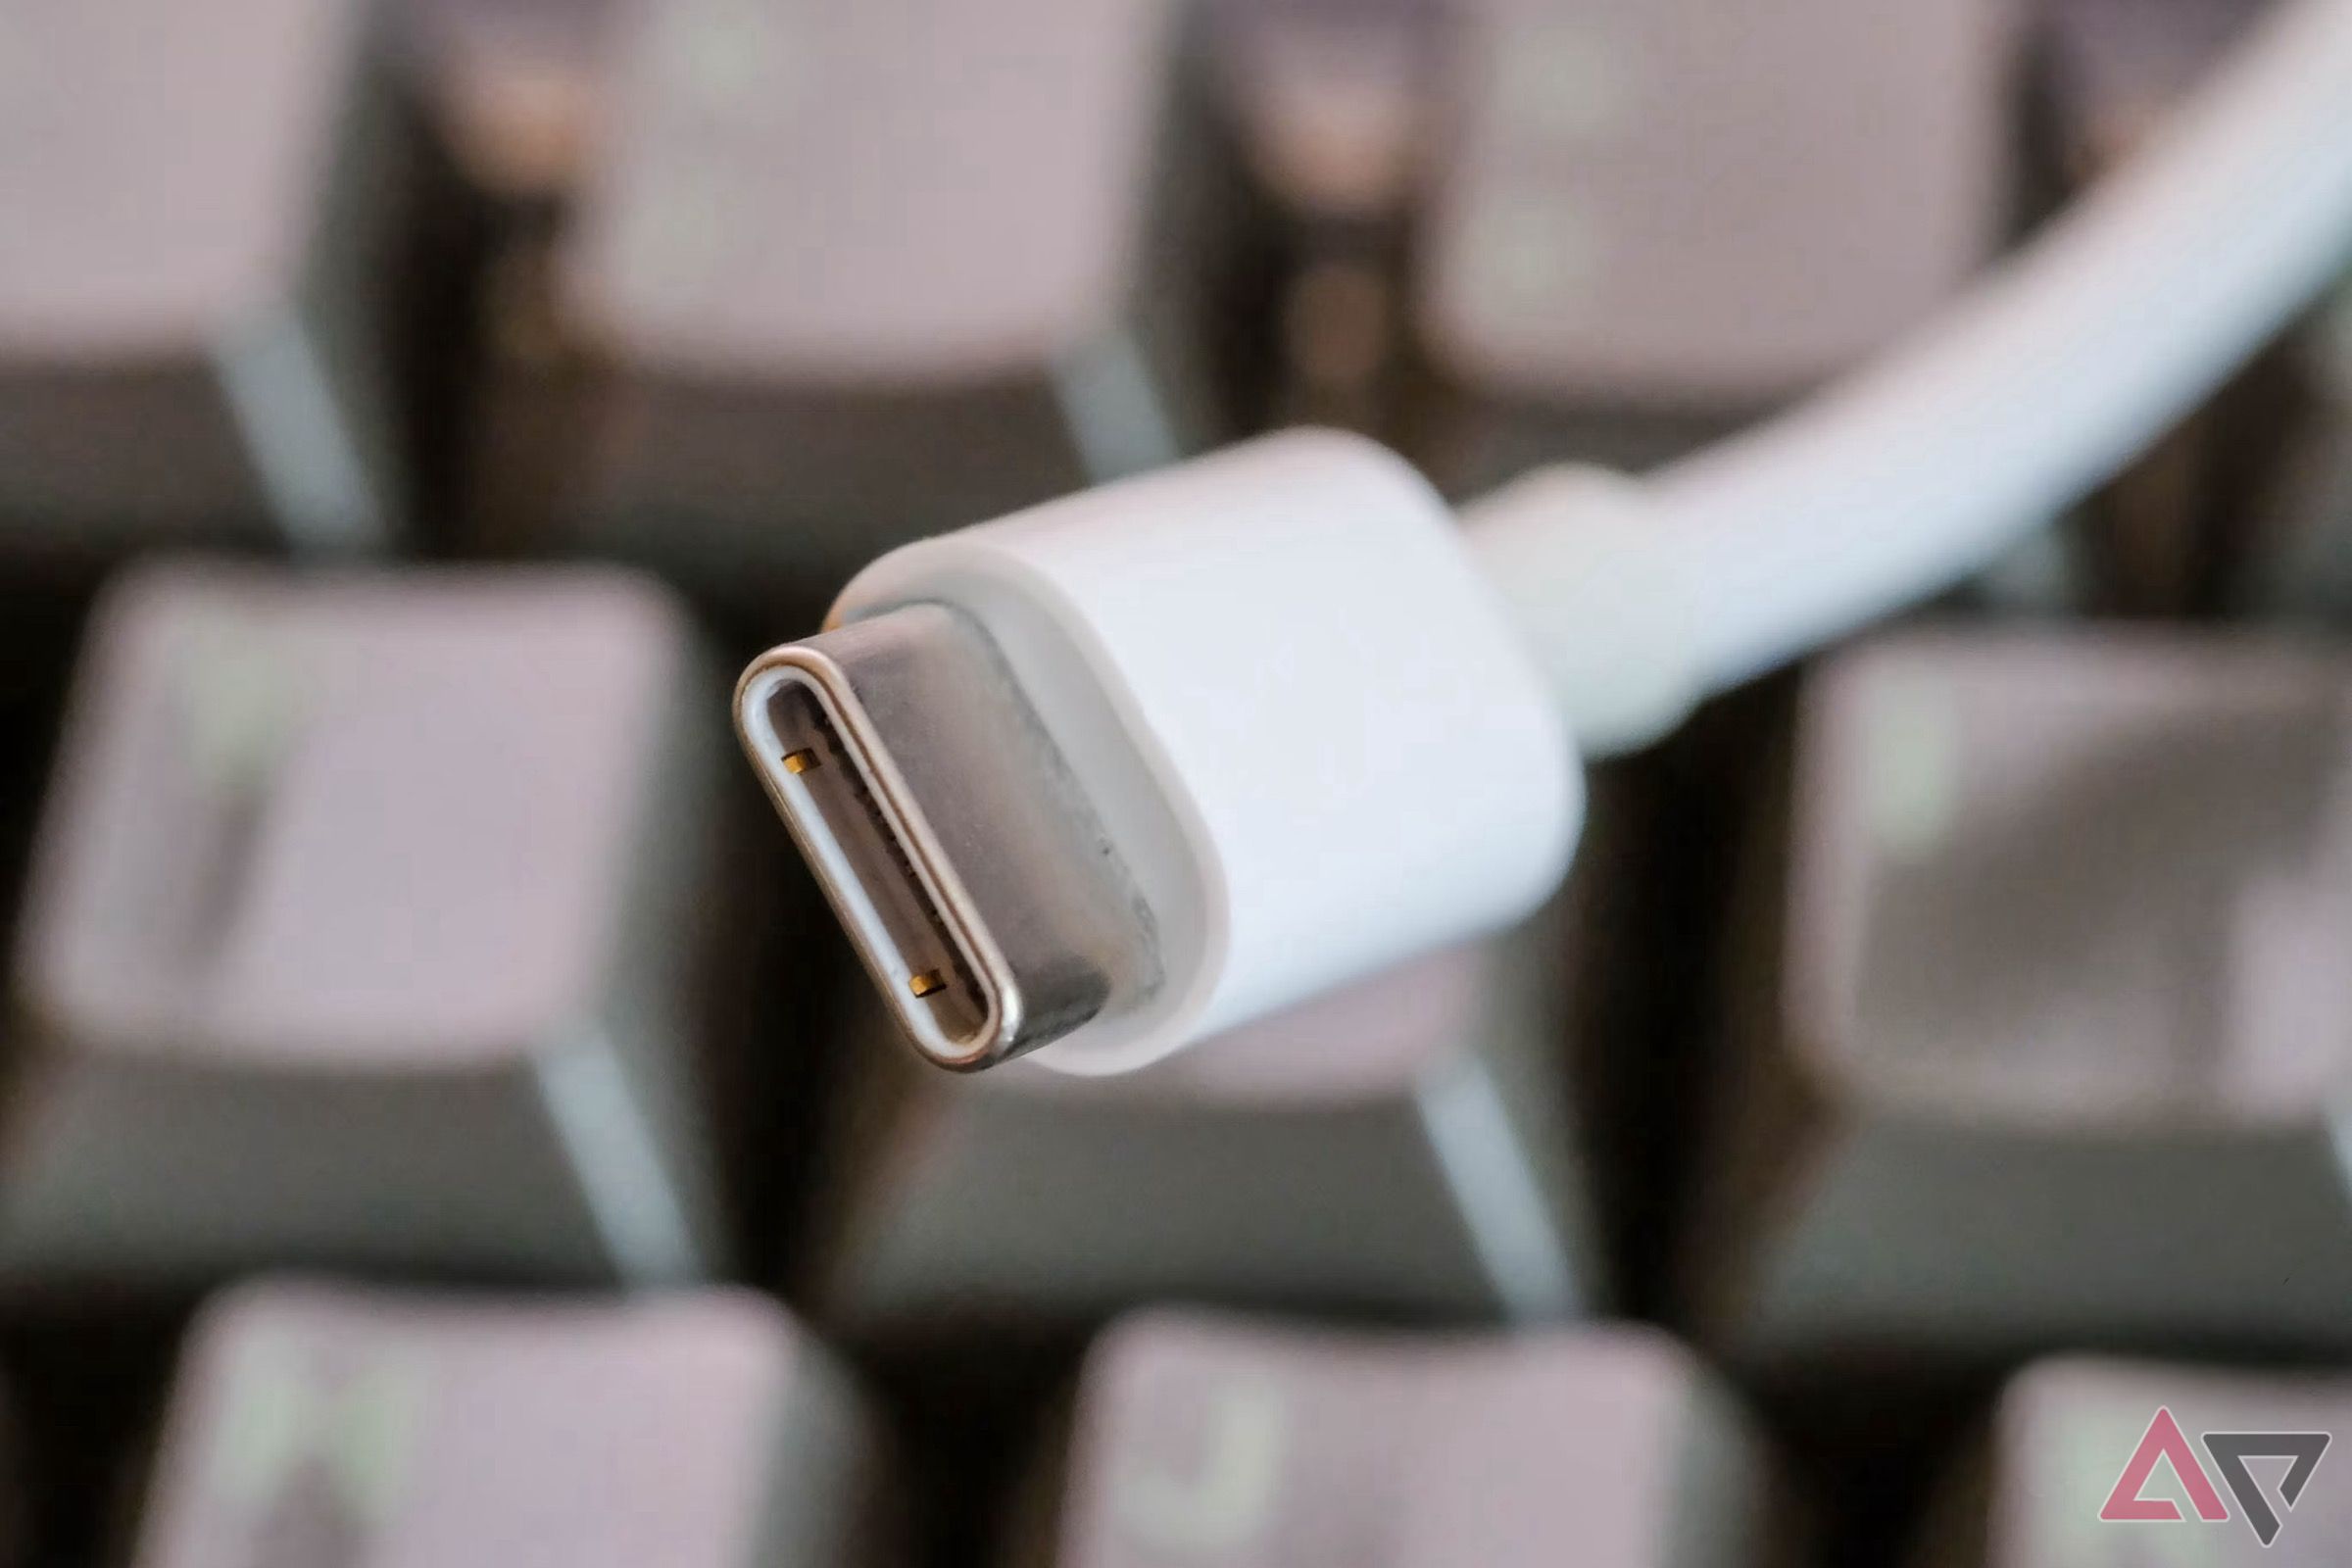
If changing the power outlet doesn’t solve the problem, the issue could be with your charging adapter or USB cable. Try different combinations of cables and chargers to see if that makes a difference. If you find that the problem lies with either the adapter or the cable, consider replacing them with new ones.
For guidance, we have a comprehensive list of the best chargers and cables for your smartphone, explaining which ones are compatible with your device and detailing different charging standards.
4 Remove the case and try charging again
Before we dive into more in-depth checks, consider whether your phone’s case might be interfering with charging. Some phone cases, while designed to offer maximum protection, can partially cover the charging port, preventing the cable from being fully inserted. Remove the case and try charging the phone again.
If it charges without the case, you may need to either get a new case that doesn’t obstruct the charging port or be prepared to remove the case each time you charge.
5 Clean the charging port of your phone
If your phone still isn’t charging, the issue might be with the charging port. Over time, debris and dust can build up inside the port, blocking the connection between the charging pins and preventing the phone from charging. Use a flashlight to inspect the port for any dust or debris. If you see any, gently blow air into the port or use a thin pin to carefully remove the buildup.
Please be careful while cleaning the charging port as improper cleaning can cause permanent damage to the charging port. If you’re unsure, it’s best to visit a service center where a professional can handle the cleaning safely.
6 Turn off battery optimizations temporarily
Most modern smartphones come with software features that are designed to protect the battery from various issues like overcharging and short circuits. One such feature is battery optimization, which helps safeguard the battery but can sometimes interfere with charging.
If you suspect this is the cause, you can try disabling battery optimizations, then try charging your phone. While the process may vary depending on your device, the easiest way is to go to your phone’s settings and search for “battery optimization” or “charging optimization” and turn off the feature. Once disabled, plug in your phone and check if it begins charging.
7 Check your phone for any signs of water damage
If you’ve recently been near water — whether at a pool, the beach, or caught in the rain — moisture may have entered your phone’s charging port, preventing it from charging. However, most smartphones display a warning if they detect moisture in the port; if you suspect there’s water inside, allow it to dry completely before attempting to charge again.
8 Test a wireless charger
Source: Google
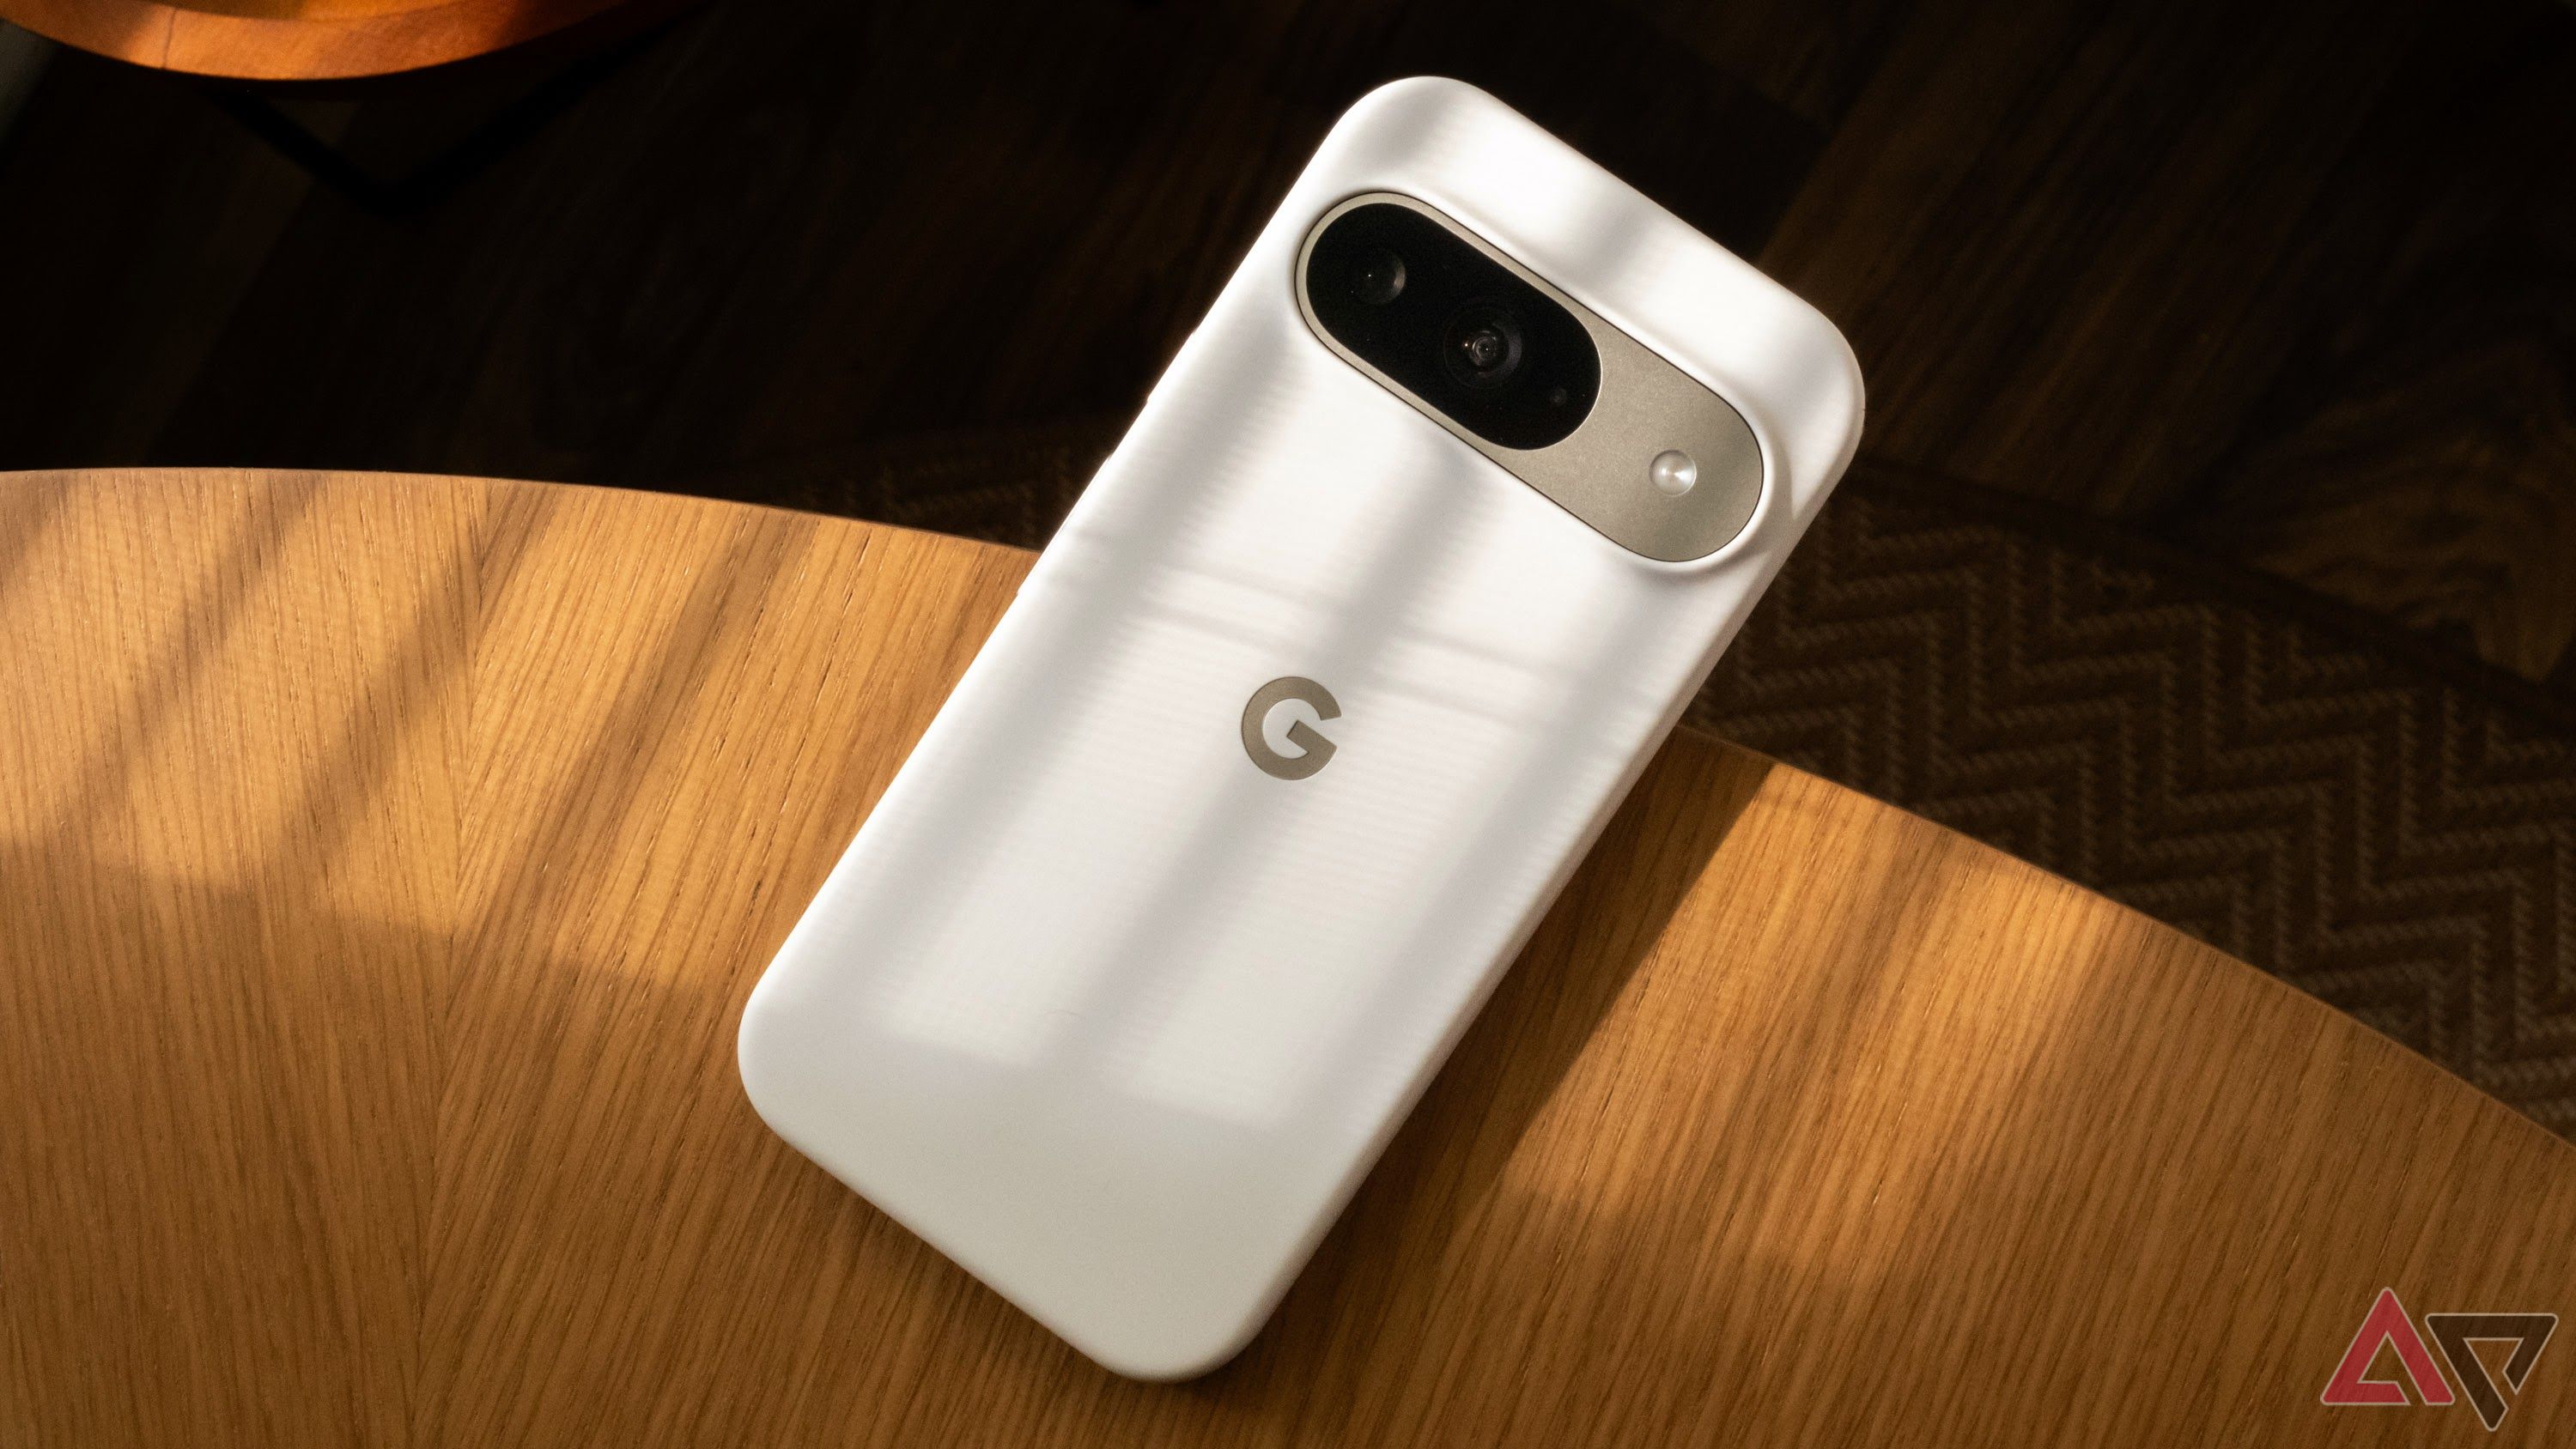
If you suspect your phone’s charging port is faulty and your device supports wireless charging, try charging it wirelessly. This can help determine whether the problem is limited to the charging port or if there is a broader issue with the phone’s overall charging mechanism or battery.
9 Check for overheating
Another reason why your smartphone might not be charging is because it’s overheating. This can happen if your phone has been exposed to direct sunlight or when you’ve had a long gaming session. When a phone overheats, it automatically throttles charging to prevent any damage to the battery.
If you think this is the case, unplug the phone from the charger, remove any protective case, and close all the background apps that may keep the processor engaged. Let the device cool down for a while, then try charging it again.
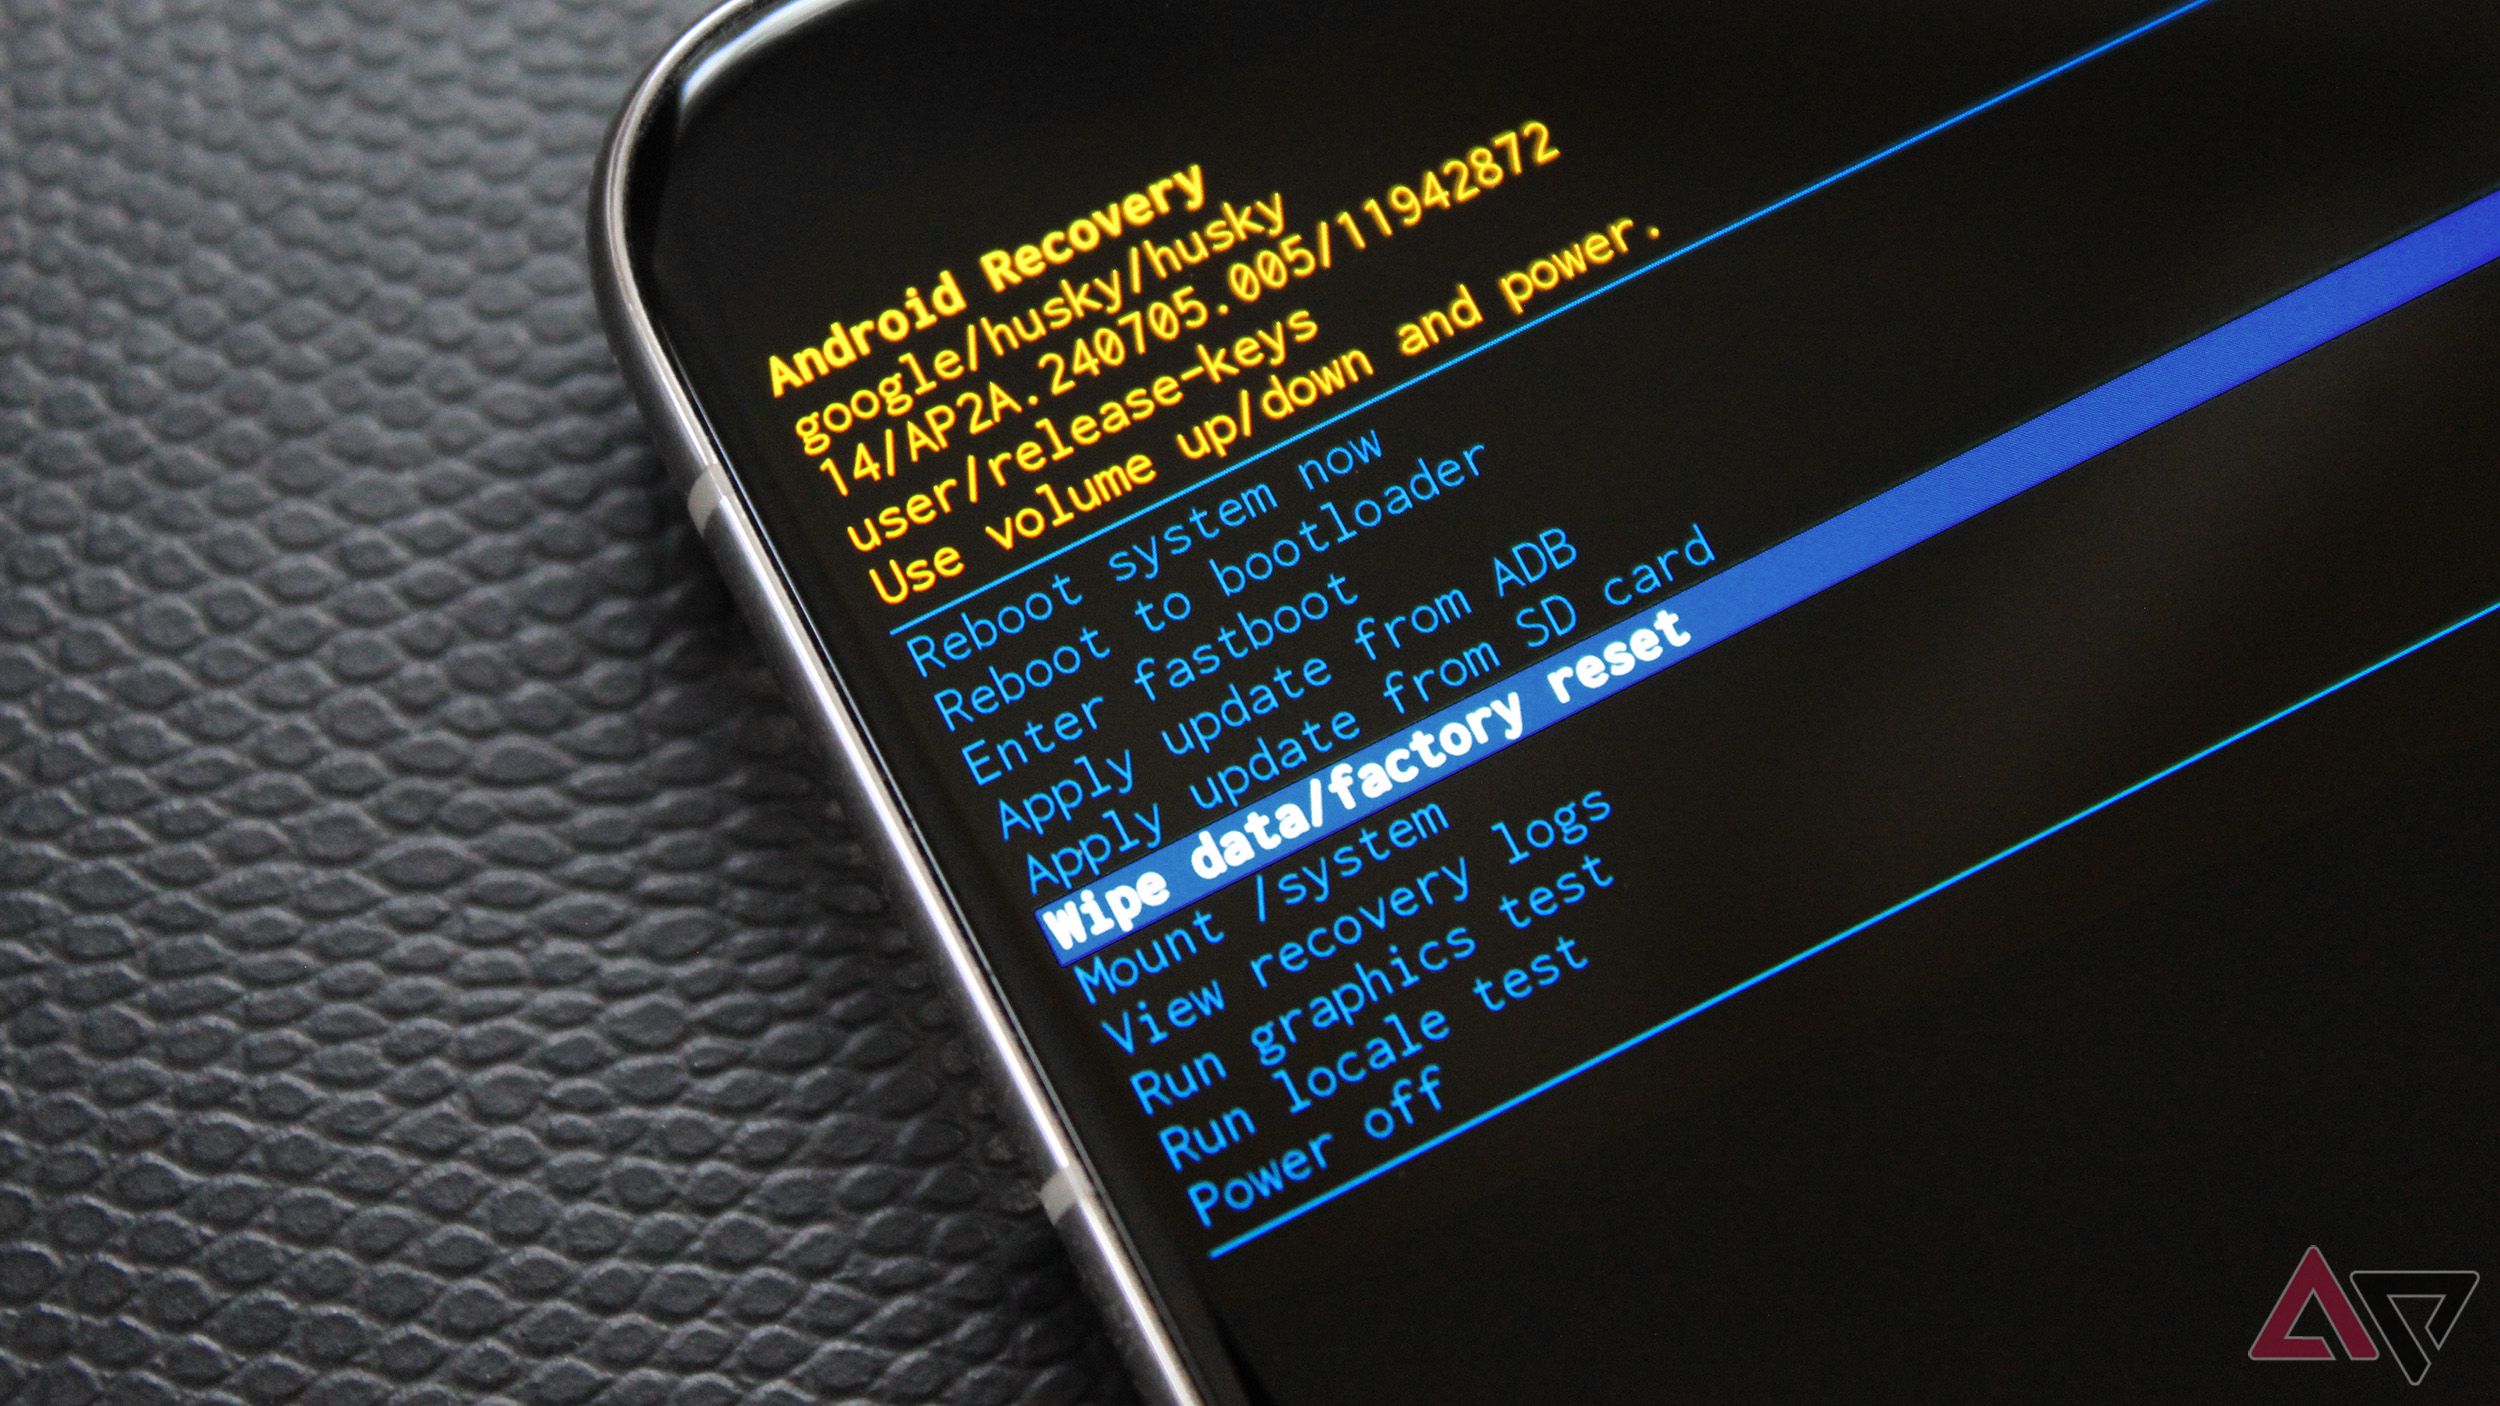
10 Factory reset your smartphone
If none of the previous solutions work, a final step before heading to a service center is to try a factory reset. Resetting your phone to its factory settings can resolve any software issues, faulty apps, or services that might be blocking charging. However, this process will erase all data and apps from your device, so be sure to back up everything important before proceeding.
A few quick checks can save you time and money
The steps mentioned above can help you troubleshoot charging issues on your own and potentially save you an unnecessary trip to the repair shop, saving both time and money. By following these simple tips, you can prevent minor problems from turning into costly repairs. Additionally, it’s always a good idea to regularly check your device’s battery health to avoid such unexpected issues.
Source link
