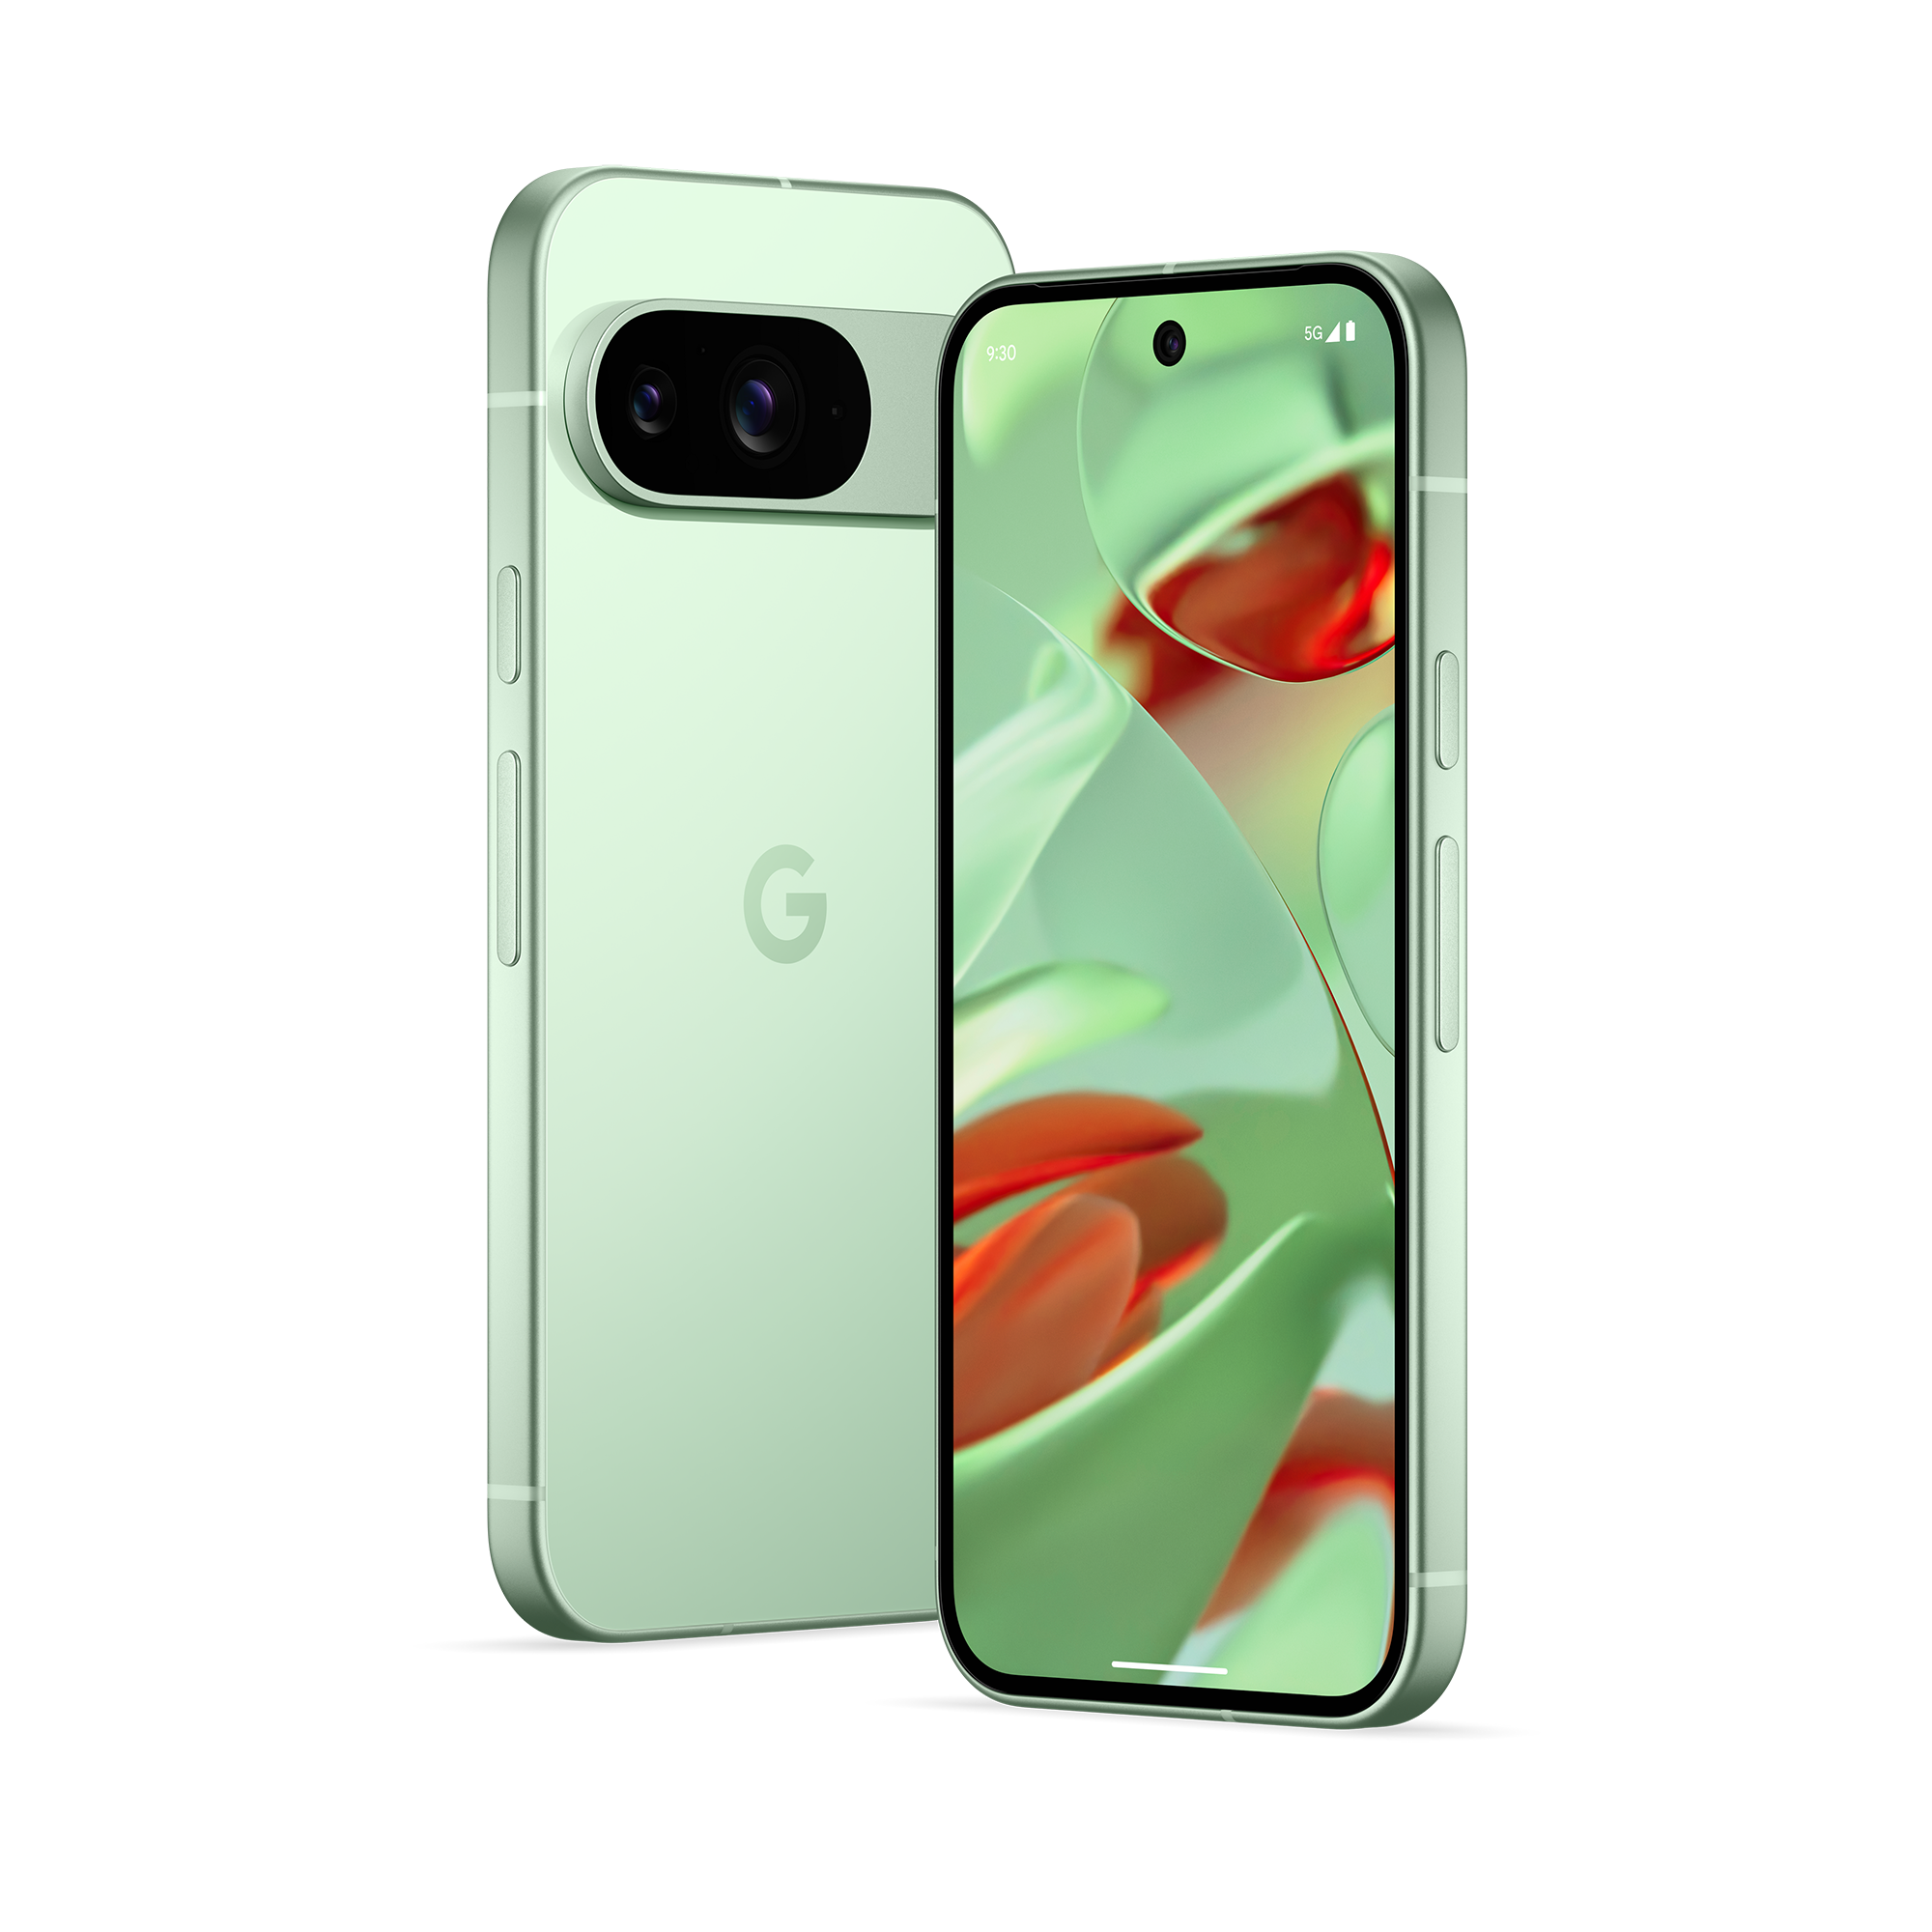
Photography is one of the Google Pixel’s strongest selling points. Much of this stems from Google’s computational photography rather than the hardware, which has often lagged behind the competition, especially flagship Samsung phones. How does Google achieve these results? Let’s look at the Pixel Camera app, the background processes contributing to its photo quality, and the recent additions to the Google Pixel 9 camera.
Add Me
The Add Me feature, introduced in the Google Pixel 9 series, makes group photos inclusive using augmented reality and AI. Here’s how to use it:
- Open the Google Camera app and select Add Me from the photo options below the shutter button.
- Arrange everyone but leave space for the photographer.
- Snap the first photo.
- Hand off the phone and have the photographer step in.
- Use the viewfinder to position the second picture. A ghosting of the first image helps perfect the positioning.
- Take the second photo. Add Me combines the two pictures into one seamless image.
- Find the stitched image in your Photos app.
Night Sight
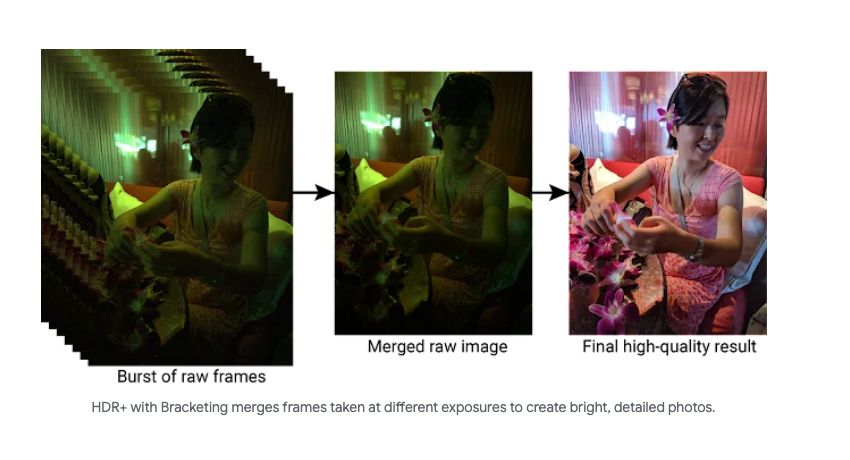
Night Sight helps you take clear and bright photos in low-light conditions. When you press the shutter, the camera snaps a series of images, some darker and sharper, others brighter. Then, it uses HDR bracketing to blend the best parts of these shots into a final photo that’s bright, detailed, and true to what you’re seeing. Here’s how to take pictures in low light with Night Sight:
- Open the Google Camera app in low light conditions.
- Watch for the shutter button to change from a solid circle to a circle with a crescent moon icon, or manually tap Night Sight in the Photo mode carousel.
- Tap the shutter and wait a few seconds for it to finish.
Night Sight automatically turns on in Photo or Portrait mode in low-light conditions. Night Sight doesn’t work when the flash is on. For very dark scenes, tap the screen to focus and find an area with some contrast to help the camera lock in.
Source: Google
Macro Focus
The upgraded 48MP ultrawide lens of the Pixel 9 captures 110% more light and can focus as close as 2cm, delivering crystal-clear, low-light images and impressive Macro Focus shots. Here’s how to use a macro focus:
- Open the Google Camera app.
- Choose a subject with fine details and textures, such as flowers, insects, or small objects.
- Move your phone close to the subject.
- Your Pixel automatically switches to the ultrawide lens and macro mode, indicated by a flower icon on the viewfinder.
- If the flower icon doesn’t appear, tap the Settings button in the lower-left corner of the camera app.
- Set Macro Focus to Auto, or select On to activate Macro mode permanently.
- If you want to focus on something specific, tap it in the viewfinder.
- Tap the shutter button to capture your macro photo.
For better results, avoid shading your subject or blocking the light source. If not possible, use this feature with Night Sight for better low-light shots.
Astrophotography
Pixel’s Astrophotography mode captures the night sky in stunning detail. What once took hours of long exposures is now simplified into a single four-minute shot, with Night Sight reducing noise and sharpening the image. No editing required. This is powered by the Tensor chip, which detects motion to keep your shots blur-free. Here’s how to use this feature:
- Open your Google Camera app.
- Tap Night Sight from the Photo mode carousel.
- Prop your device on a steady surface, like a rock or tripod.
- Watch for the moon icon on the shutter button to change to stars, which means astrophotography mode is on.
- Tap Shutter.
- Keep your device steady until the photo is complete and the countdown timer finishes.
Portrait Mode
Portrait Mode gives your photos a shallow depth of field, similar to a high-end camera. The bokeh effect, which gently blurs the background, ensures your subject remains the focal point of the image in sharp detail. This feature is ideal for those who want their portraits to have a professional, studio-like quality, with the background subtly softened to highlight the subject. To take portrait photos:
- Open your Google Camera app.
- In the photo mode carousel, tap Portrait.
- Capture your photo.
To turn on Face Retouching for your portraits
- Tap Settings.
- Tap Face Retouching.
- Select an option: Off, Subtle, or Smooth.
Action Pan and Long Exposure
Action Pan adds a dynamic flair to your shots with a unique motion blur effect. This effect keeps your main subject, like a moving car, in sharp focus while blurring the background. It brings a powerful sense of motion and energy to your photos, which used to be the domain of professional photographers.
Long Exposure is the opposite of Action Pan. Here, your Pixel blurs motion while keeping everything else in focus. The technique is named after the traditional photography method, where the sensor stays exposed to light longer to achieve the effect. Here’s how to achieve these effects:
- Open your Google Camera app.
- Scroll to Motion.
- Choose between Action Pan or Long Exposure
For the best Action Pan results, photograph a person with a visible face in motion. Make sure your main subject stands out and is in the foreground, and keep them in the viewfinder for at least a second before you capture the shot. Avoid still or very slow-moving subjects, as they won’t give you the effect you’re looking for.
When shooting long exposure, keep your device steady after selecting
Capture
. The camera adjusts the exposure time based on how fast and large the moving elements are in your scene.
Panorama
A panorama shot stitches together multiple images to create a wide, sweeping view, ideal for capturing landscapes or large scenes. Google rebuilt Panorama mode on the Pixel 9 series and updated its user interface. It also uses Night Sight to deliver more detail in low light. This new version adds processing improvements like Night Sight, which weren’t part of the original mode. To take a Panorama shot:
- Open your Google Camera app.
- Tap Panorama on the photo mode carousel.
- Switch the panning direction by clicking the preview bar or changing it in settings.
- Pause briefly on each dot (longer pause for Night Sight Panorama).
- Ensure the level indicator is level when pausing on the dot.
- Follow the arrow.
- Tap the shutter button to stop the capture.
Top Shot
When activated, Top Shot records multiple frames before and after you press the shutter. It’s handy for action shots like a pet running or someone mid-jump because it lets you choose the perfect frame. Top Shot analyzes the images, highlighting the ones with the best expressions, no blurring, and eyes open.
The top picks are saved in high resolution with HDR, so you get a sharp photo even if your timing wasn’t spot-on. You can also save your motion photo as a video. Here’s how to use it:
- Open the Google Camera app.
- Tap the Settings in the lower-left corner.
- Set the Top Shot to Auto or On.
Top Shot works best when you treat it like filming a video. Keep your device steady. Otherwise, finding a clear frame worth saving might be tricky.
Frequent Faces
With Frequent Faces, your camera gets better at capturing the people you photograph the most. It uses facial recognition to highlight these familiar faces, ensuring they’re well-lit and focused. The information it collects about these faces stays on your device and isn’t shared with Google. If you turn off the feature, that data is erased from your device. To use Frequent Faces, turn on Top Shot, then turn on Frequent Faces. Here’s how:
- Open the Google Camera app.
- Tap Settings in the lower-left corner.
- Tap More settings.
- Tap Frequent Faces.
- Turn on Frequent Faces.
Face Unblur and Photo Unblur
Face Unblur automatically detects and sharpens faces in your photos for clear results. If the shutter speed is too slow or the subject moves too much, the camera switches it on. Building on this, Photo Unblur sharpens the entire image, not only faces. With the power of AI, Photo Unblur revives blurry photos, sharpening images in Google Photos, even if they weren’t taken with a Pixel phone.
Real Tone
Real Tone is Google’s solution to the long-standing issue of skin tone bias in photography, focusing on accurately representing all skin tones. Camera technology has struggled with this, leading to unnatural portrayals of darker skin. Real Tone adjusts the camera’s exposure, white balance, low-light blur, and processing algorithms to improve color accuracy and detail, reducing the common issue of underrepresented or inaccurately portrayed skin tones in photography.
Explore, experiment, and keep your photos organized
You’re all set with your Google Pixel phone’s camera features, so take them for a spin. Get creative. Experiment with modes and settings to see them in action. As your photo library grows, don’t let storage be a concern. Keep your Google Photos organized and focus on enjoying your photography.

Google Pixel 9
The Pixel 9 is Google’s most affordable 2024 flagship, making a few compromises when compared to the Pixel 9 Pro and Pro XL while retaining the Google smarts the lineup has become known for. An upgraded 48MP ultra-wide camera is paired with a 50MP main shooter, and the selfie cam added autofocus. All of this comes with new Gemini AI features and a 2,700-nit Actua display for exceptional value at its price point.
Source link


