Smartphones changed how we communicate and interact with the world. This experience only works well if you have a constant wireless network connection. The dead zone is one critical issue with smartphones when traveling. These areas have little to no cellular coverage. There are many dead zones and traditional cellular towers struggle to fill these zones, but there is a solution. With a Google Pixel 9 series phone, use Satellite SOS to bridge those gaps during emergencies when you lose cellular coverage.
The
Satellite SOS feature
is available on the Google Pixel 9 series phones in the US market. It may roll out on
other Pixel phones
and Android devices later. The Satellite SOS service is free for the first two years, but you may need a paid subscription after that. For the feature to work, Google Messages must be your default messaging app.
How to try a live demo of the Satellite SOS feature
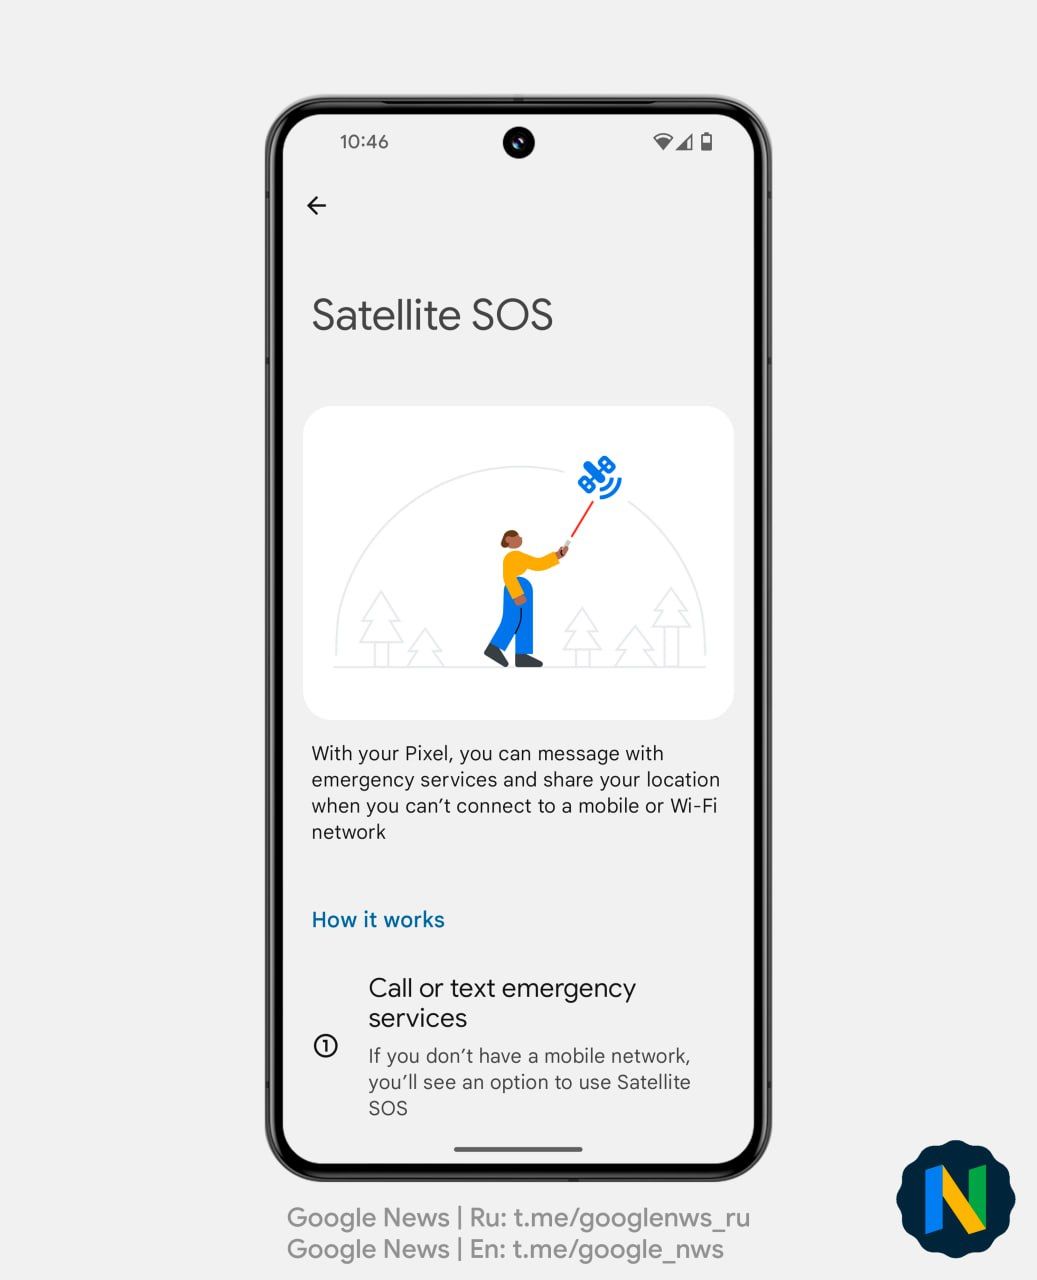
There isn’t much to see regarding the Satellite SOS feature until you need it. It only pops up if you don’t have cellular coverage or Wi-Fi connectivity. However, you can explore how it looks beforehand to know what to expect if you need to use the feature.
To interact with a live demo of the Satellite SOS feature, check out these steps:
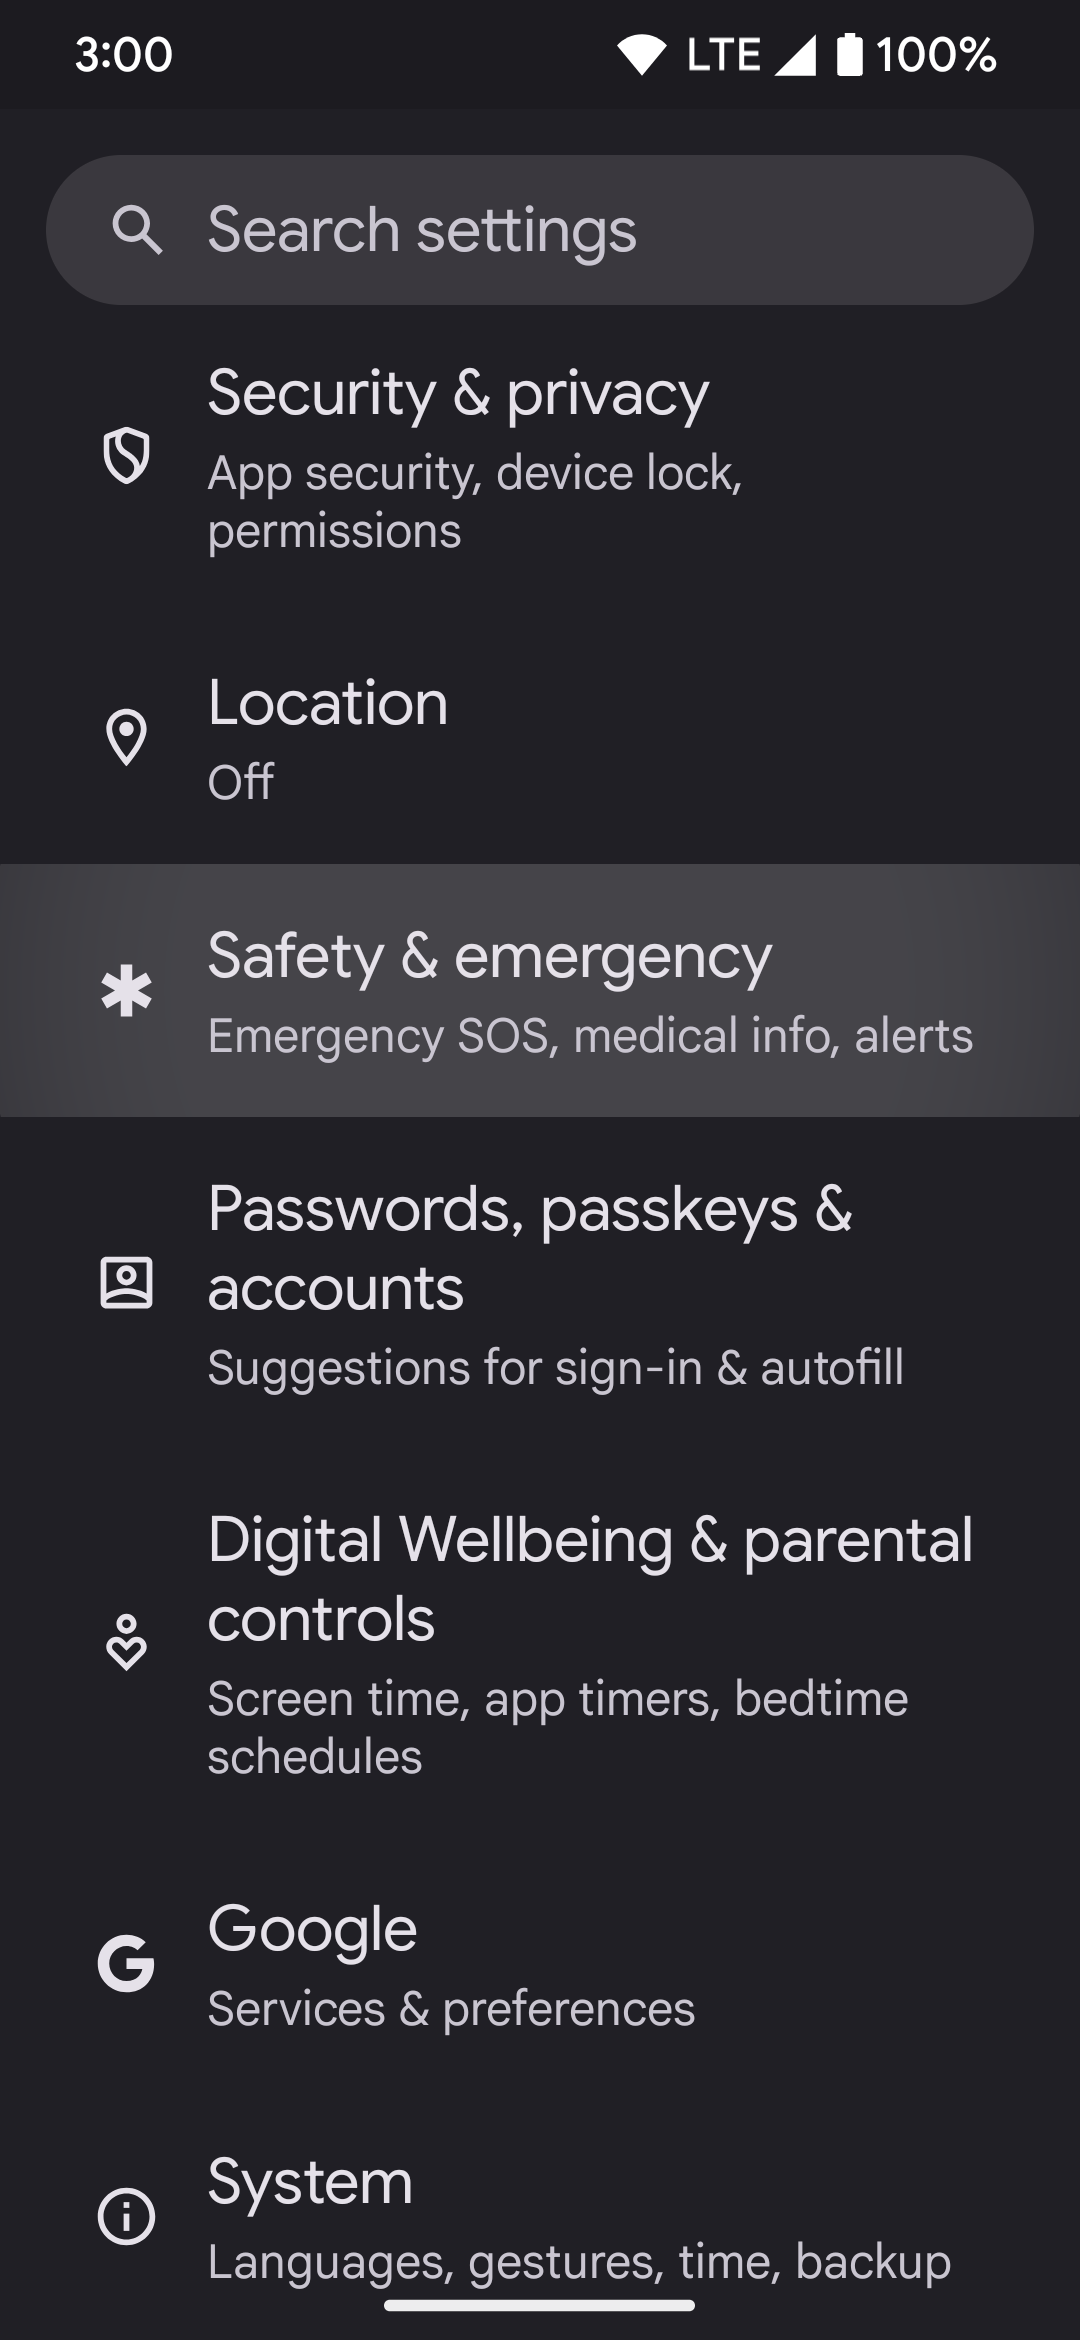
- Open the Settings app on your Pixel 9 phone.
- Go to Safety & emergency > Satellite SOS.
- Tap Try a demo.
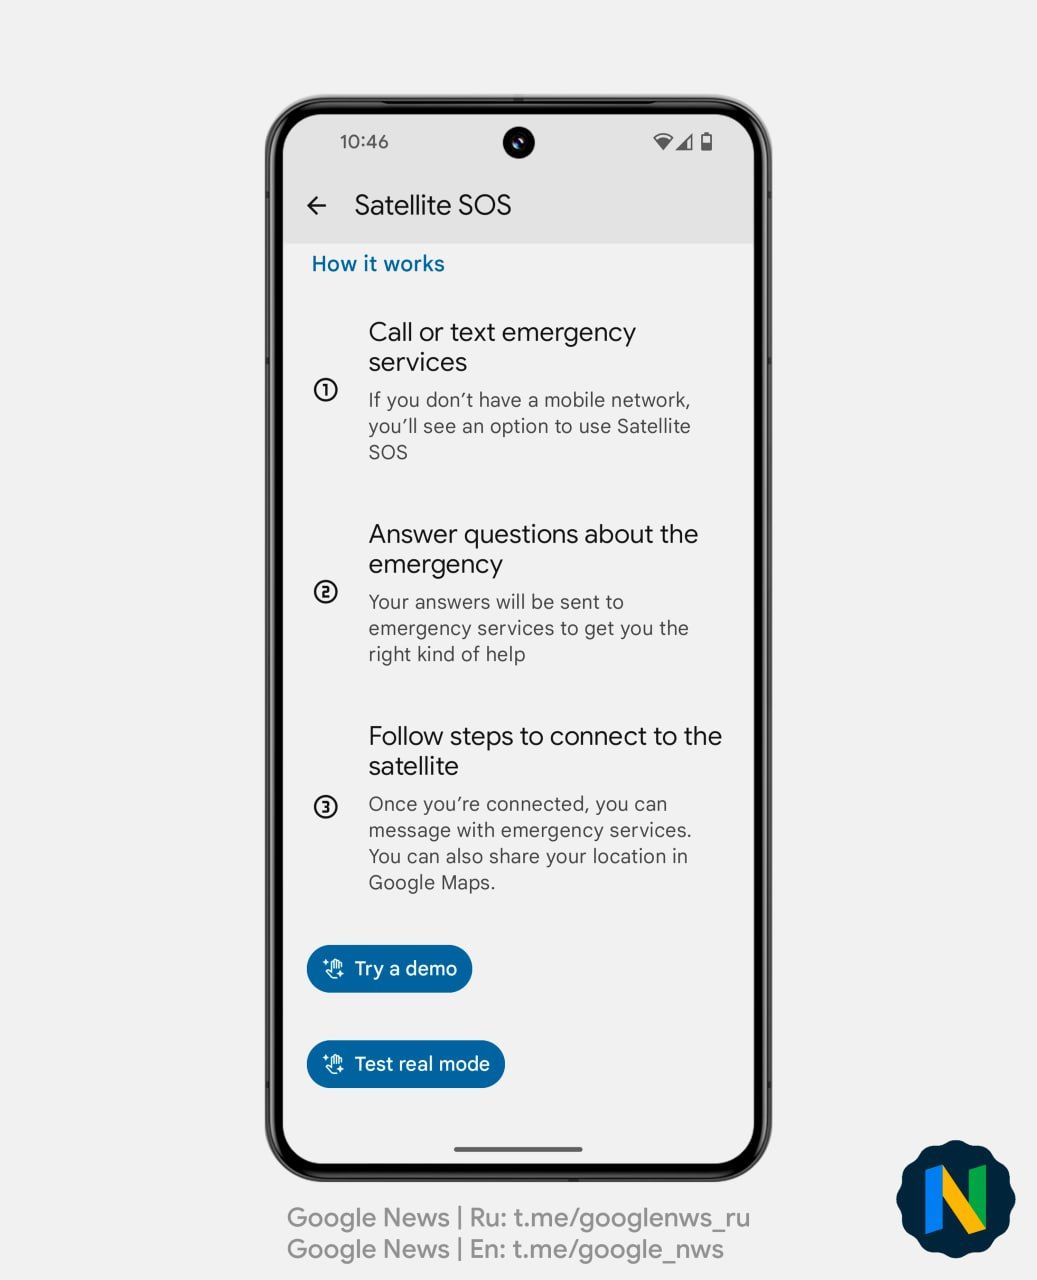
- A demo shows you how to point your phone toward the sky to locate a satellite.
How to access the Satellite SOS feature when needed
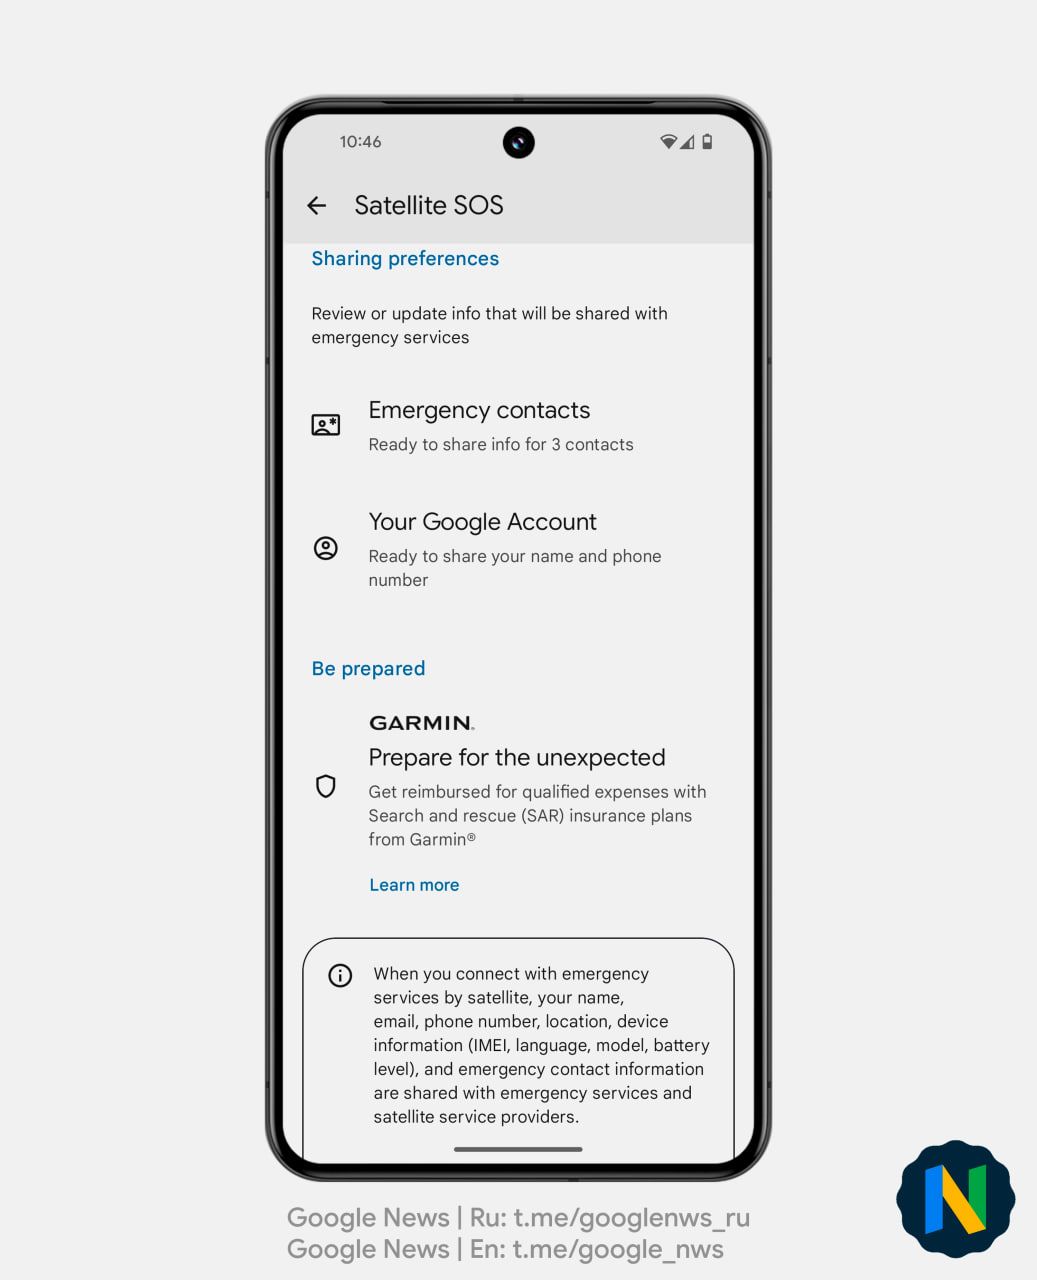
You only have the option to use Satellite SOS on your Google Pixel 9 series phone if you lose cellular coverage and Wi-Fi connectivity. If you meet the requirements, you can use Satellite SOS in a few ways. You can dial 911 like usual during an emergency, and your phone automatically detects that you lost wireless connectivity. It shows an SOS button to help you get service so that you can dial 911. From there, answer the questionnaire to describe your emergency to help responders learn about your situation.
Then, follow the on-screen instructions to point and connect your phone to a satellite, similar to what you experienced with the demo. When connected, your emergency information and questionnaire answers are sent to the emergency services via satellite. You’ll receive a text message confirmation and a response from the emergency services soon after they access your situation.
The Satellite SOS feature is essential to keep everyone safe. It’s especially useful if you go on long hiking trips or places during your travels where you know cellular coverage is minimal.
Although Satellite SOS can be used alone when needed, consider setting up the Emergency SOS feature for additional safety features. This allows you to press a button on your phone to trigger an alert that contacts 911 emergency services and your emergency contacts when in danger. Combining Satellite SOS with Emergency SOS gives you the most safety options to prepare for any danger. You can customize the experience to fit your needs and use only the features you want. This part is optional.
Start the initial setup process and choose an emergency number
Before setting up your safety information, sign in with your Google account and follow the on-screen instructions. You’ll choose an emergency number to call when you activate Emergency SOS, such as 911. From there, you can check out other features and options to create your own personalized experience.
To get started with the default emergency number, do the following:
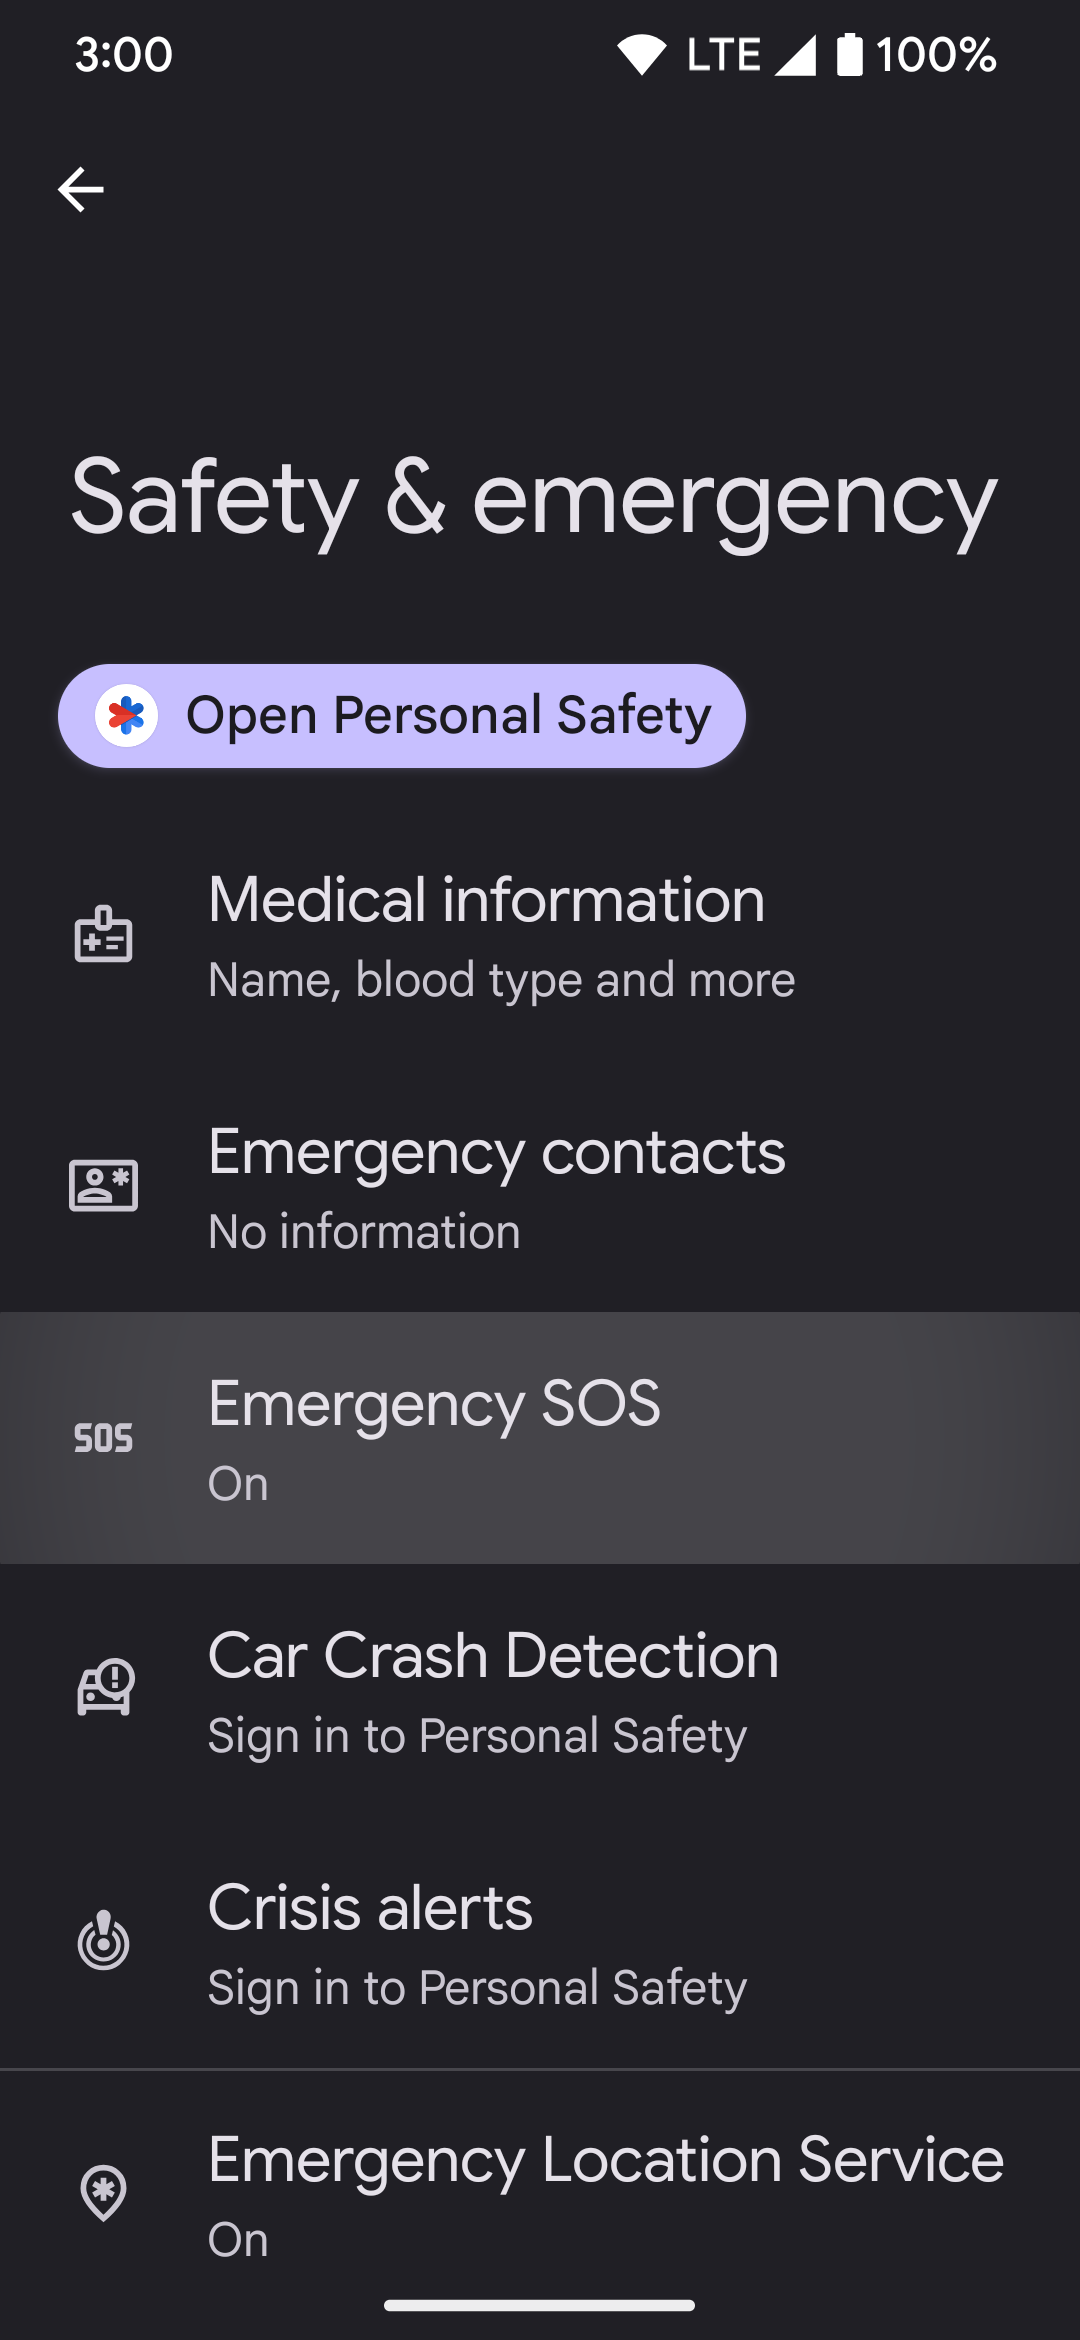
- Open the Settings app on your Pixel phone.
- Go to Safety & emergency > Emergency SOS.
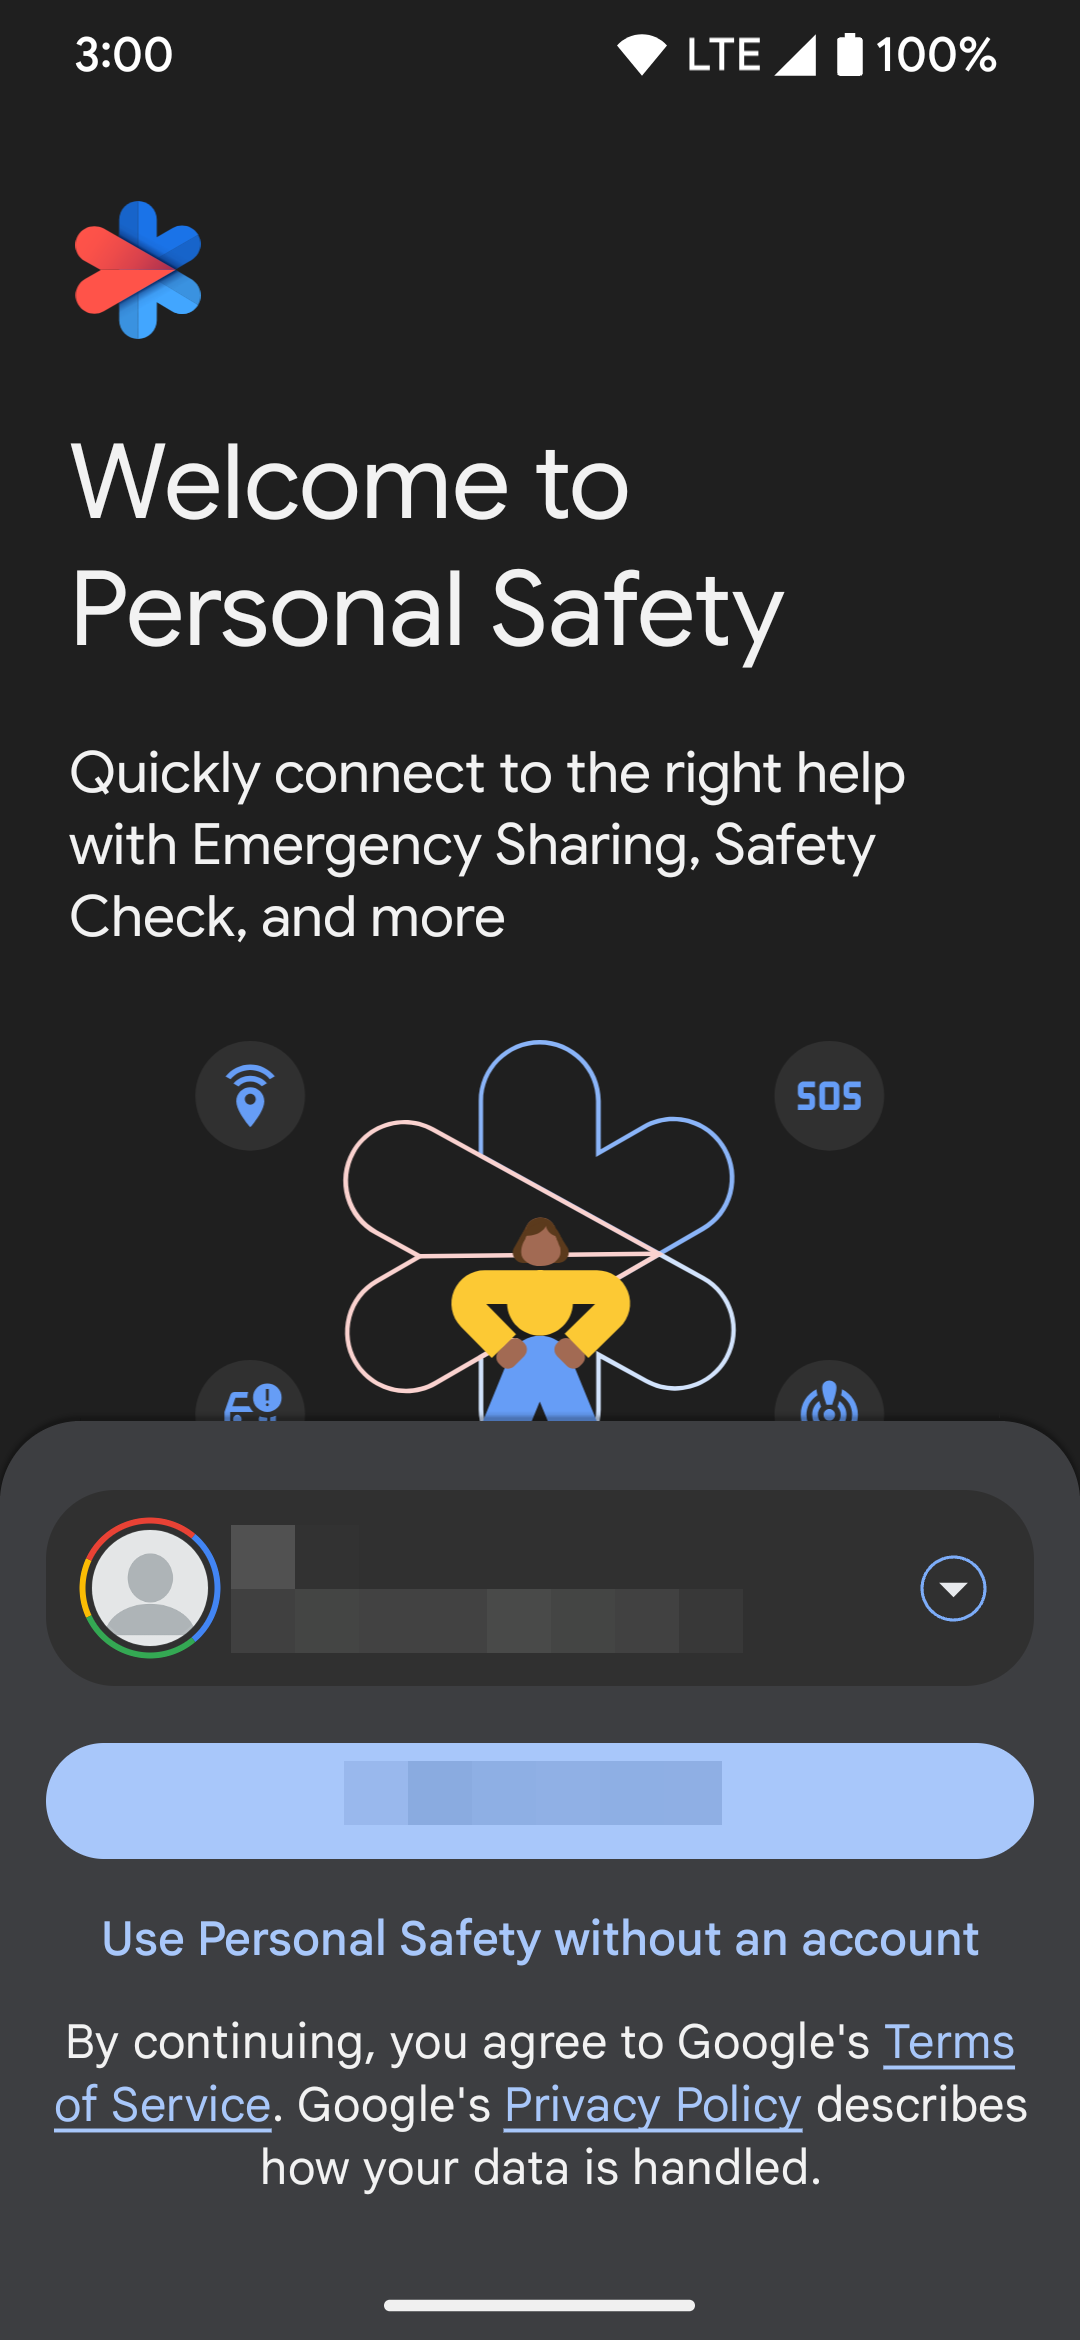
- Tap Continue as to sign in to the Personal Safety feature with your primary Google account if needed.
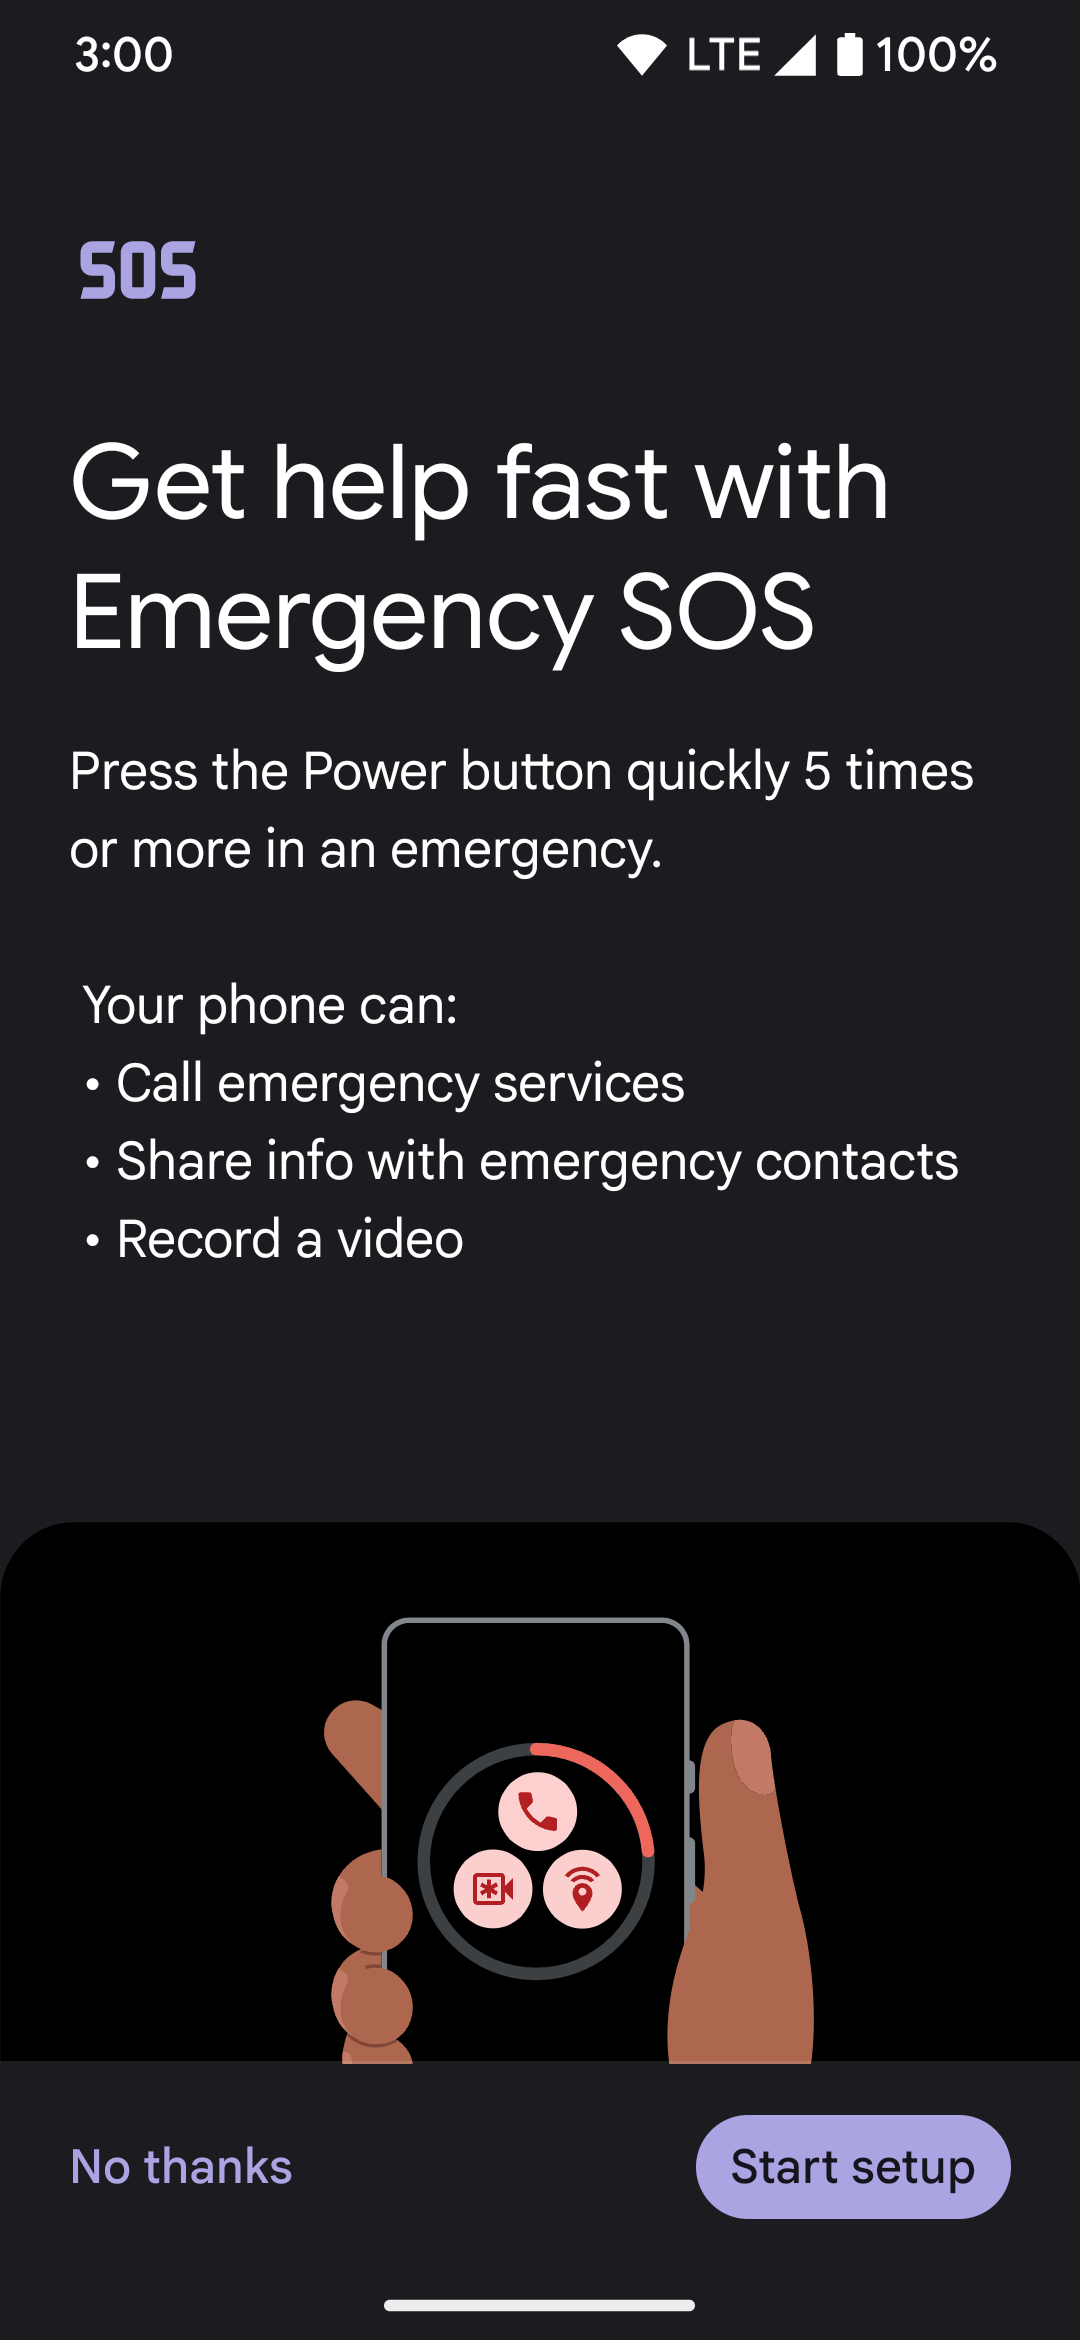
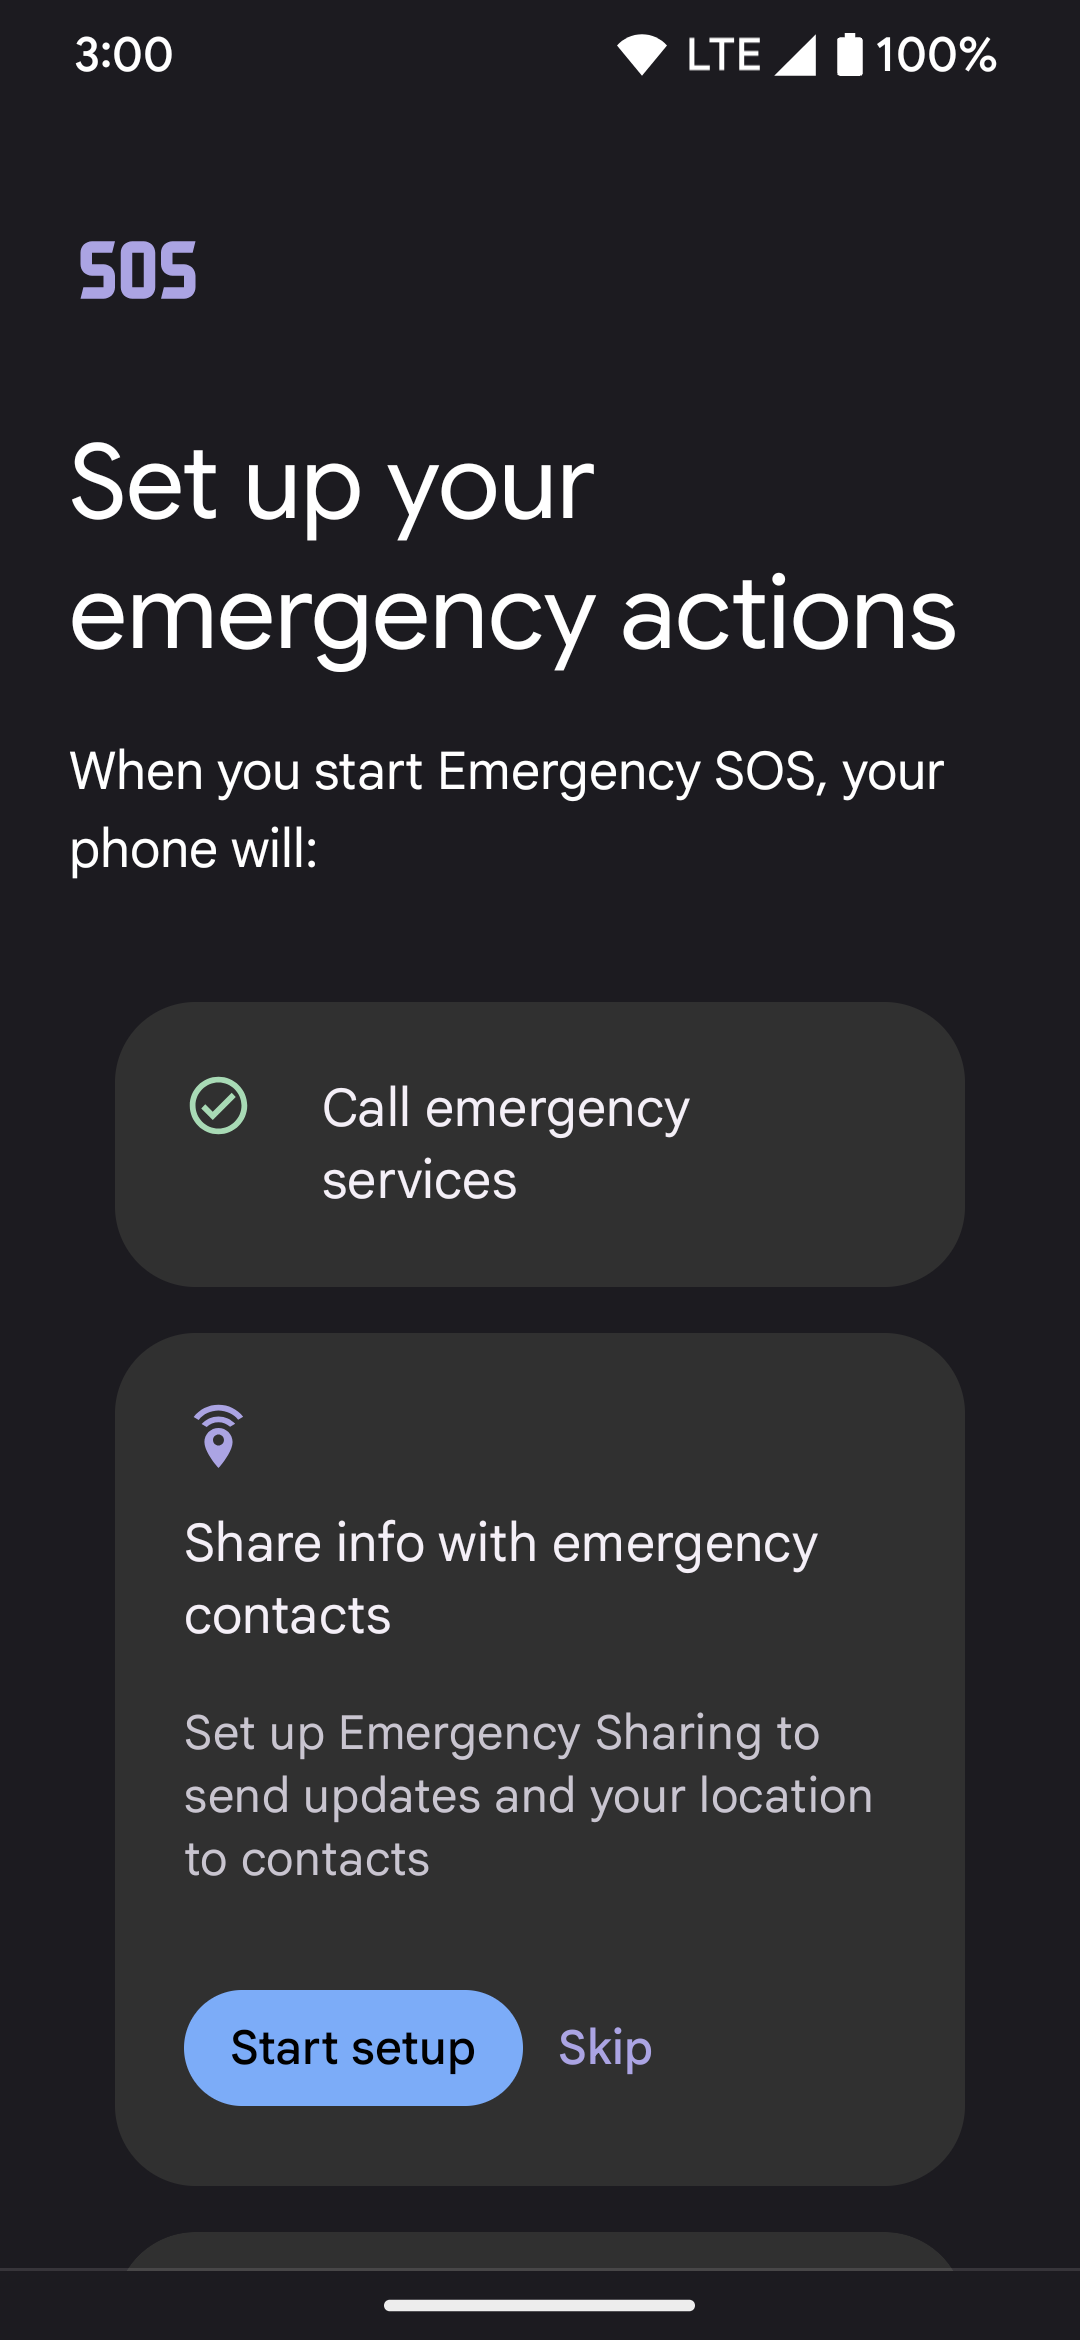
- Tap Start setup to begin the process.
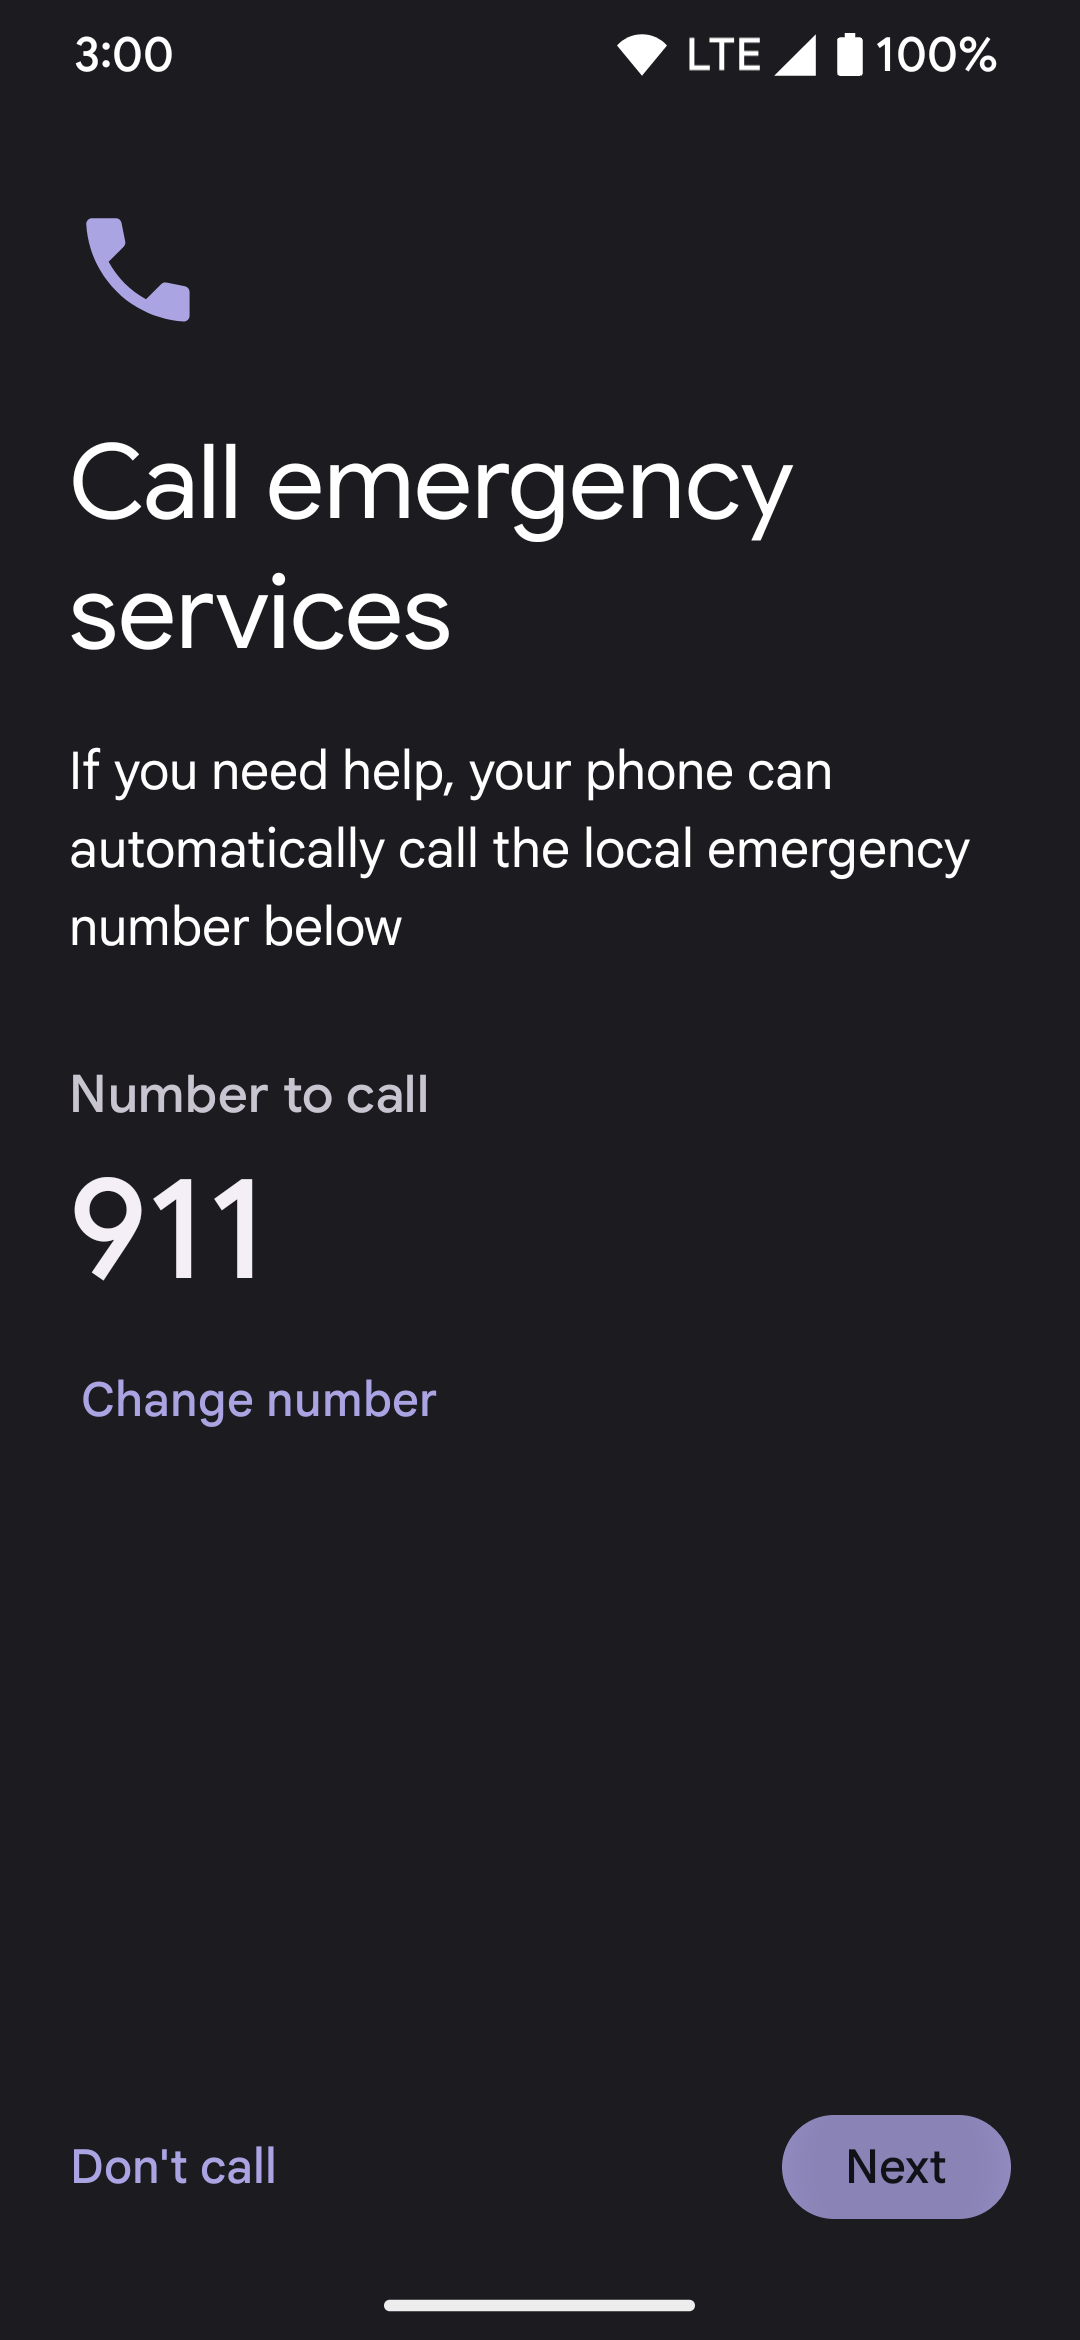
- Tap Start under the Call emergency services section.
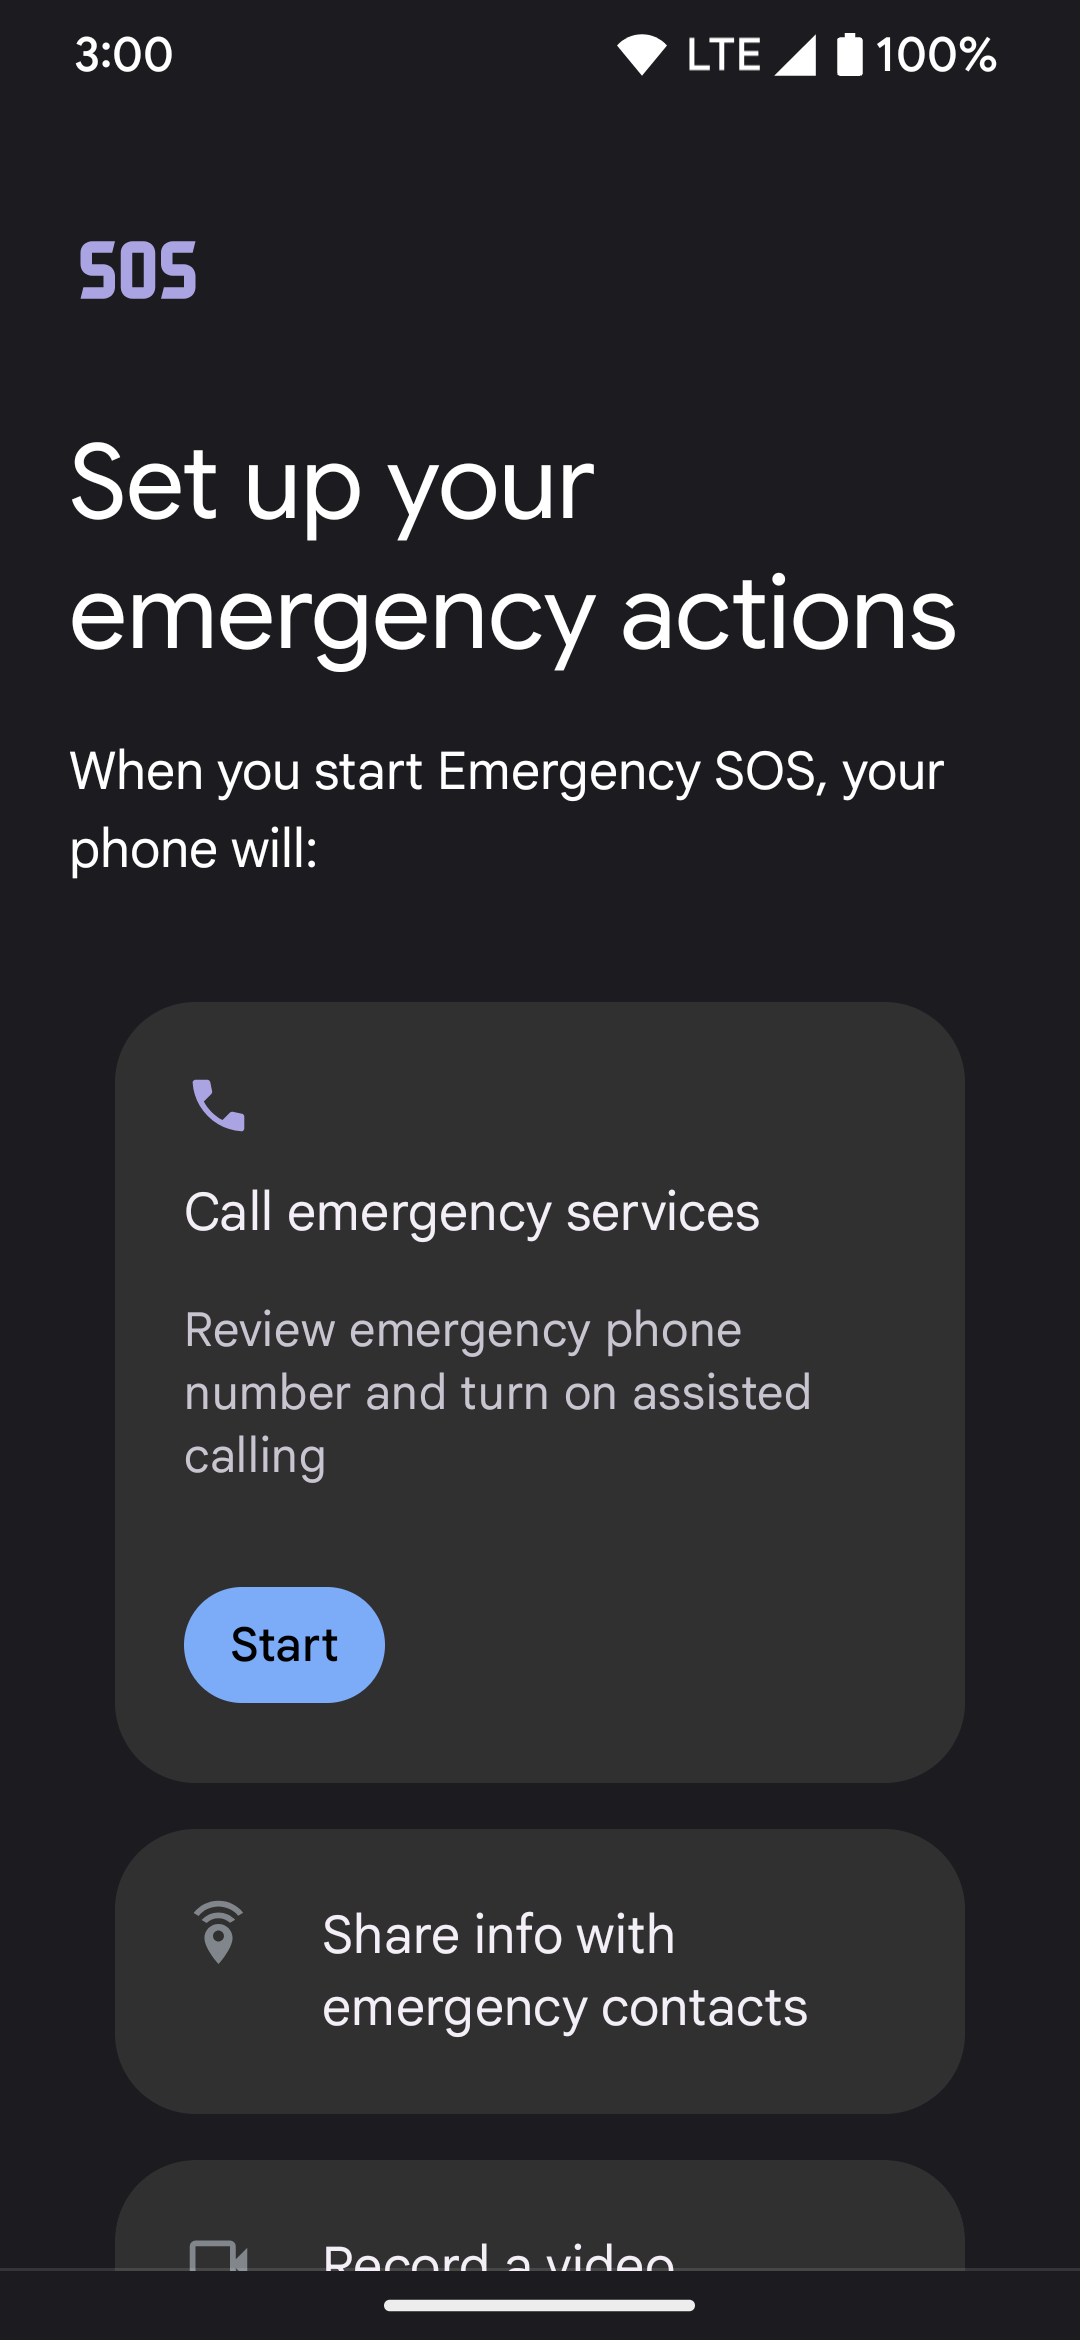
- Leave the Number to call at the default 911 or choose a new number by tapping Change number. Select Don’t call in the lower-left corner if you don’t want the Emergency SOS feature to dial an emergency number.
- Tap Next to continue.


Add your emergency contacts and extra location features
Now that you’ve signed in with your Google account and selected your default Emergency SOS number, you must add your emergency contacts. From there, you can add optional SMS and location sharing features to enhance your experience.
To add your emergency contacts and continue the setup process, check out these steps:
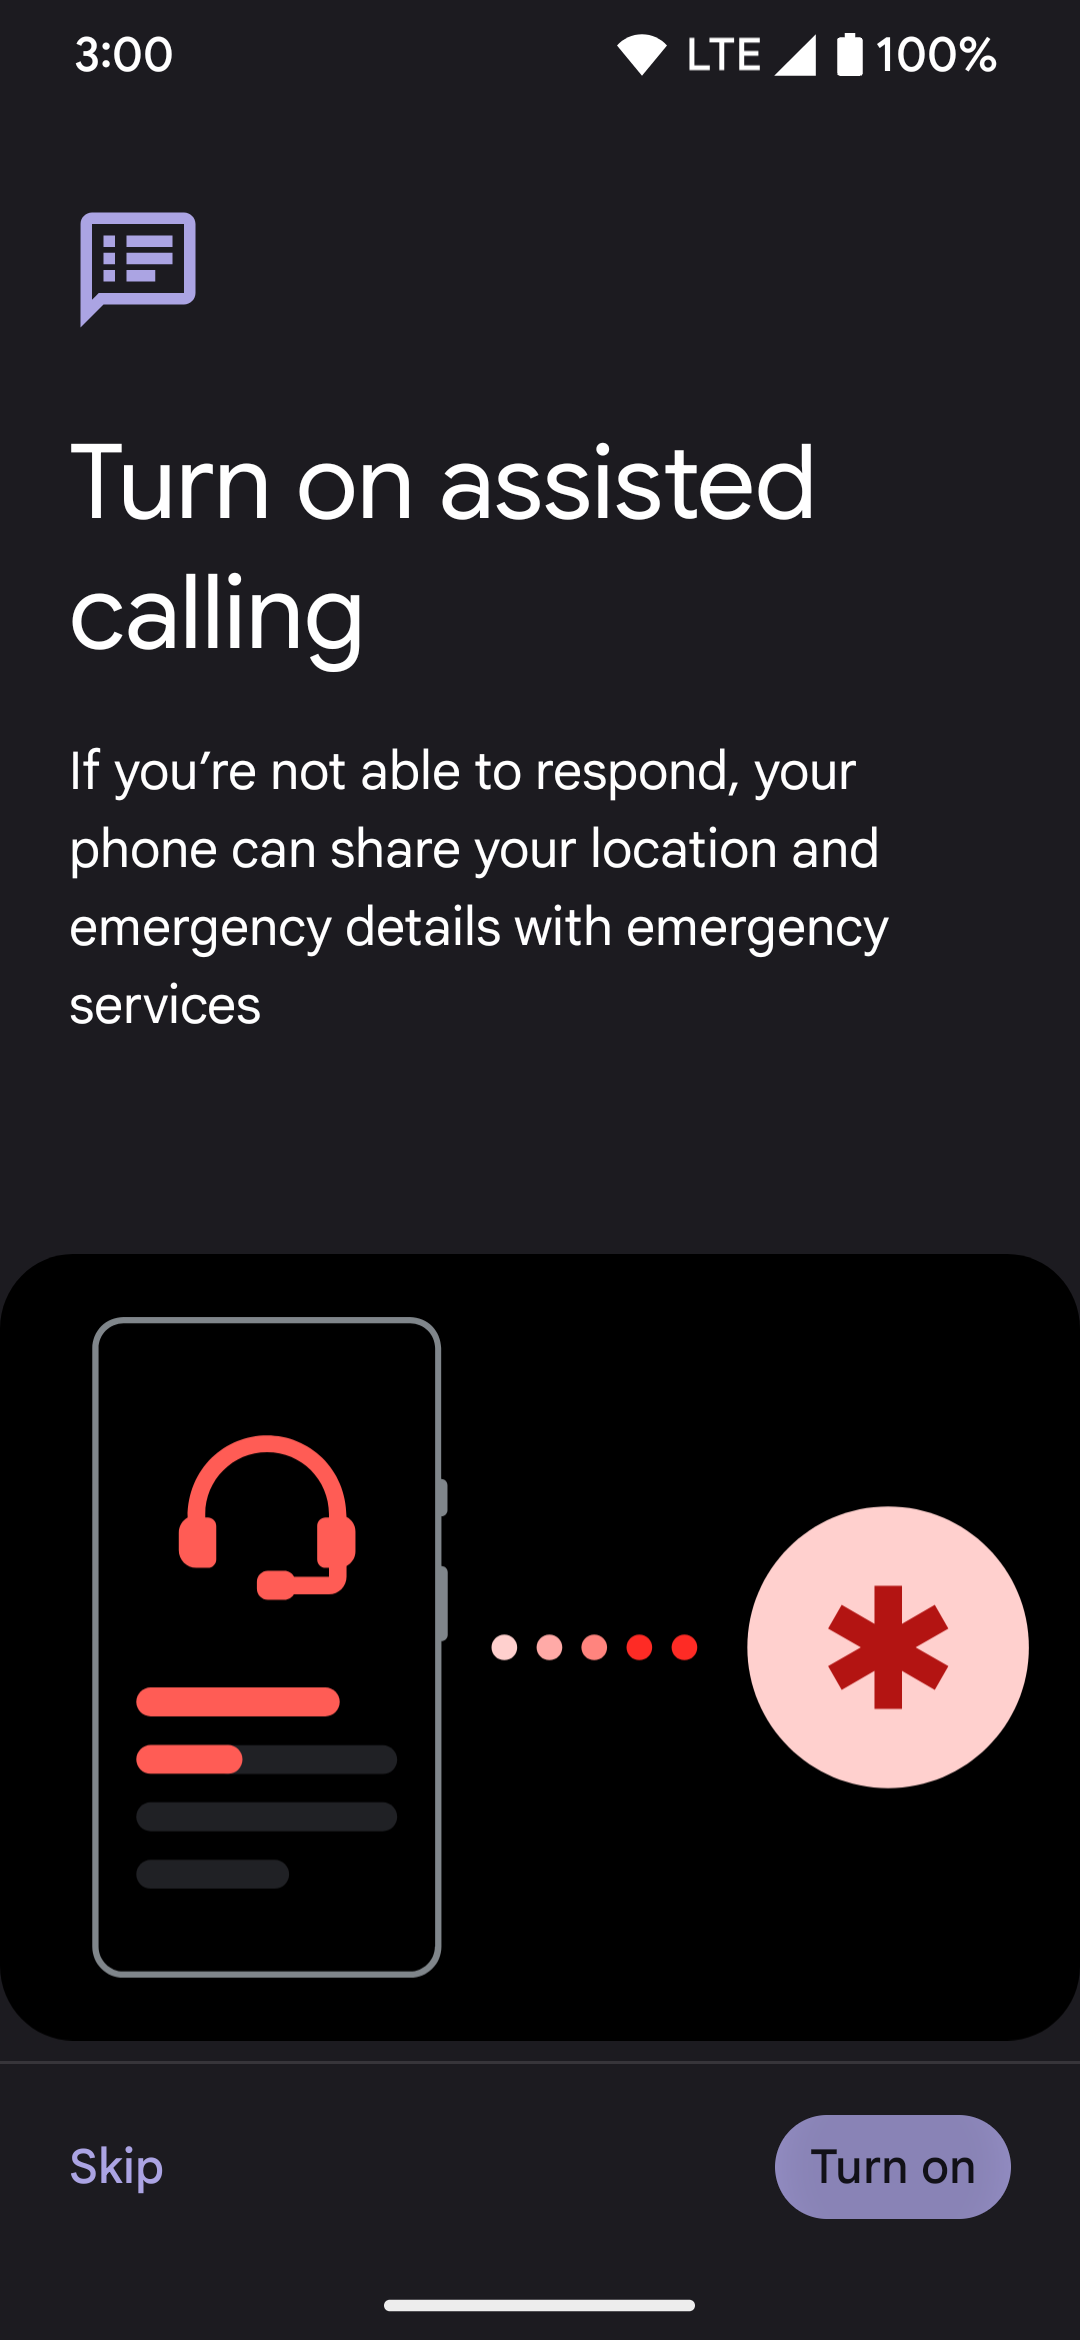
- Tap Turn on to use the assisted calling feature. You can also choose Skip in the lower-left corner to continue the setup without assisted calling.
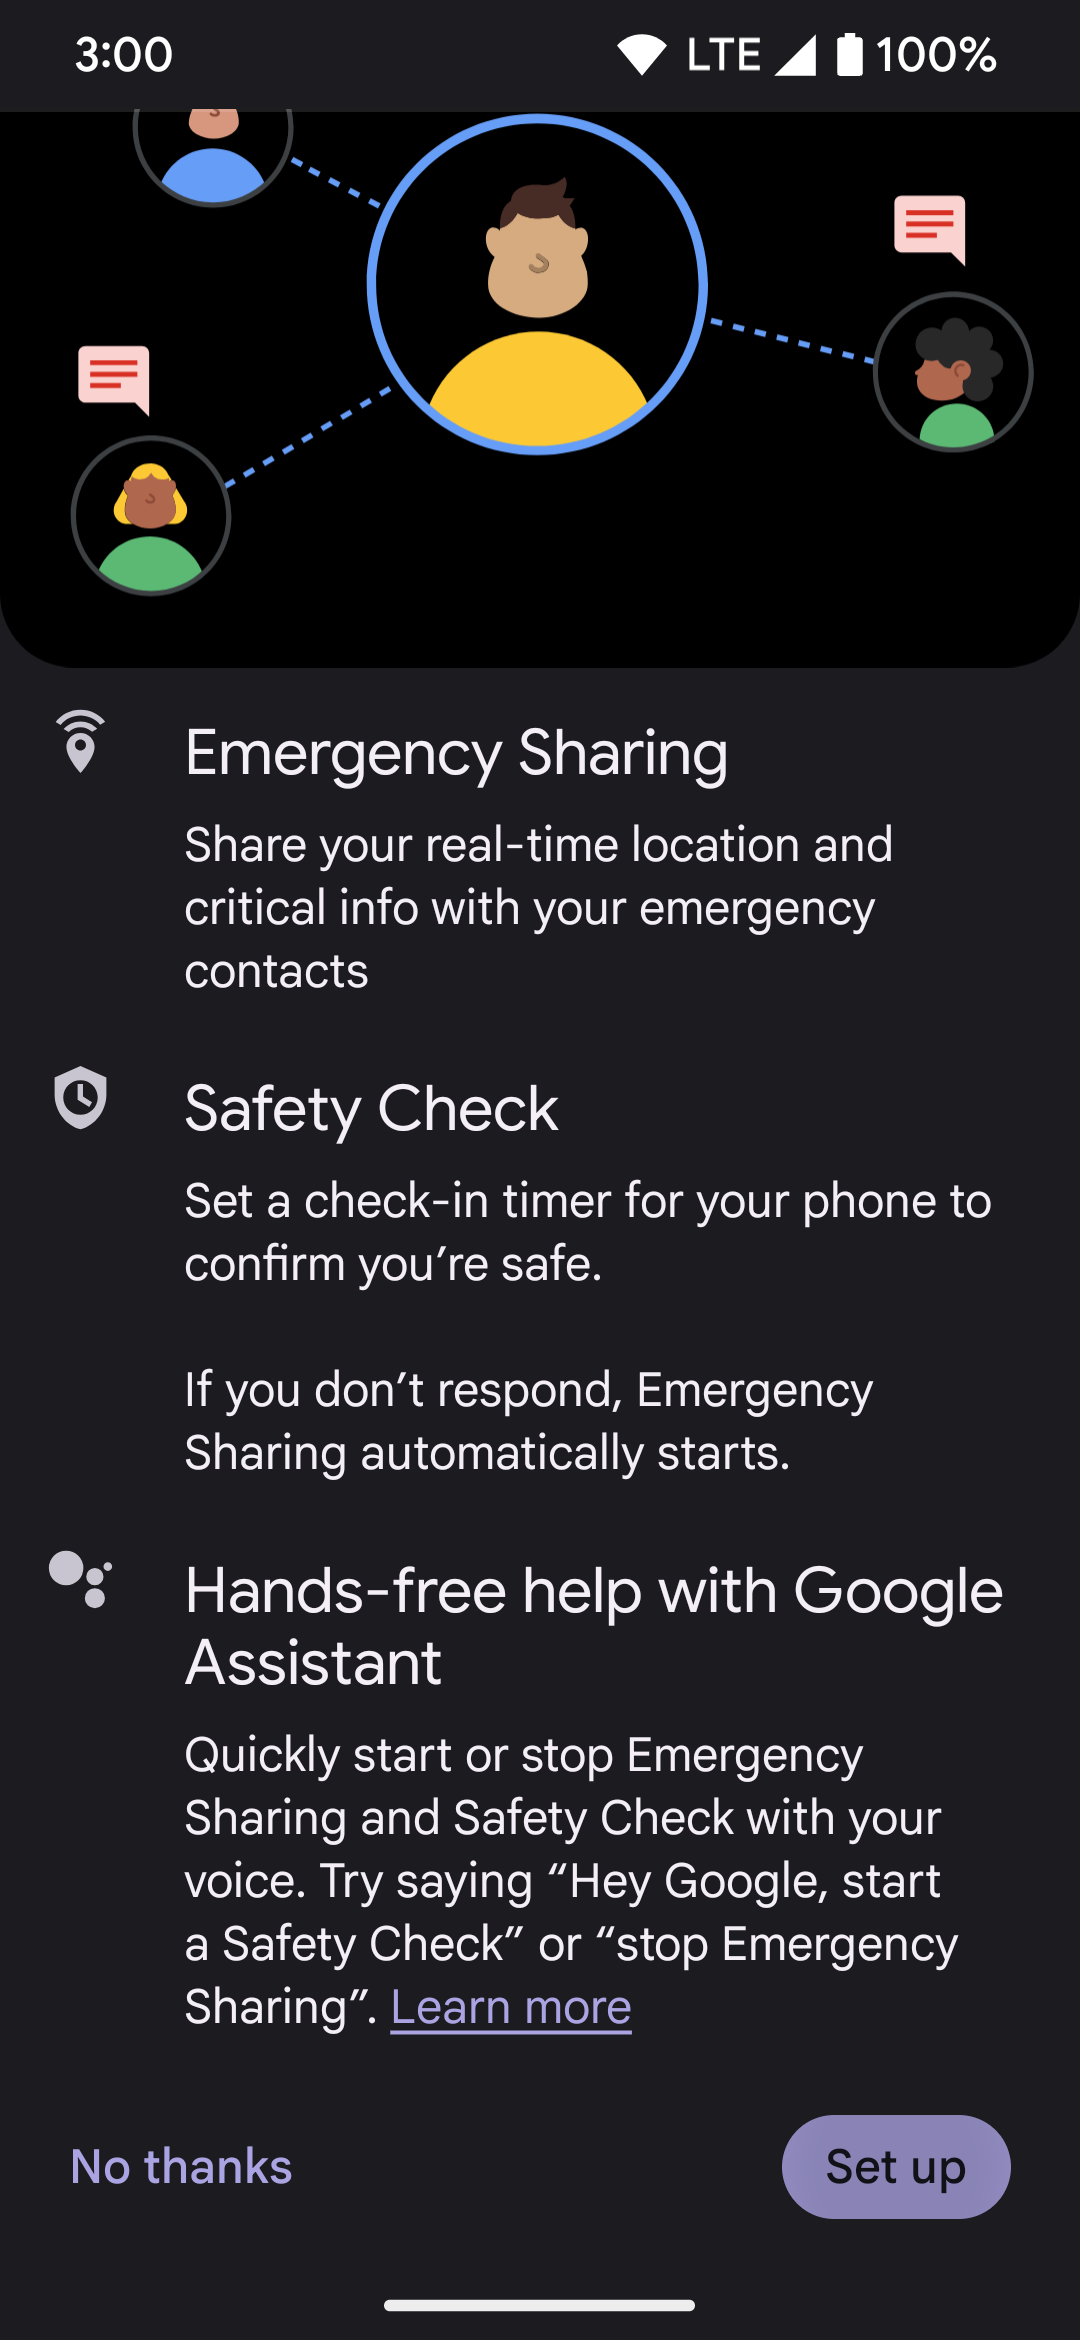
- Tap Start setup under the Share info with emergency contacts section. You can also tap Skip to continue without this feature.
- Read the Prepare for an emergency page to understand what this feature does.
- Tap Set up when you’re ready to continue.
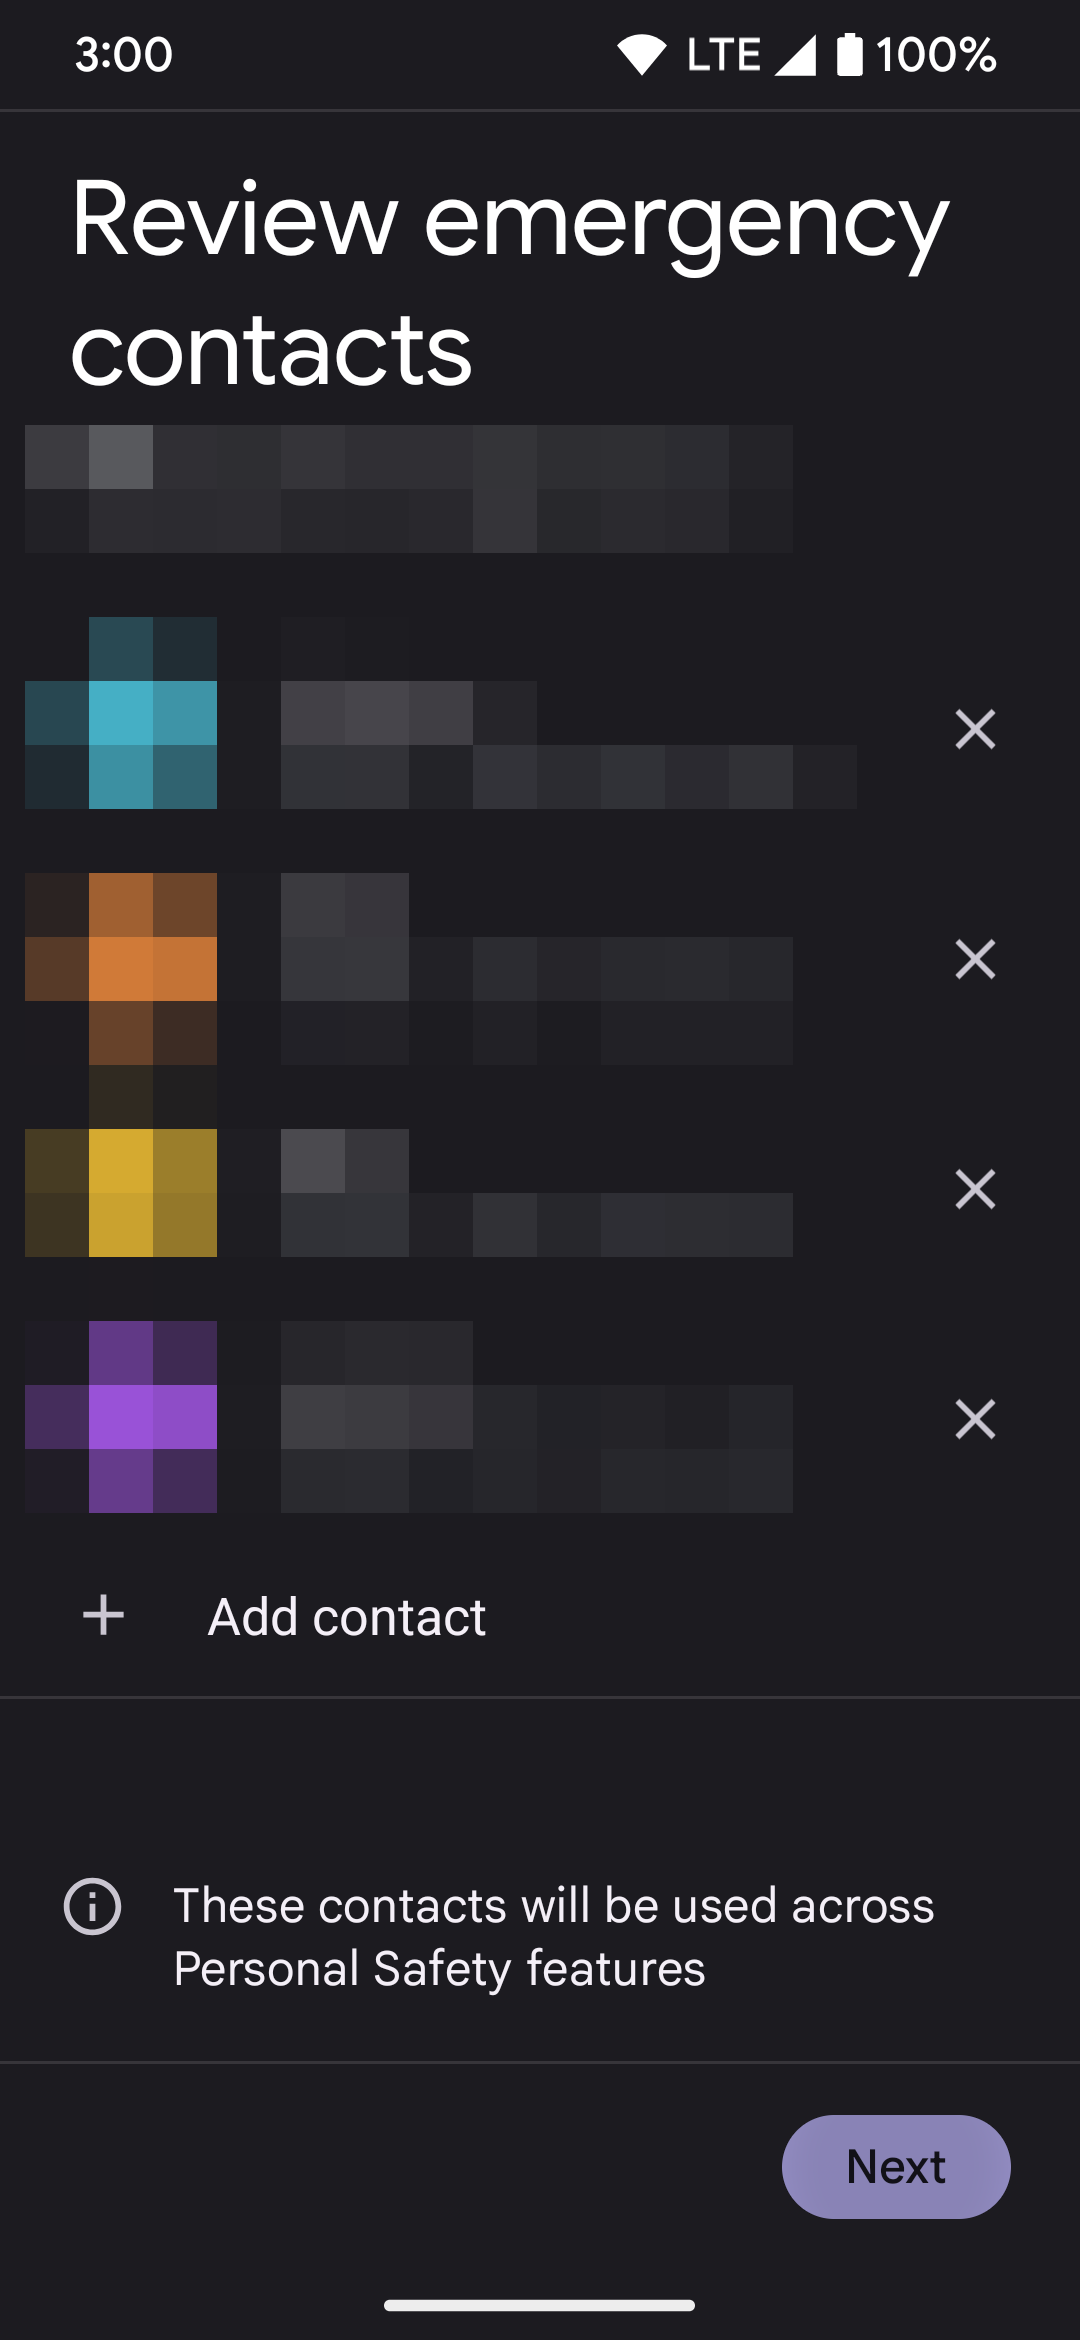
- Tap Add contact and include your primary emergency contacts. Your contacts are immediately notified when you use Emergency SOS or other Personal Safety features on your phone.
- Tap Next.
- On the Send SMS updates page, go through the options and tap the button to the right of an entry to turn it on. Real-time location is turned on by default, but you can tap Skip or Next to continue without extra SMS options.
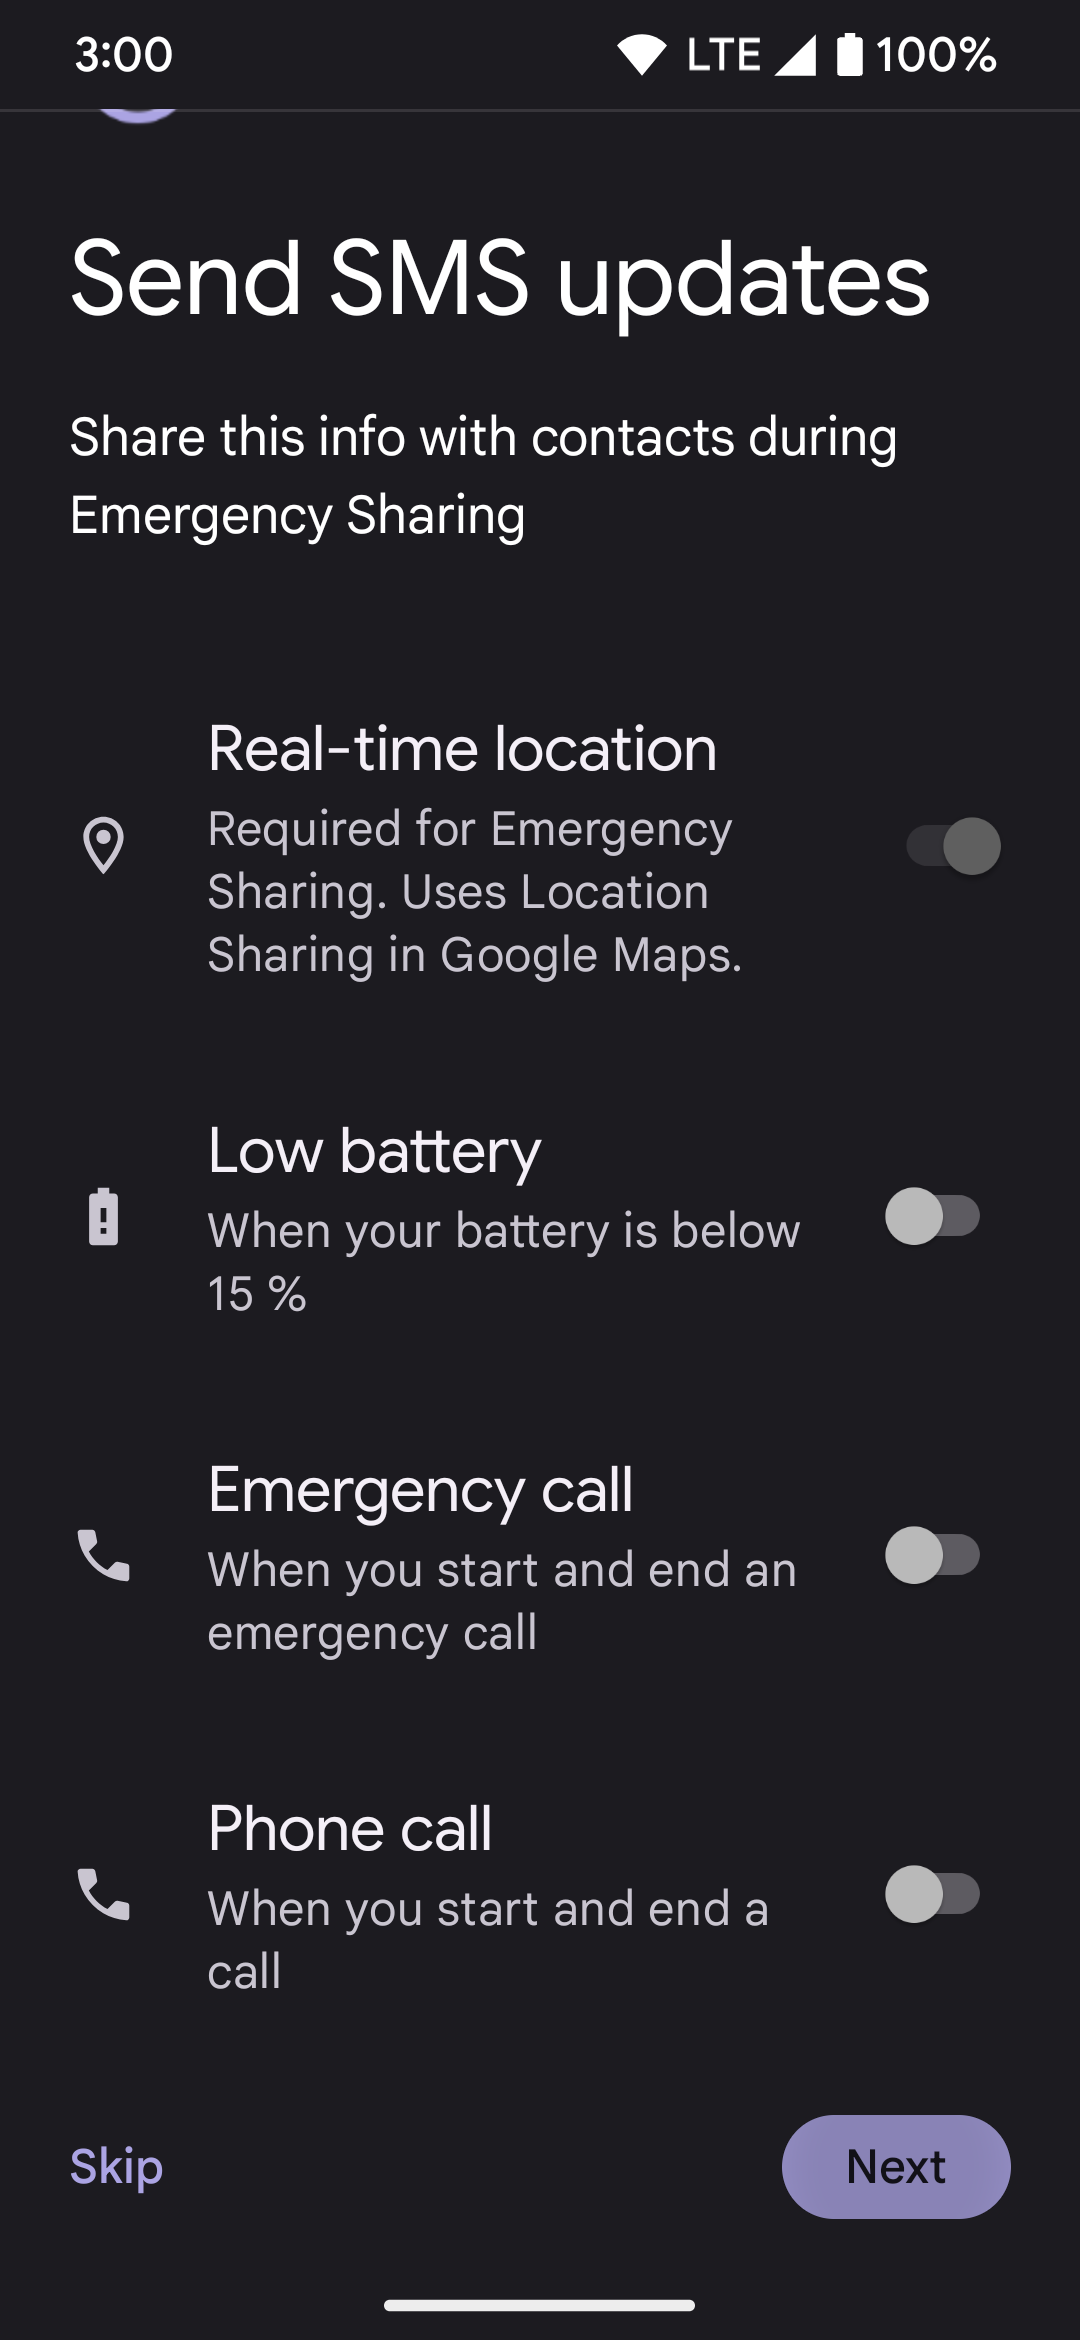
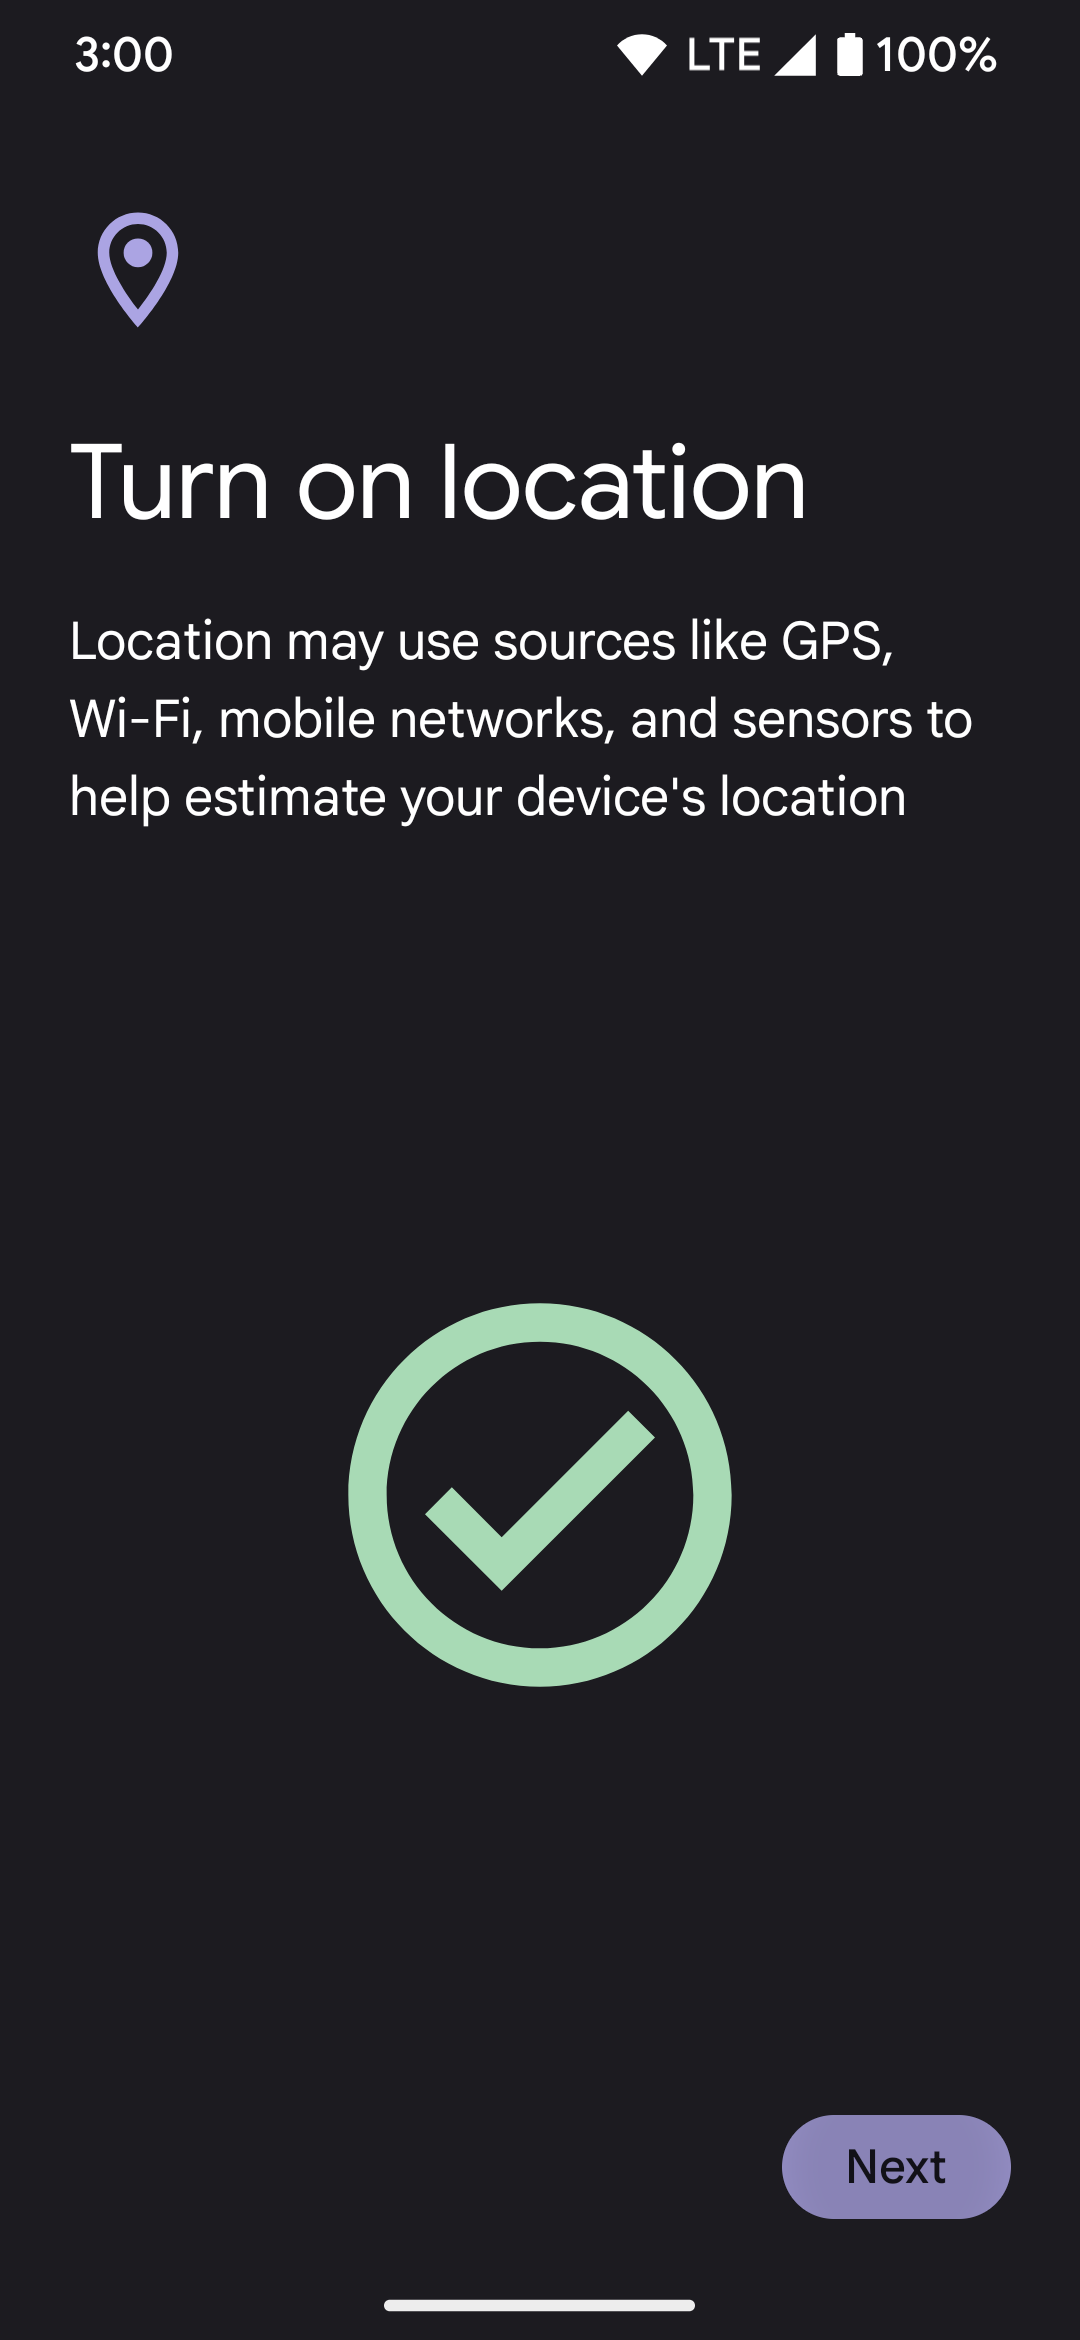
- If your phone’s location feature is off, you’re prompted to turn it on. You can choose Skip in the lower-left corner to continue the setup without turning on your location.
- Tap Next to continue.
- Look over the How location sharing works page, and tap OK. You can also select No thanks to continue without using the location sharing feature for your emergency contacts.


Review the final settings and finish the setup
With all that out of the way, it’s time to check out the video recording options and finish the setup process. You can also select an option on how to activate the Emergency SOS feature.
To finish the Emergency SOS setup on your phone, do this:
- Under the Record a video section, tap Start setup to continue. This is another optional SOS feature, so choose Skip if you don’t plan to use it.
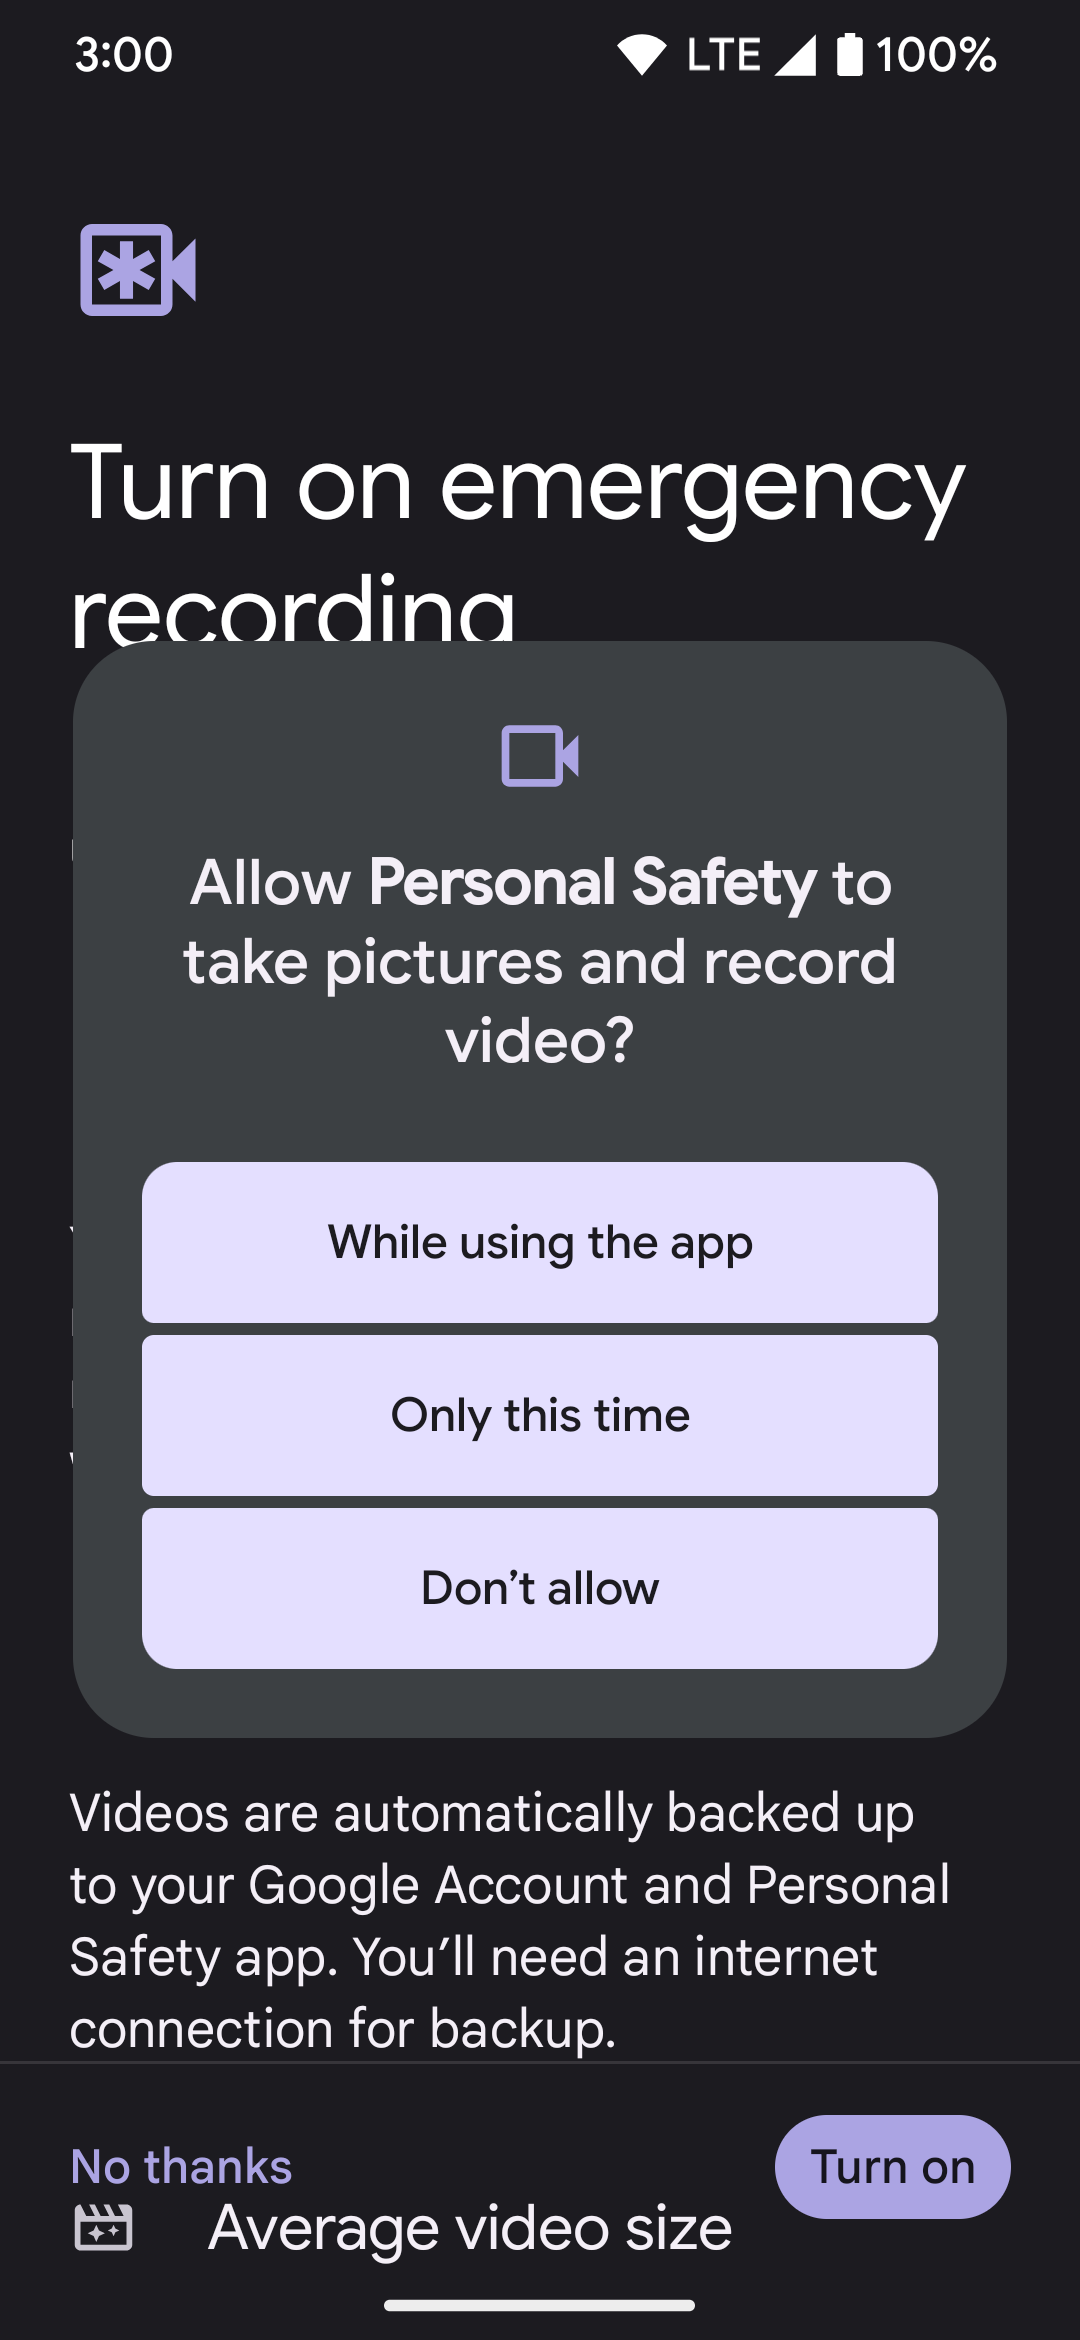
- Review the Turn on emergency recording page and tap Turn on when ready. If you decide not to use this feature, tap No thanks to turn it off.
- Choose the video app permission that works best for you if you turned on the video recording emergency feature.
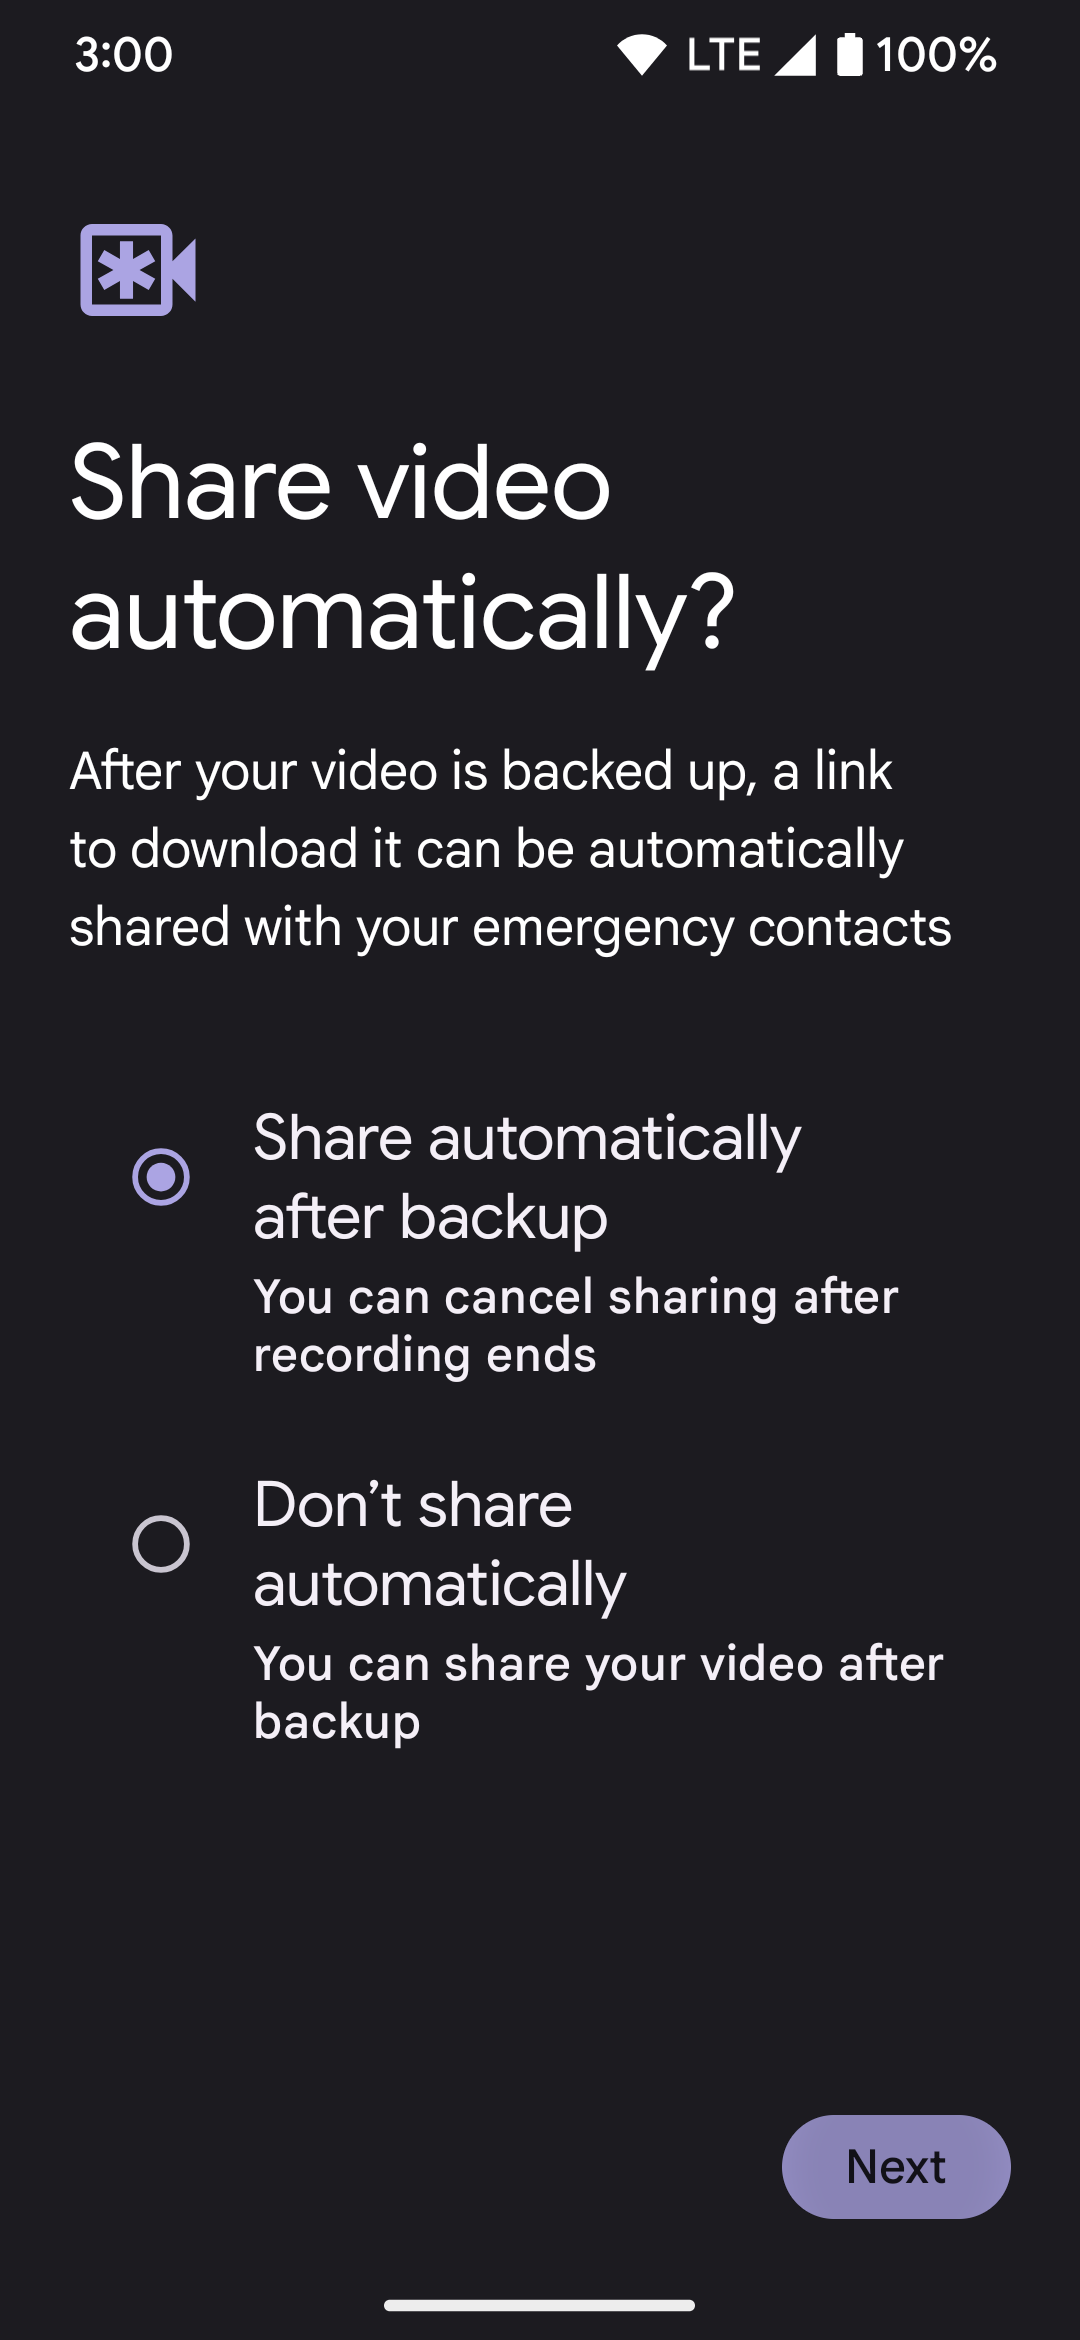
- Select Share automatically after backup or Don’t share automatically on the following screen.
- Tap Next.
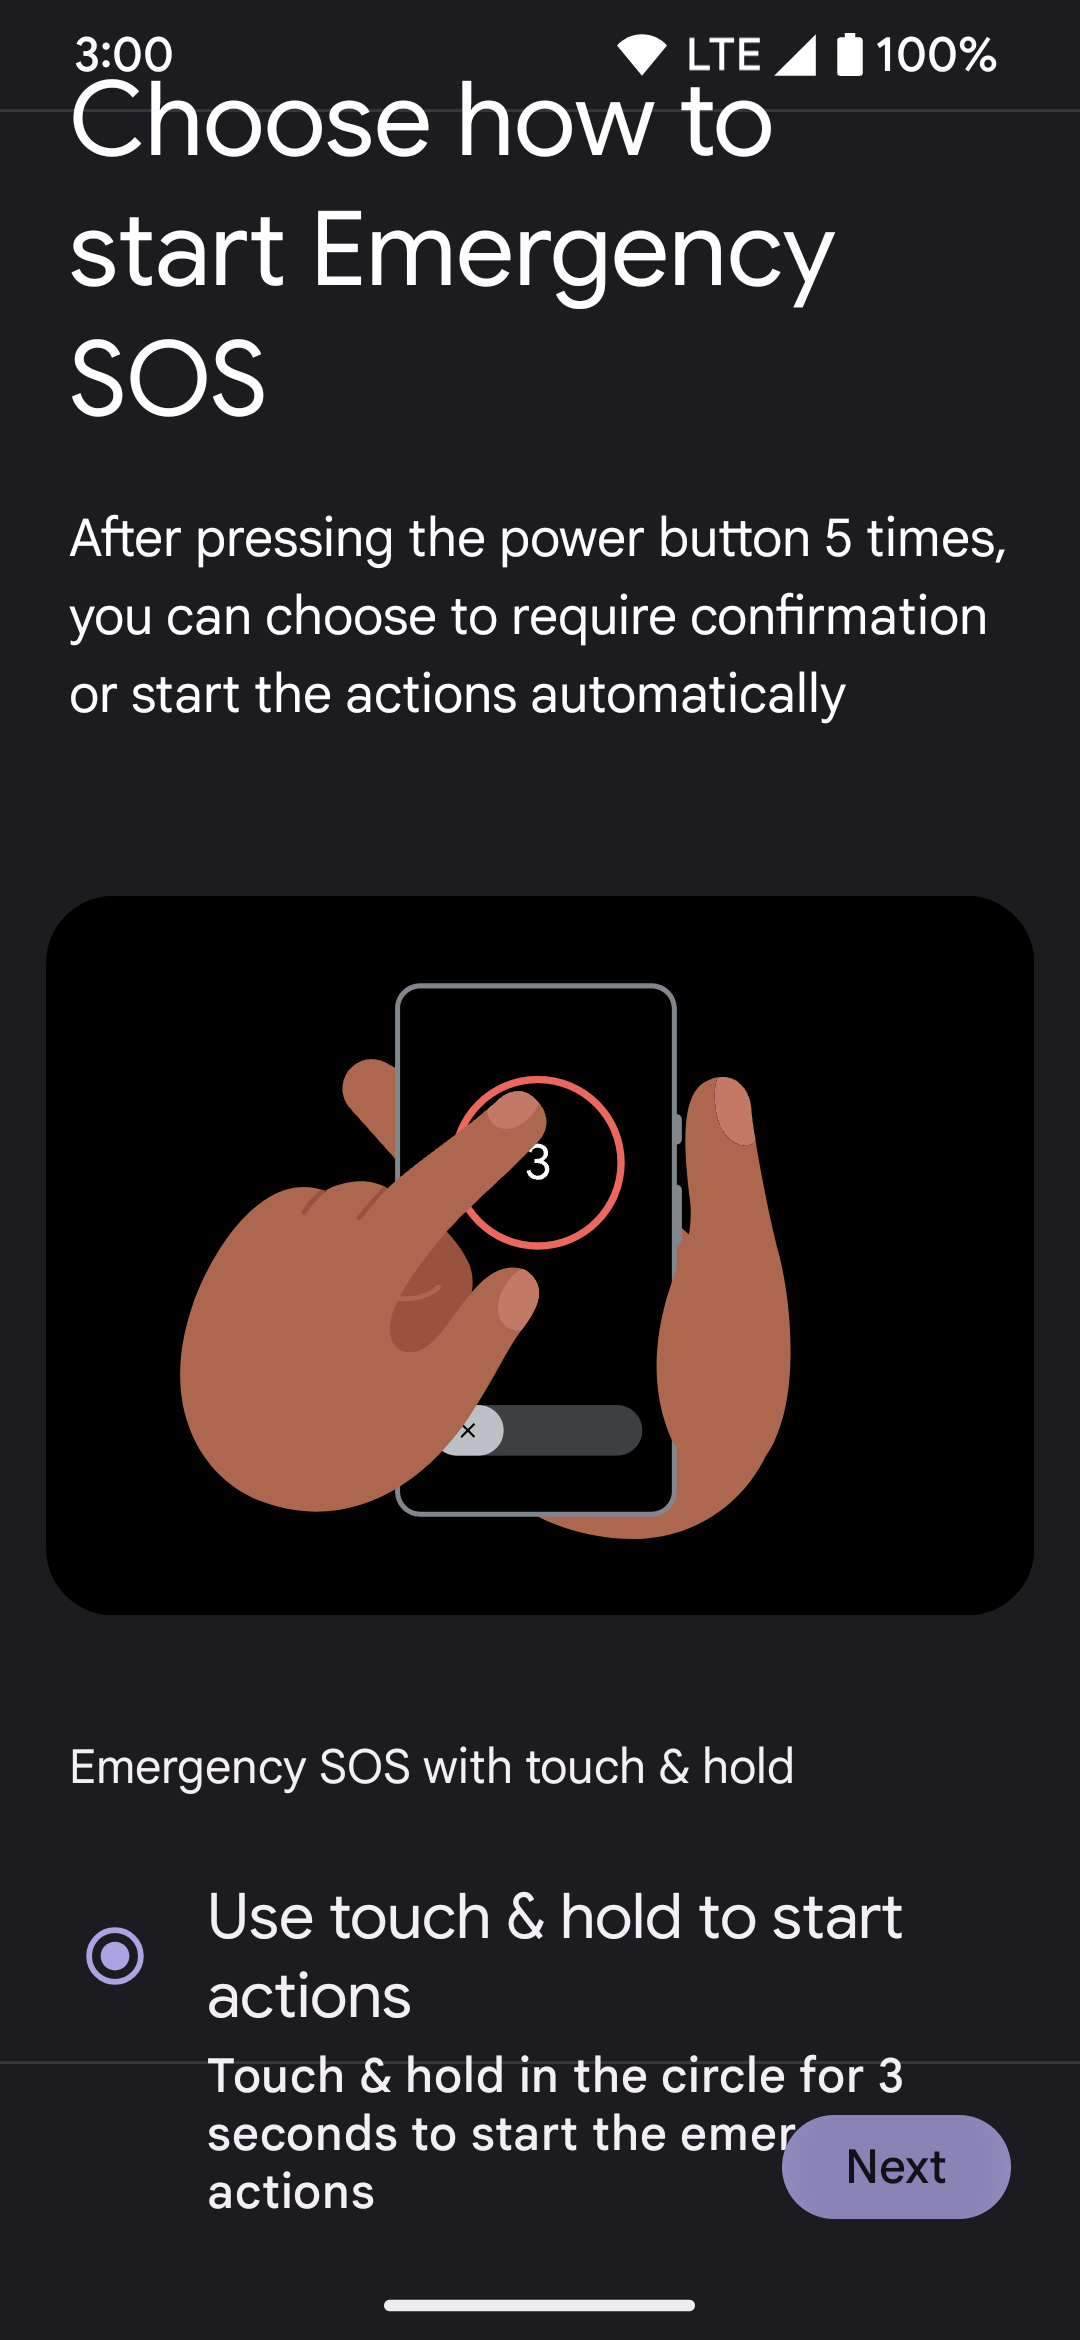
- Choose how to start the Emergency SOS feature on your phone. Select Use touch & hold to start actions or Start actions immediately after countdown.
- Tap Next to continue.
- Tap Done on the Emergency SOS is ready screen.
- You are returned to the main Emergency SOS page.
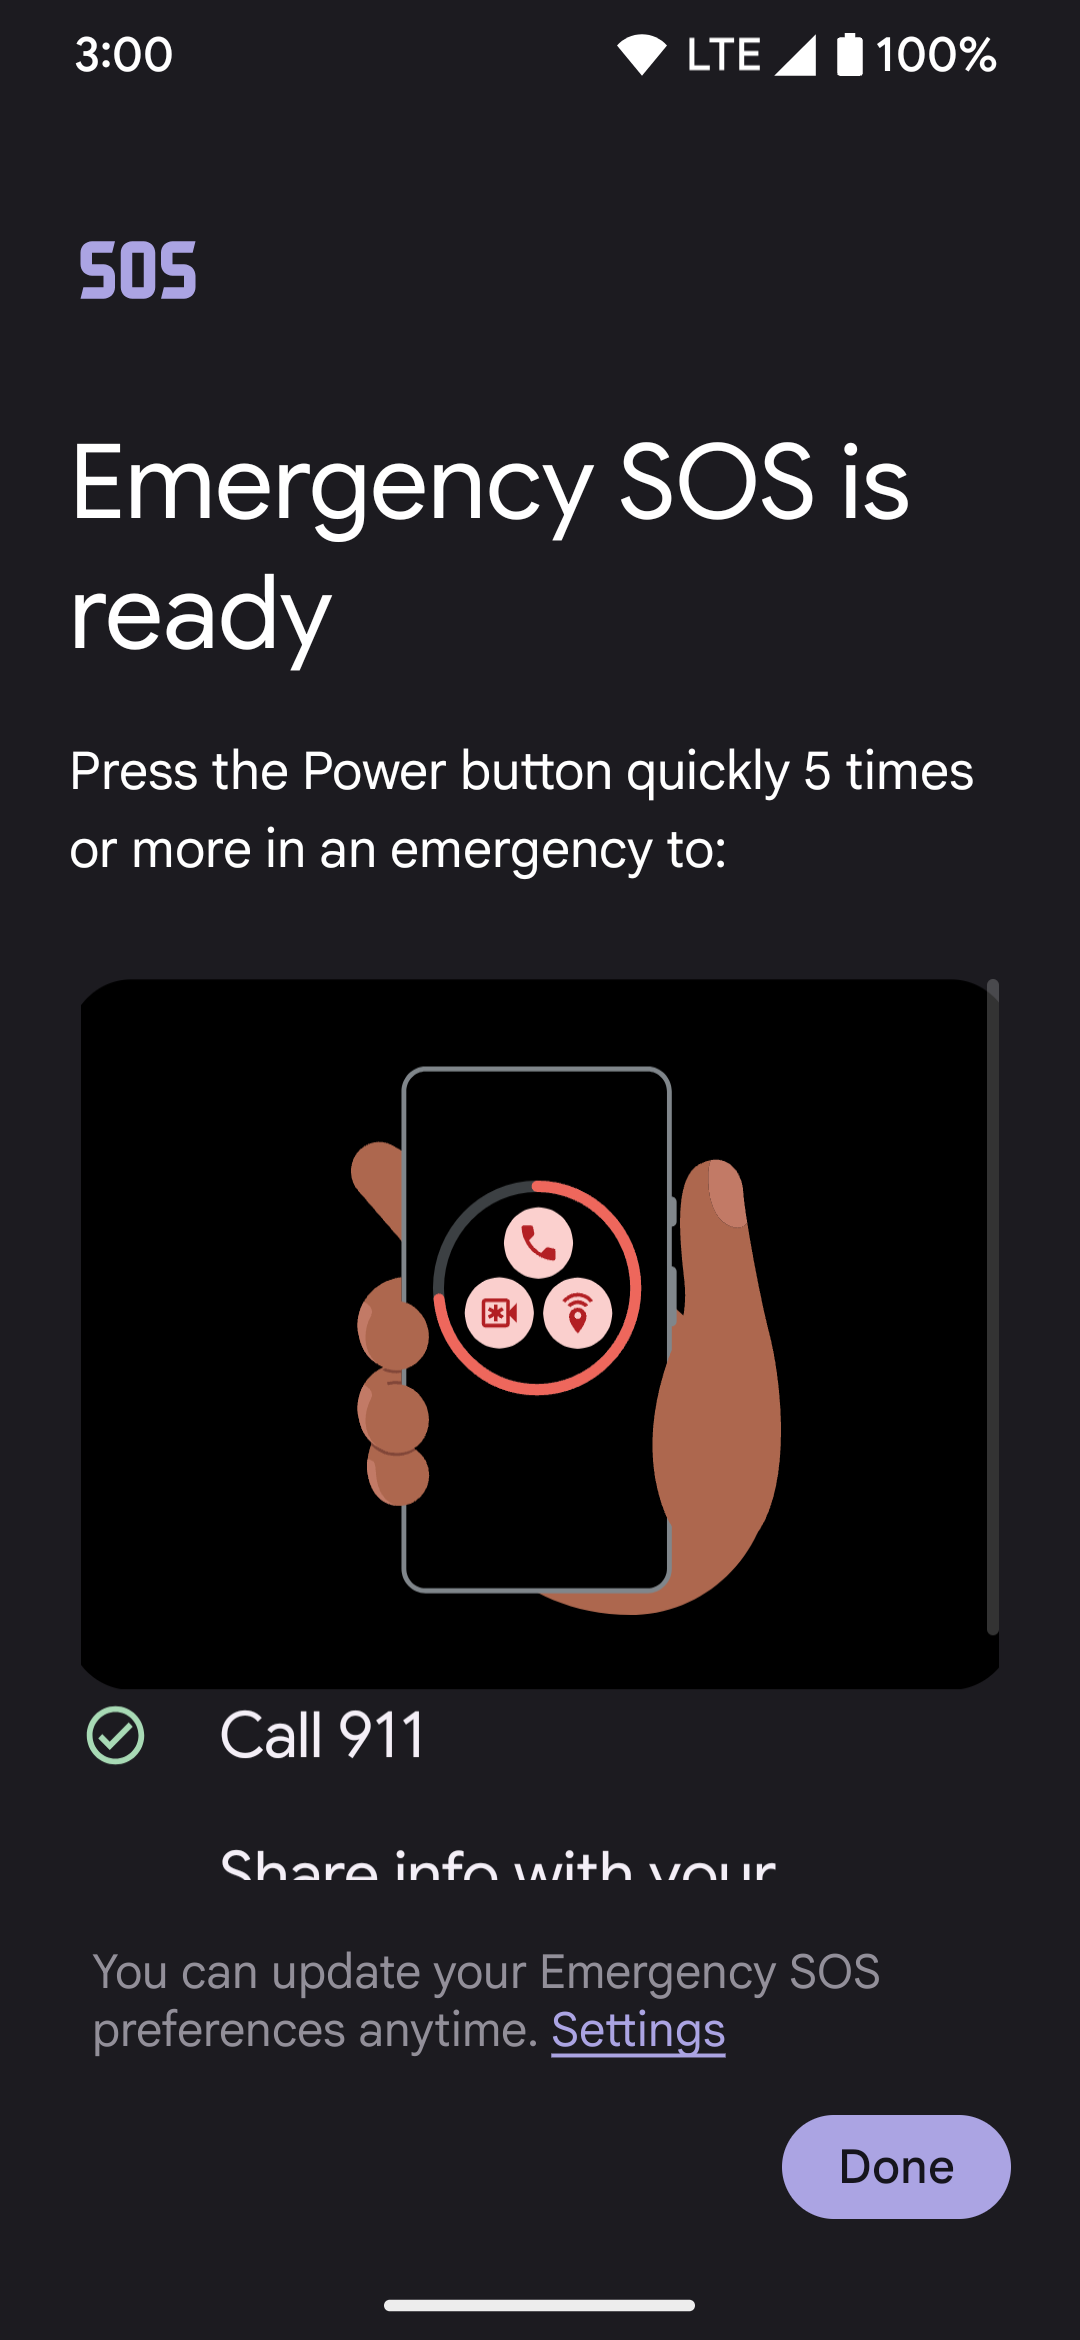
- Emergency SOS is now set up and ready to use on your phone. Tap the Try a demo button under the How it works section to see it in action.


Satellite SOS is here to keep you safe when you need it
Traveling when cellular coverage cuts off randomly can be stressful if an emergency occurs. Not being able to dial 911 or reach your contacts in an emergency defeats the purpose of having safety features. However, it doesn’t have to be that way when you have the Satellite SOS feature on your phone. It fills in the dead zones and allows everyone to stay connected regardless of where they go. Now that you have Satellite SOS on your Pixel phone, it’s ready to use if you lose cellular coverage during your travels.
Source link

