Screenshots are essential for communicating with others, whether you need to save important information or get support with an error message. Chromebooks and the ChromeOS operating system have a screenshot tool that makes it easy to take a picture of your Chromebook’s screen. This tool is available on the best Chromebooks and budget devices, making it accessible to everyone. This guide walks through the methods to take a screenshot on your ChromeOS device.
Related
How to use split screen on your Chromebook
Make multitasking work for you
How to take a screenshot using Chromebook keyboard shortcuts
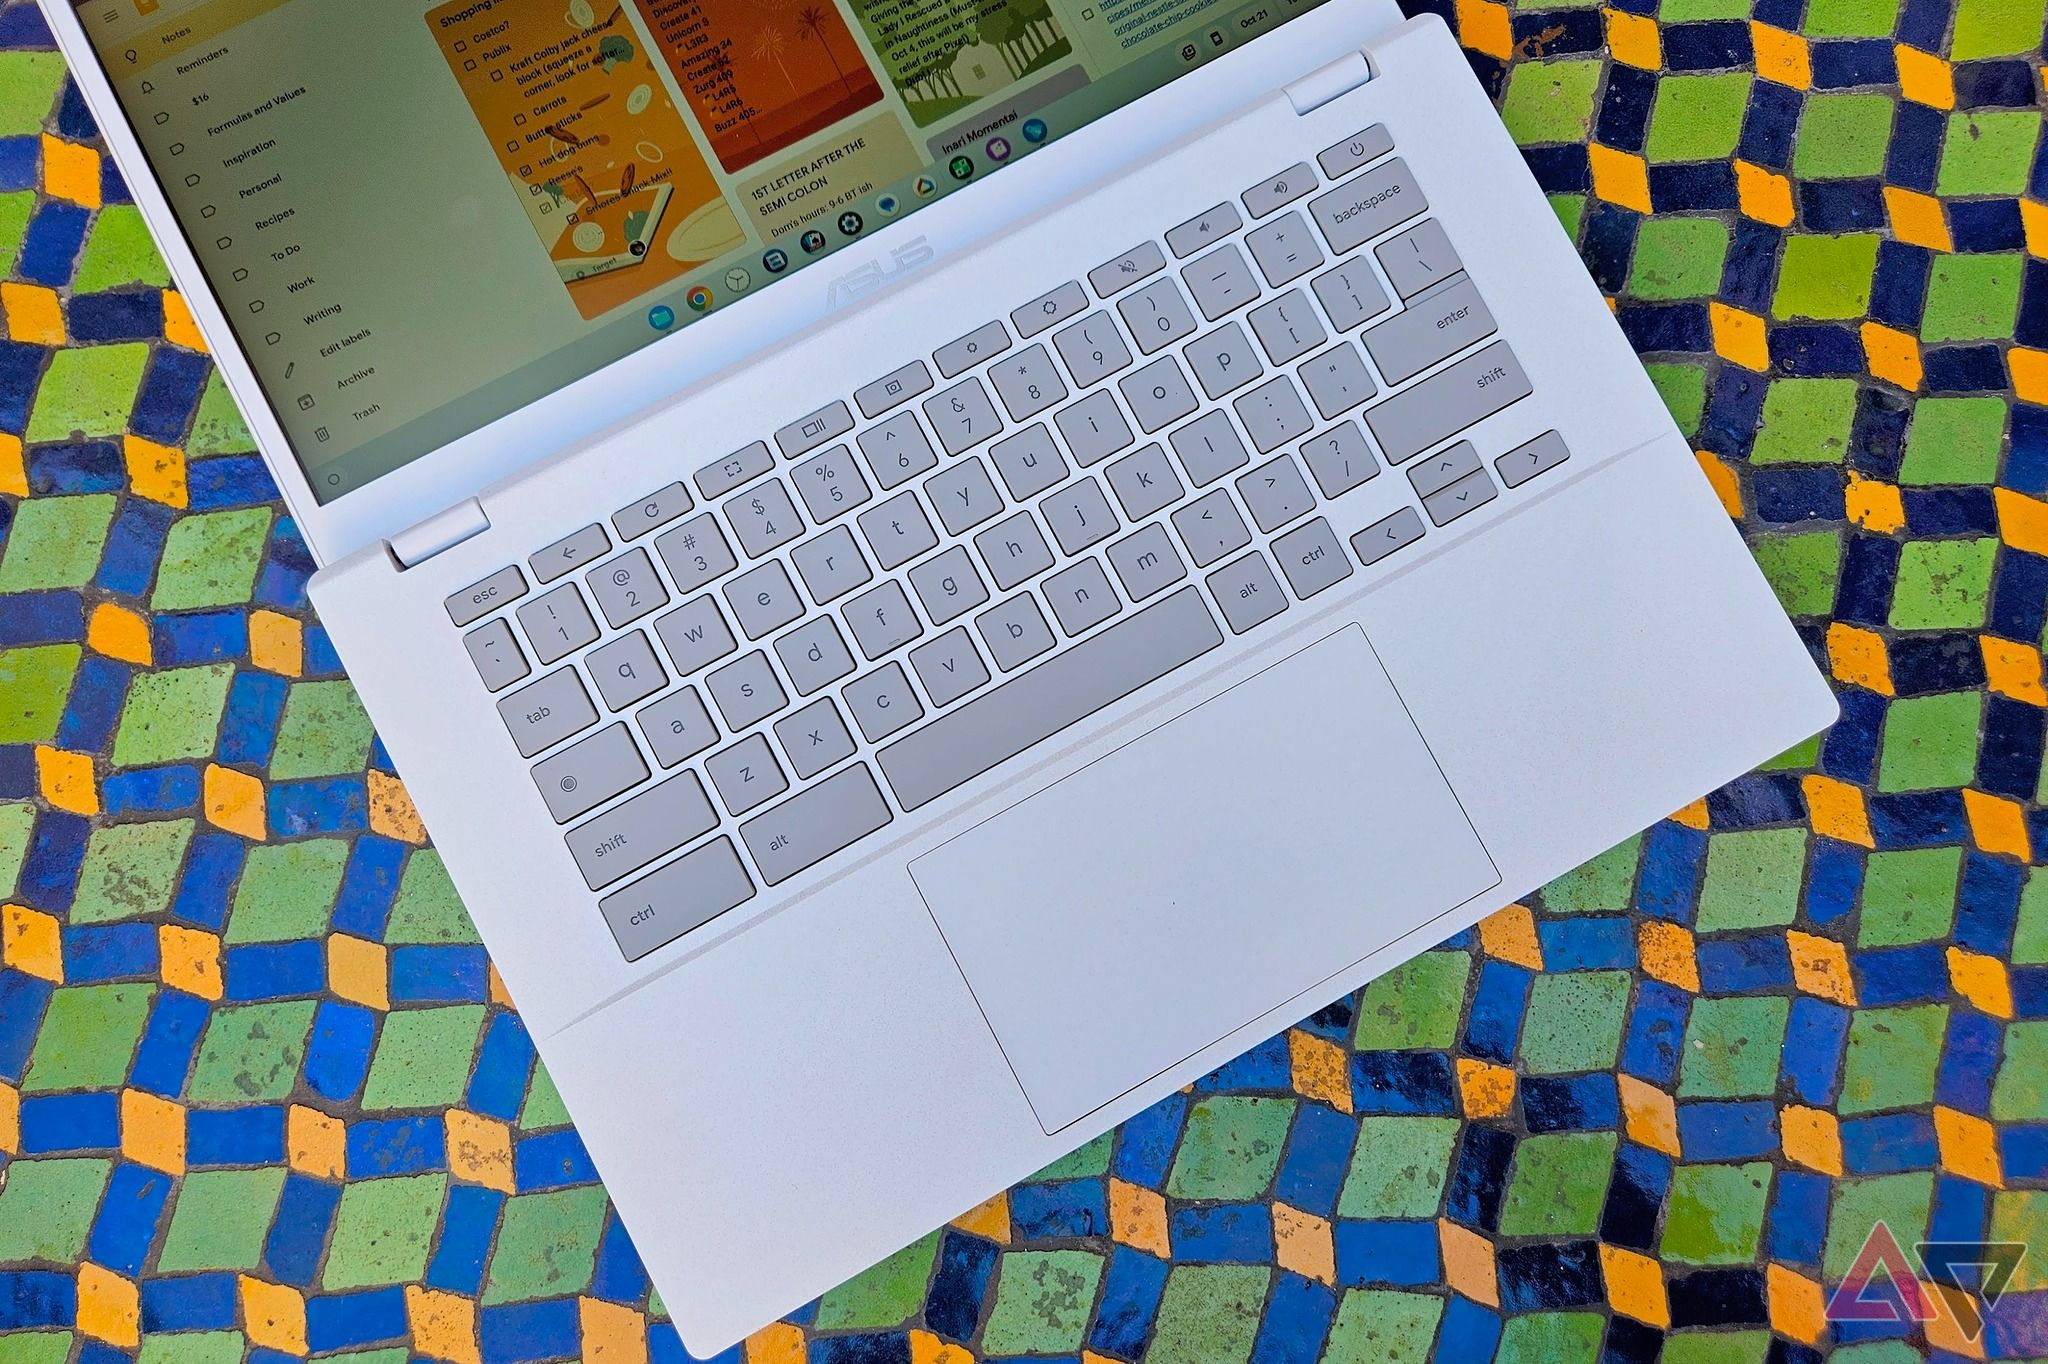
The keyboard may be the easiest and quickest way to access the Screen Capture tool. If you want to take a full-screen screenshot, press the Ctrl + Show Windows keys simultaneously. This is like Windows, where you press Shift + Windows + S to take a screenshot, and Mac, where you press Shift + Command + 3. The Show Windows key is in the top row of your keyboard and looks like a square with two vertical lines on the right.
To take a partial screenshot of your screen, take a window screenshot, or display more options for taking your screenshot, press Ctrl + Shift + Show Windows to open the screenshot menu. Then, use your cursor to highlight the area you want to capture and tap the capture button.
A few Chromebooks from manufacturers such as Acer and Lenovo and some external keyboards have dedicated screenshot keys. The key typically has a camera icon. If your keyboard has such a key, click it to open the screenshot menu.
How to screenshot on ChromeOS using Quick Settings
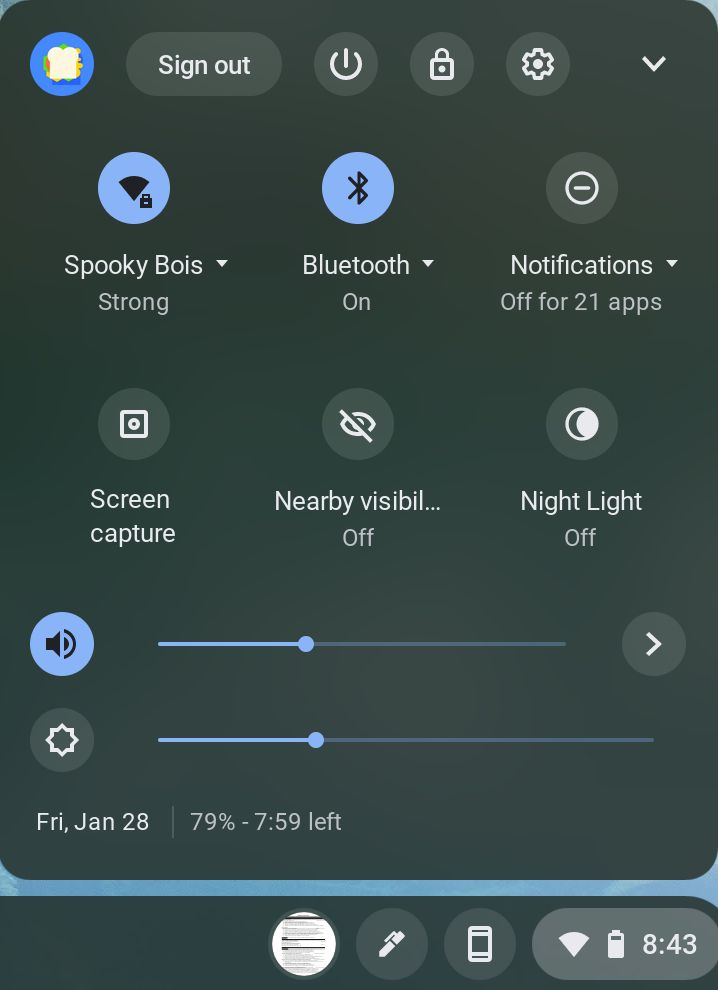
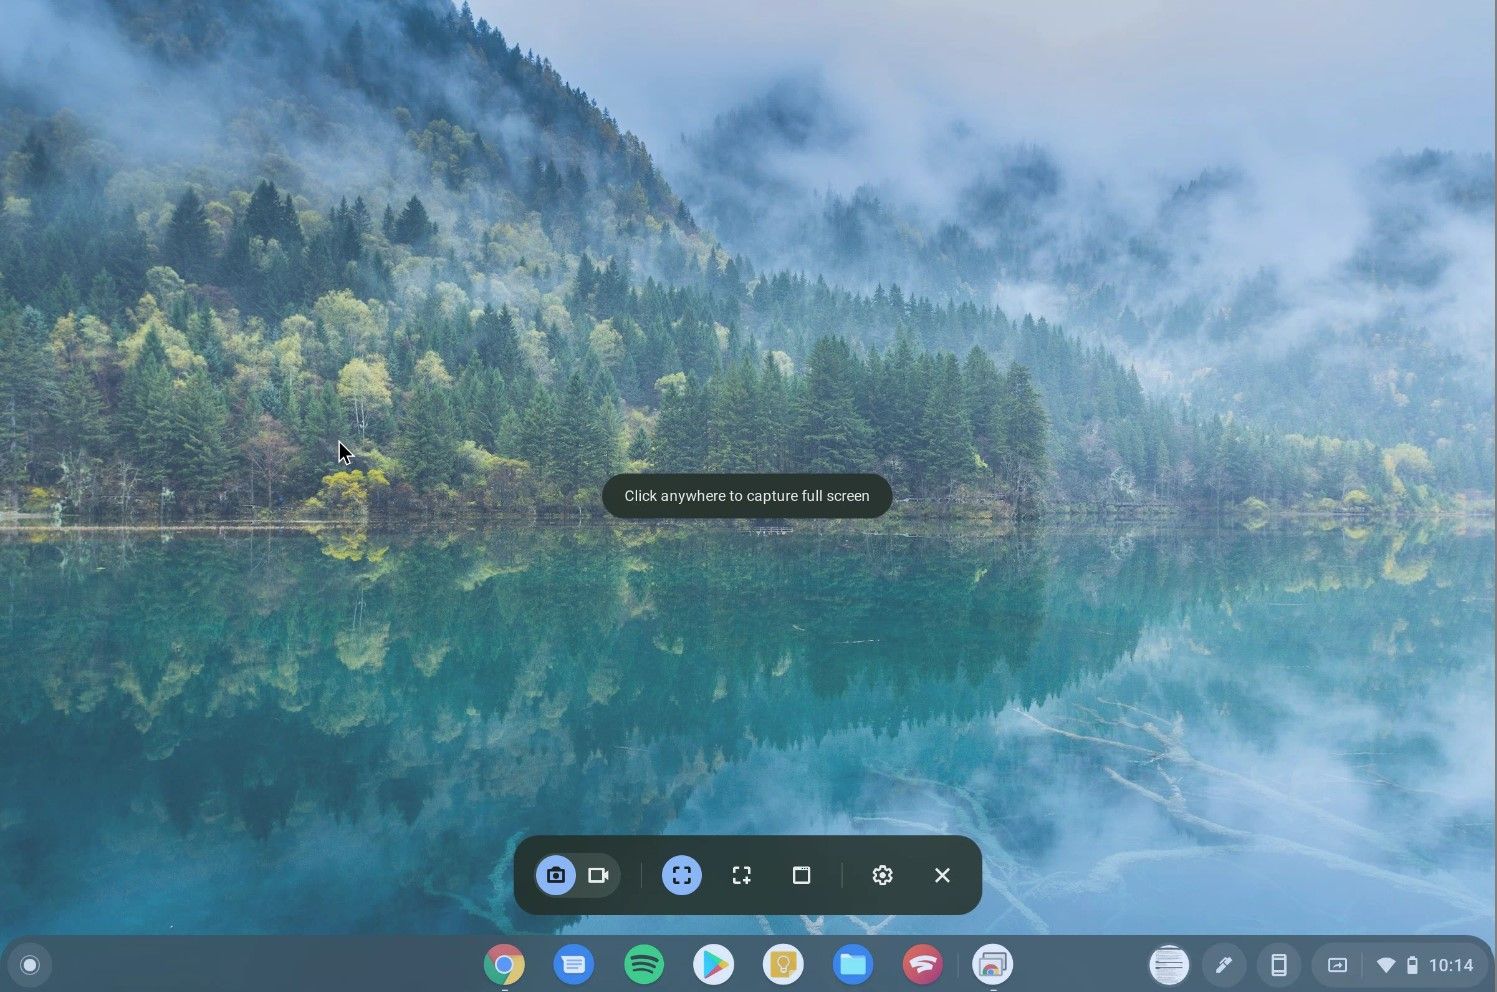
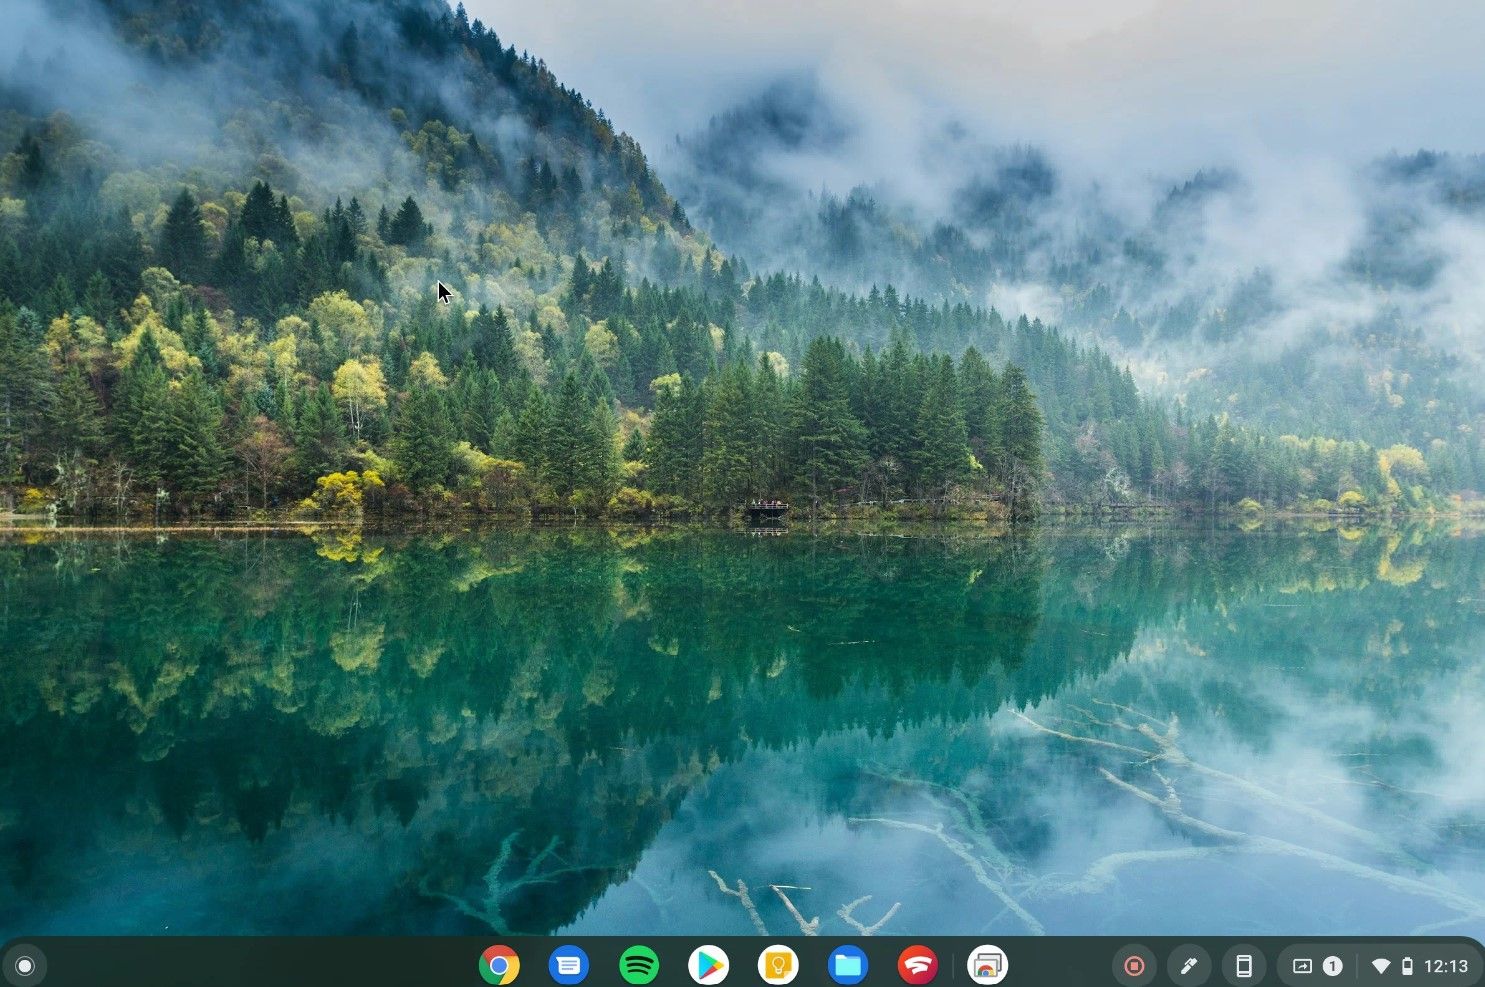
In addition to using your keyboard, you can take a screenshot using your Chromebook’s Quick Settings menu. To access the Quick Settings panel, where you also view notifications, tap the clock in the lower-right corner of the screen. Then, tap the Screen Capture icon, represented by a dot in a square. This brings up the Screen Capture toolbar, which allows you to take a screenshot of your full or partial screen.
The Screen Capture toolbar has several options to capture your screen. There are three sections in the toolbar:
- The left section allows you to swap between taking a screenshot and taking a video. The camera icon indicates that you’re taking a screenshot, while the video camera icon means you’re recording your screen.
- The middle section determines what kind of screenshot you’re taking. The square with four corners icon takes a screenshot of your entire screen, the square with one corner as a plus symbol allows you to capture a part of the screen, and the browser window icon allows you to capture content from a specific window.
- The right section lets you modify your settings and close the Screen Capture tool.
Related
What to do when your Chromebook won’t charge
Chromebook not charging? Here’s what to do
Where are screenshots saved on ChromeOS?
By default, the Screen Capture tool saves all videos and images to the device’s Downloads folder in the Files app. To change where they are saved, open the toolbar, select the Settings gear, and modify the Save to settings. This also allows you to save them to Google Drive.
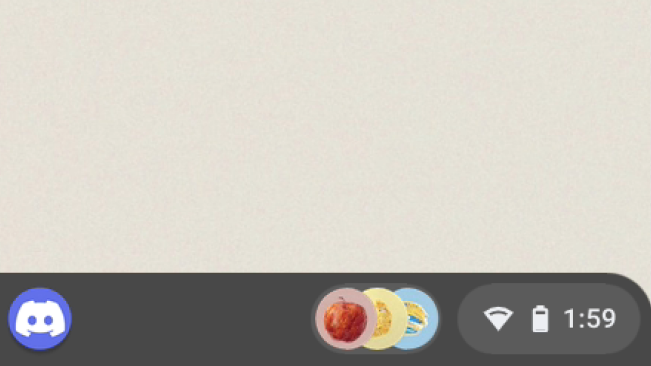
Chromebooks have a Tote feature, where you can access your recent files. The Tote shows up on your Chromebook’s shelf and shows your recent files. To access a recent screenshot, go to the Tote and tap the screenshot.
Additionally, screenshots are added to your clipboard. This makes it easy to paste them into a Google Docs document or in Google Messages using Phone Hub. The Clipboard Manager keeps the five recent items you copied. To see what’s on the clipboard, press the Everything button (also called the Search Key; it looks like a magnifying glass or concentric circles and is on the left side of the keyboard) and then press V.
How to make a screen recording with narration and annotation
You can record a video of your screen, and you can record yourself and your mouse. To do so, launch the Screen Capture toolbar and switch to fullscreen video capture. Then, tap the Settings cog and select a microphone and camera to record your audio and video. To record your mouse and keyboard during this screen capture, toggle on the Show clicks and keys option. Then, tap anywhere on your screen to start recording. Tap the stop recording button (shaped like concentric red circles) on the shelf to finish recording.
How to use Android’s Nearby Share on your Chromebook
Kind of like AirDrop, but Google
Capture everything you need
Taking screenshots on a Chromebook is a breeze and comes with several options. The screenshot tool is one of the little-known Chromebook tips and tricks to maximize your experience. In addition, Android phones have numerous ways to take screenshots, just like Chromebooks.
Source link

