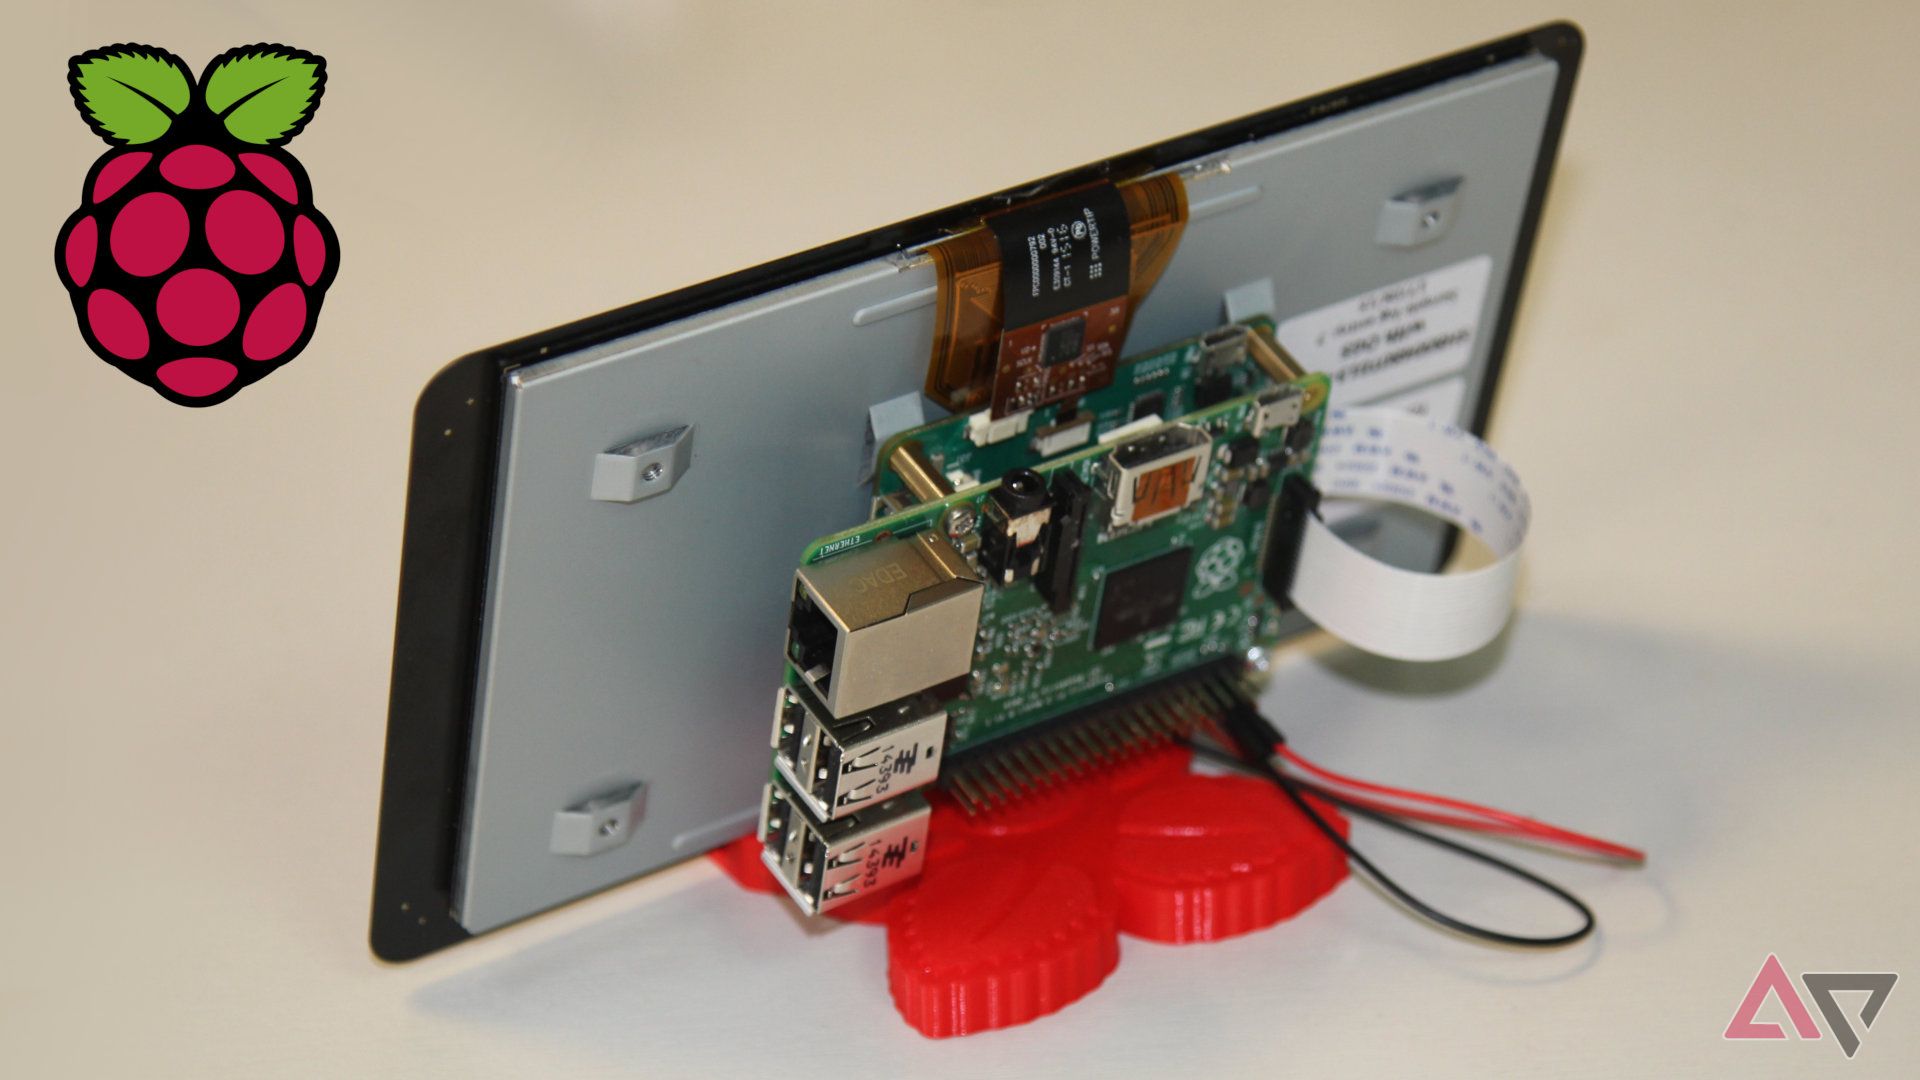
If you use a Raspberry Pi for DIY projects, you can connect it to a monitor. The only exceptions are the Raspberry Pi Zero and Zero 2 W. That’s great if you’re setting up a one-and-done project. It isn’t great when you need to access the Pi when working on remote projects or when tucking it away in a hard-to-reach location like a robot. Sometimes, you need to access a Raspberry Pi without connecting it to a monitor. That’s where SSH comes in.
Remote access isn’t difficult using the Secure Shell (SSH) protocol. You can connect to a Pi from another machine if you know its IP address. Every device connected to a local area network (LAN) is assigned an IP address. If you have a display connected, grabbing your Pi’s IP address is quick. There are also ways to find it using another device on your network.
Setting up SSH can be intimidating for a novice, but that’s because there are many ways to do the same thing.

What is Raspberry Pi and how can I use it?
Raspberry Pi is a sweet treat for do-it-yourselfers, educators, and makers and a key component in many automation projects
Setting up SSH is essential for many Raspberry Pi projects
The Raspberry Pi has been powering educational and hobbyist computing projects since its launch in 2012. It was designed to be a compact and affordable computer that could be used for various applications. As it became more popular, it became a go-to choice for setting up DIY media centers and file servers. It can also be used to control robots or build retro video game machines.
With the explosion of Internet of Things (IoT) devices, more people have looked to the Pi as a low-cost way of controlling devices in their homes. Whether you’re monitoring the weather outside, soil conditions to automatically water your plants, or air quality, the Pi is a great platform for these projects. It’s versatile, and with a little know-how, you can make it a Wi-Fi extender or a garage door opener. You can also use it for any number of home automation tasks.
You don’t want to connect a computer monitor to your Pi when you want to make a change to your project. With some projects, you’ll either disconnect your Pi and bring it to your computer desk or bring a powered portable monitor with you. That’s why we use SSH to control things from a distance.
Secure Shell (SSH) gives you an encrypted network connection to your Raspberry Pi
You don’t want to leave many of these projects open for anyone to access remotely. When you know how, accessing a network device that isn’t protected is easy. SSH is a cryptographic network protocol that was designed in 1995 to allow remote access and operation between computers.
SSH sets up an authentication token (username and password), allowing a user to log in to a remote computer’s shell or command-line interface and execute commands from a different device. That includes using Secure Shell file transfer protocols and pushing files from one computer to another.
The most popular SSH implementation is OpenSSH. In the late 1990s and early 2000s, developers worked to create this free and open source version of SSH.
Finding your Raspberry Pi’s IP address
If you have a monitor for your Raspberry Pi, finding your IP address is easy. Boot into Raspberry Pi OS and follow these steps.
Option 1: Find the IP address from your desktop
Find your IP address by hovering over the network icon in the system tray. A tooltip displays the network you’re currently connected to and the IP address.
Option 2: Get your IP address from a terminal window
Open a terminal window by clicking the terminal icon at the top of the screen or selecting Accessories and choosing Terminal from the menu. Run the following command to output your IP address to the command line:
hostname -I
If you boot directly to the command line rather than the desktop, the boot sequence includes your IP address. You’ll find it in the last few output messages before your login prompt. You can also use the Network Manager CLI (nmcli) to access details about your network by running the command:
nmcli device show
The output shows the interfaces accessible to your Pi, like your “ethernet” port and “wifi” chip. Depending on which method you use to access the internet, identify the IP4.ADDRESS[1] or IP6.ADDRESS[1], ignoring the trailing slash and number. For example, if it says 192.168.1.42/24, disregard the /24 and use the address 192.168.1.42.
Other ways to get your IP Address if you don’t have a monitor connected
Option 1: Ping your Raspberry Pi using the command terminal from another computer
You can use the standard ping command from another computer on your network. Raspberry Pi OS supports multicast DNS support out-of-the-box. You’ll need your device’s hostname. If you didn’t configure a different hostname, the default hostname is raspberrypi.
Open the command terminal on your computer and run the following command:
ping raspberrypi.local
You’ll receive an output that shows the device’s IP address that looks like this:
PING raspberrypi.local (192.168.1.131): 56 data bytes64 bytes from 192.168.1.131: icmp_seq=0 ttl=255 time=2.618 ms
Option 2: Use your smartphone to get the IP address
Several network scanner apps for Android and iOS can help you find the IP address of your Raspberry Pi. The Fing app is recommended on the Raspberry Pi website. It’s available on the Play Store and Apple’s App Store.
Your phone and Raspberry Pi must be connected to the same wireless network. Open the Fing app and touch the refresh button in the upper right corner to see the devices connected to your network. Scroll down until you see the “manufacturer” name “Raspberry Pi.” The IP address is listed near the lower-left corner.
Option 3: Check your routers’ list of connected devices to get the IP address
If none of the above options work, you can figure out your Raspberry Pi’s IP address through the process of elimination. Open any web browser and access your router through its IP address. That address can be found on the bottom of your router. It is typically http://192.168.1.1, but that isn’t the case for every router. If you didn’t set up a username and password, the login credentials are usually printed on the same sticker on the bottom of your router.
Take a look at the list of devices connected to your network. There might be several of them, especially if you have many IoT devices, but you should recognize some easily. Your computers, tablets, phones, and printers will be listed, and you can work through the list, eliminating anything you recognize. Pinpoint which device is your Raspberry Pi, and you’ll find its IP address listed. Start by looking for devices connected by Ethernet or Wi-Fi, depending on the method your Raspberry Pi uses.

How to choose the right Plex server: PC vs. NAS vs. Shield vs. Raspberry Pi
Some are cheaper, some are better
Setting up an SSH server on your Raspberry Pi and connecting for the first time
Now that the hard part is over, you can set up your Pi for remote access. By default, the Raspberry Pi turns off the SSH server, so you must turn it on first.
Enabling SSH on your Raspberry Pi
If you have access to the Raspberry Pi desktop, go to the Preferences menu, select Raspberry Pi Configuration, and go to the Interfaces tab. Find where it says SSH, select Enabled, and click OK.
If you’re accessing the Pi through a terminal, you’ll run a few commands. Start by entering:
sudo raspi-config
Select Interfacing Options. Select SSH, and choose Yes. Select OK, and then choose Finish.
You can also set up SSH manually if you can’t do it with one of the methods above. Create an empty ssh file in the boot partition with the command:
sudo touch /boot/firmware/ssh
Then, reboot your machine with the command:
sudo reboot
Alternatively, insert the MicroSD card into your computer, navigate to the boot directory, and create the ssh file. Then insert the MicroSD card into the Raspberry Pi, and boot it up.
Connecting to your Raspberry Pi with SSH for the first time
Now that SSH is enabled, you can connect to your Raspberry Pi by opening a terminal on your computer and entering a few commands. Replace
$ ssh@
For example, our command looks like this:
$ ssh androidpolice@192.168.1.42
When connected, you see a security warning. You only see this the first time you connect remotely. Type yes and enter your account password when prompted. If everything goes smoothly, your username and hostname display like this:
@ ~ $
For example, when we use the default hostname, ours looks like this:
androidpolice@raspberrypi ~ $
That’s the last step to enabling and setting up SSH. Now, you can start executing commands remotely.

This open source automation platform could unify smart home products
How an up-and-coming smart home platform is shaping up to be the one
Enabling SSH opens a world of possibilities for your Raspberry Pi
The Raspberry Pi has become an incredible tool for many people to develop their own DIY projects or recreate projects shared by community members. Enabling SSH is a powerful way to make changes during the development period and updates down the road. As these tiny computers get more powerful, the number of awesome things you can do increases. Let your imagination run wild, and see what you can do.
Source link


