In case you are at all times on the go, Gmail might be among the many most used apps in your cellphone.
It makes managing your inbox simple and retains you knowledgeable of all high-priority emails that arrive.
However the default settings could be extra of a distraction than a assist.
From the annoying Meet tab taking over useful display screen actual property to notification settings that solely present “vital” emails whereas letting the remaining slip by means of the cracks, there may be loads of room for enchancment.
By tweaking a number of hidden settings, you may remodel Gmail from a cluttered inbox right into a streamlined device that works for you.
My inbox stopped feeling like an issue I needed to resolve individually
Flip off the unhelpful Meet tab
No extra Meet-ings
In case you do not use Meet for scheduling calls, you will see that its devoted tab within the Gmail app annoying.
As somebody who hardly ever makes use of Meet, I do not want its tab to occupy treasured actual property in my electronic mail app.
You’ll be able to simply do away with the Meet tab from the Gmail app.
Even higher, you may disable the Meet tab on a per-account foundation. So, you may conceal it out of your private inbox whereas protecting it in your work mail account for fast entry to your scheduled calls.
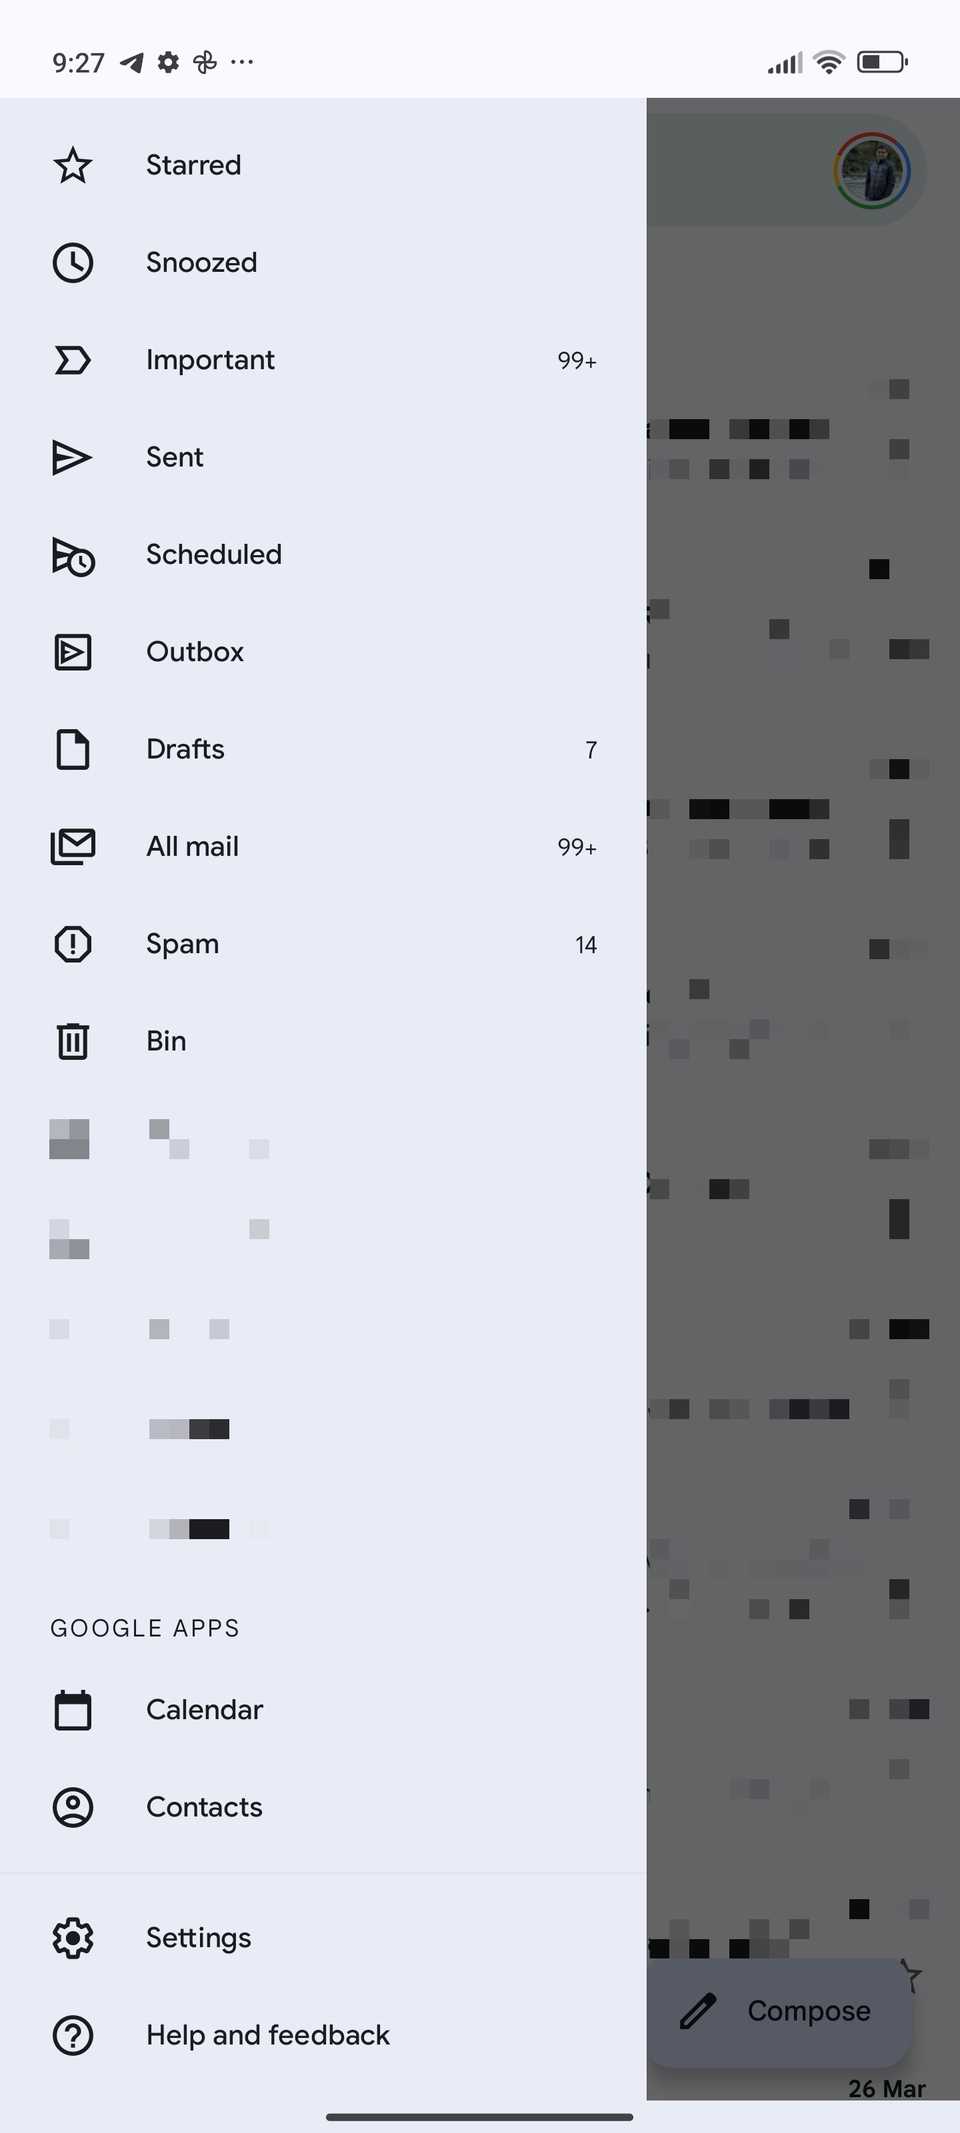
- Open the Gmail app in your cellphone. Faucet the three-line (≡) icon contained in the search bar within the upper-left nook to carry up the hamburger menu.
- Faucet Settings positioned on the backside of the menu.
-
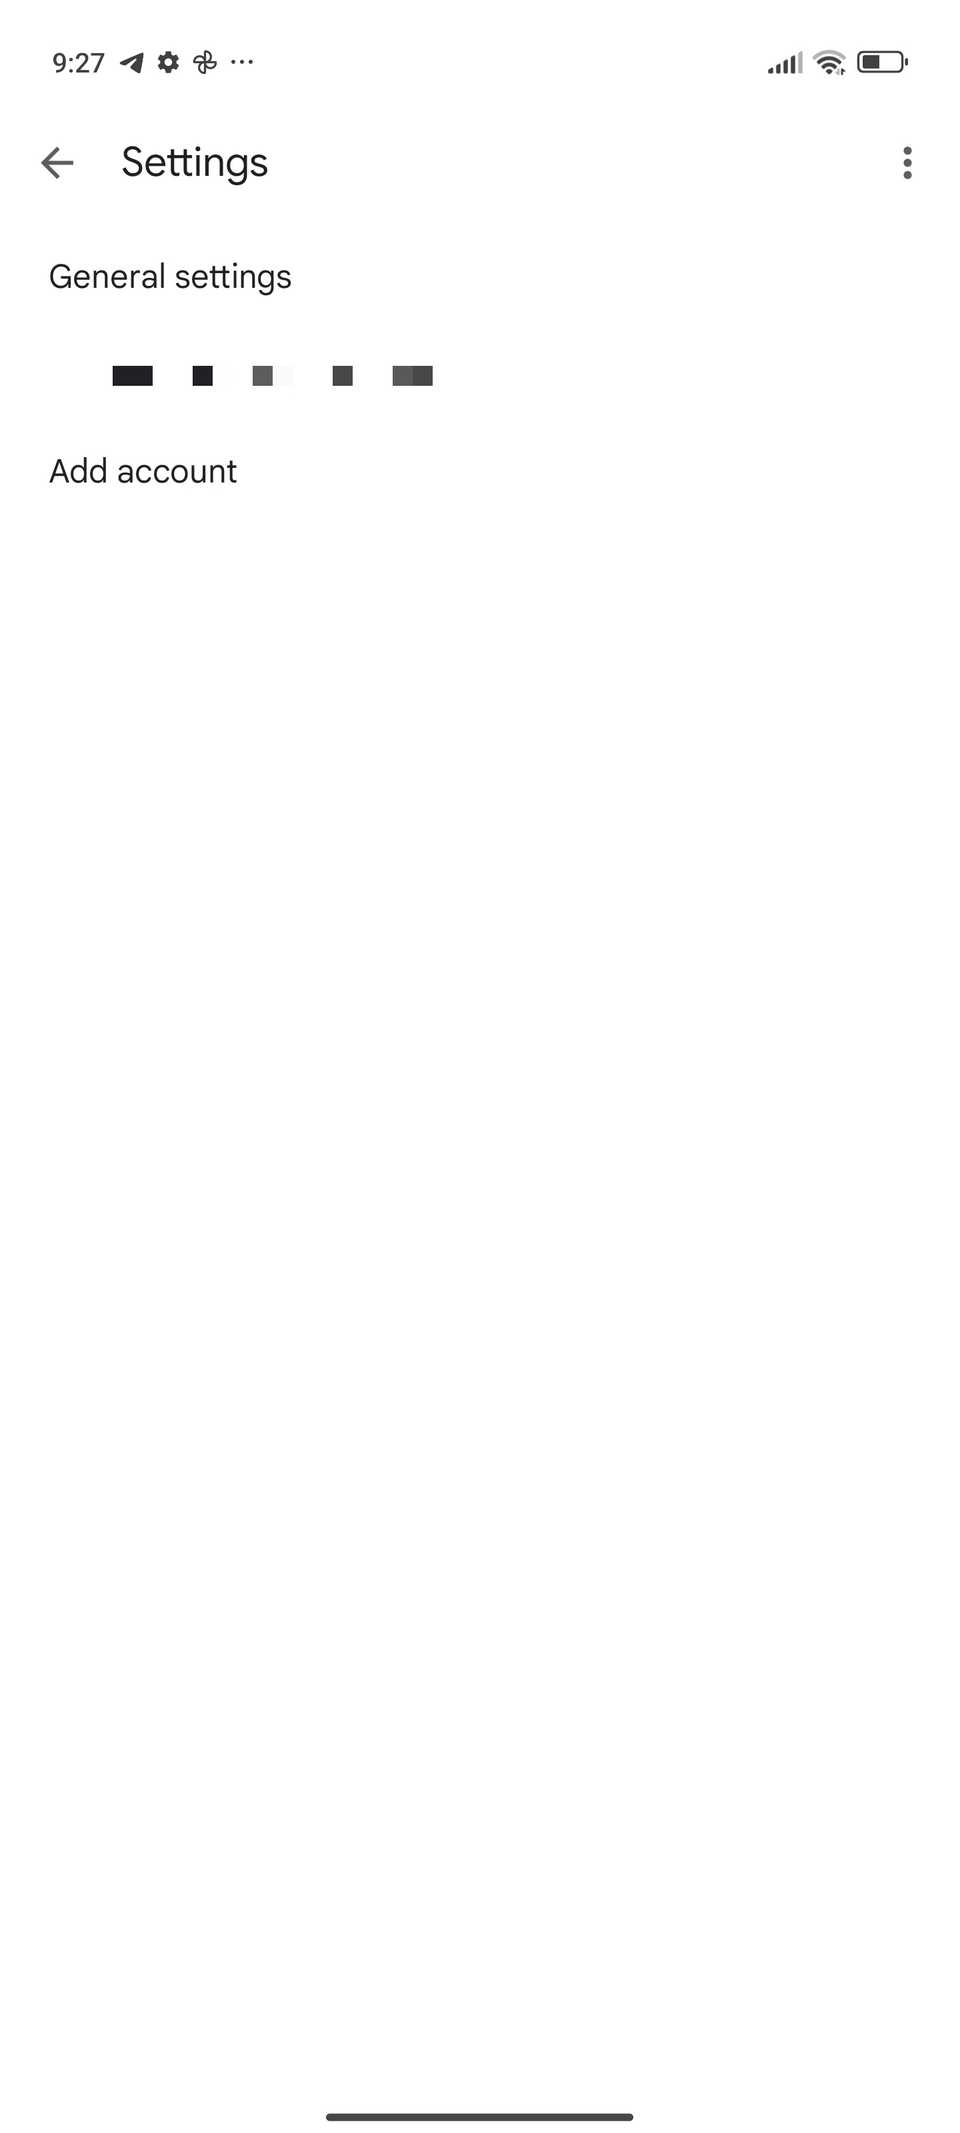
Choose your Gmail account from the checklist.
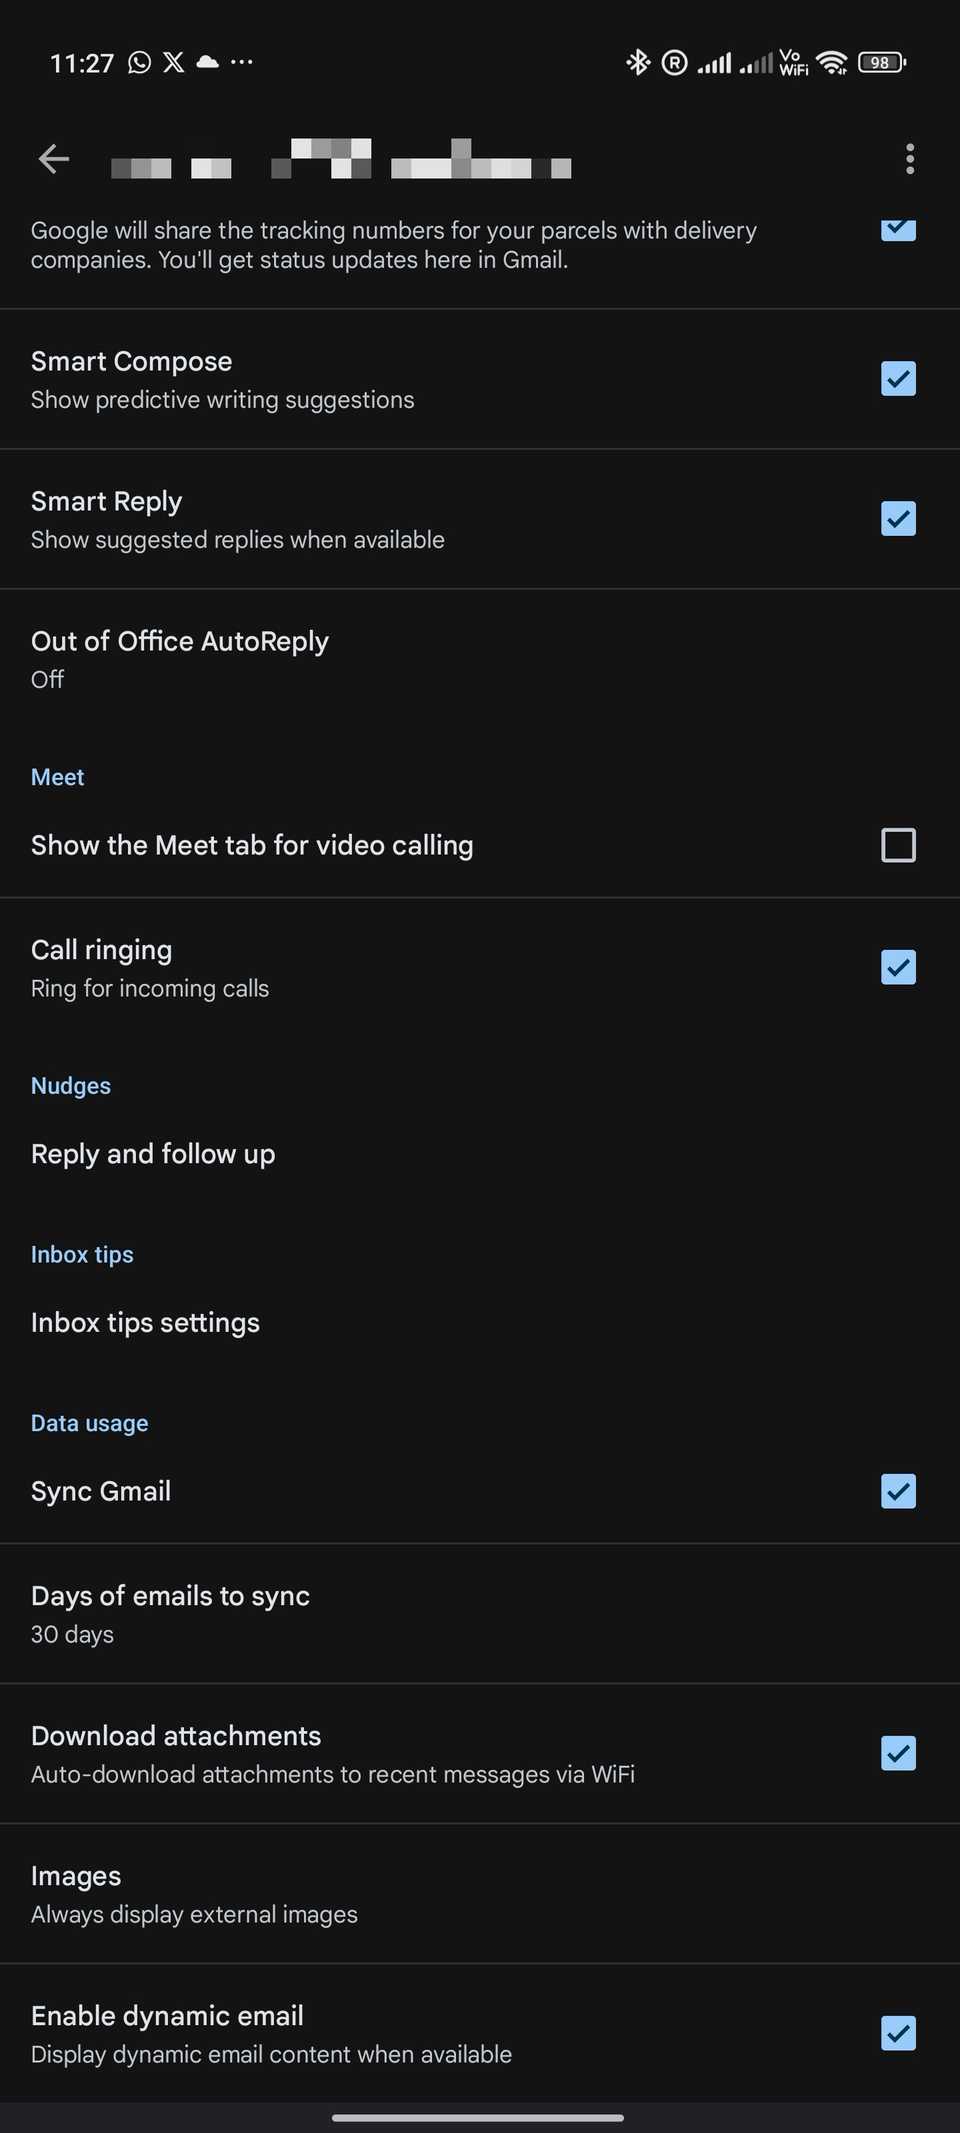
- Scroll right down to the Meet part from the settings web page that opens.
-
Flip off the Present the Meet tab for video calling possibility.
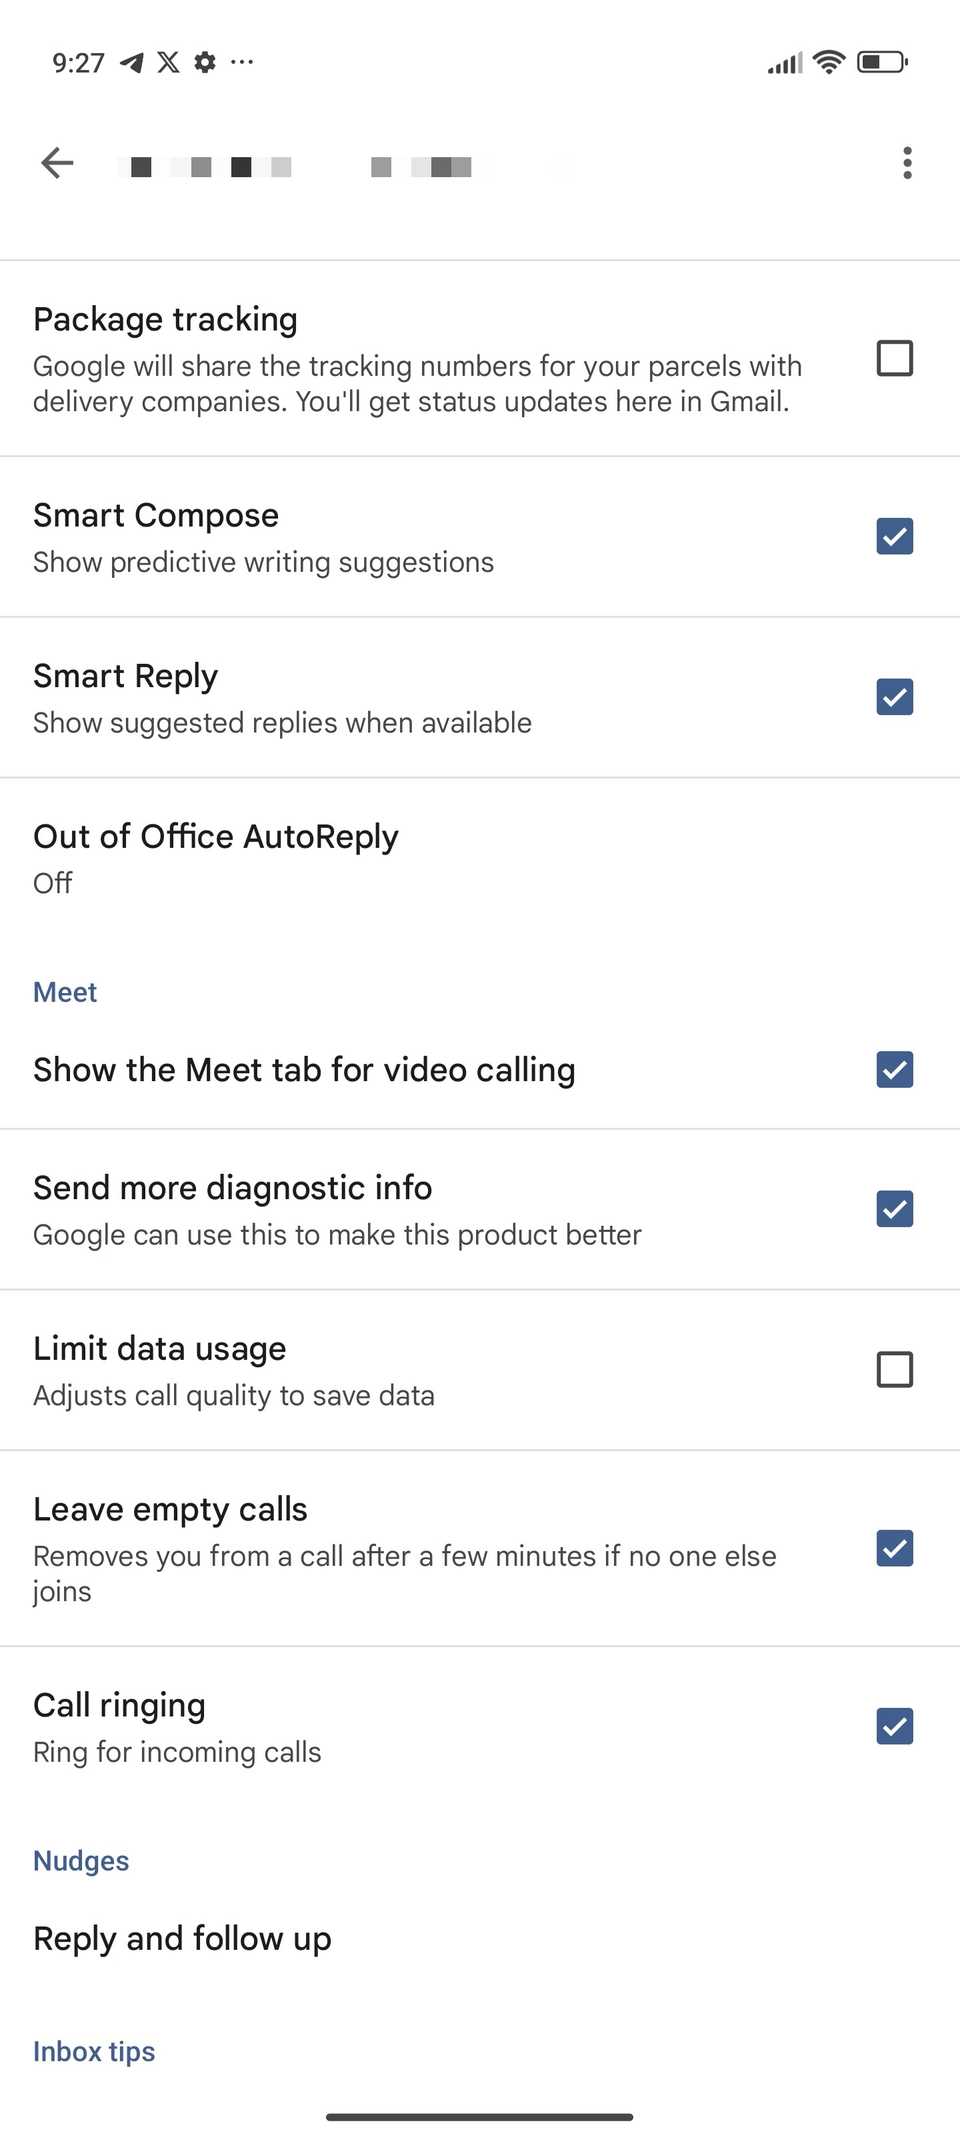


The Gmail app will routinely restart with the Meet tab hidden.
Change the default notification motion button
Delete as an alternative of archive
The fantastic thing about Android’s notification system is you can immediately take motion on notifications.
By default, Gmail notifications let you immediately archive, reply, or mark messages as learn.
In case you’re the kind who likes to trash undesirable emails instantly, it is a good suggestion to swap out the archive button for delete. Here is how:
- Within the Gmail app, carry up the hamburger menu (≡) on the upper-left nook.
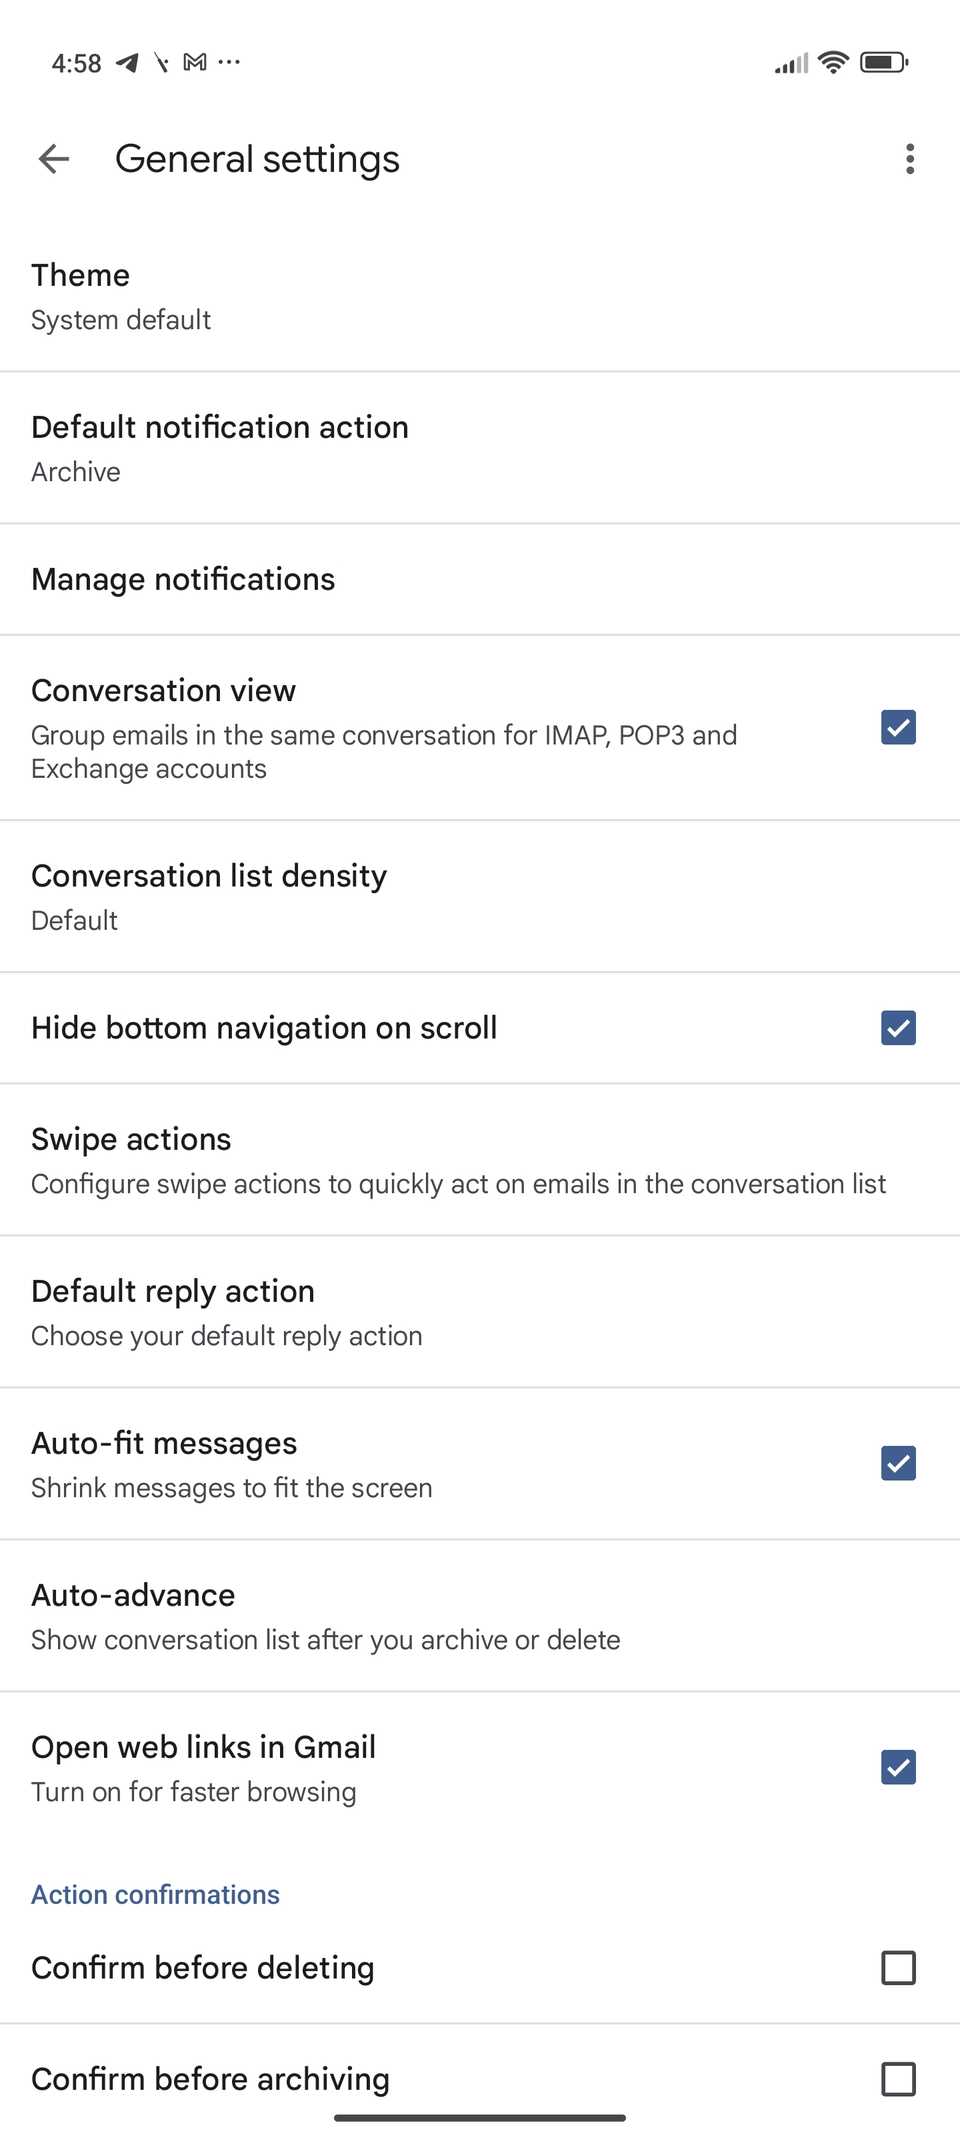
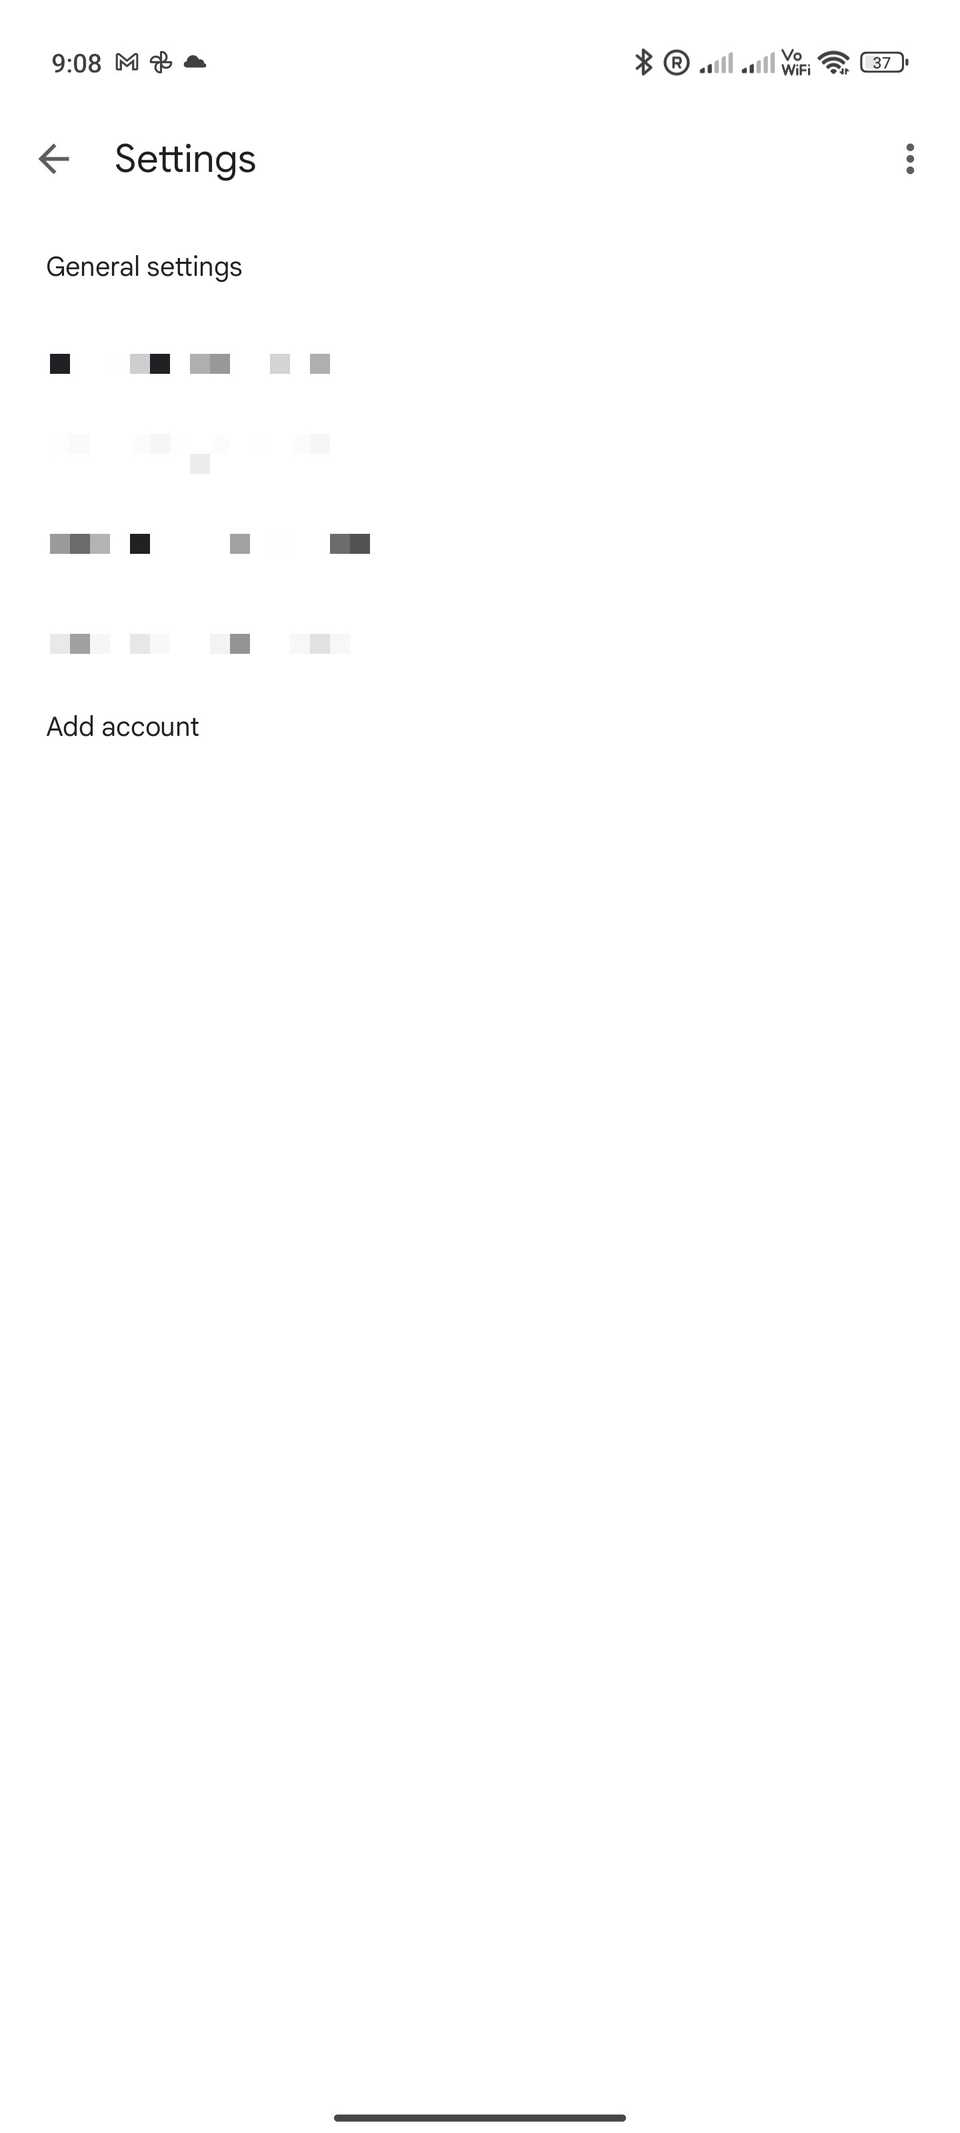
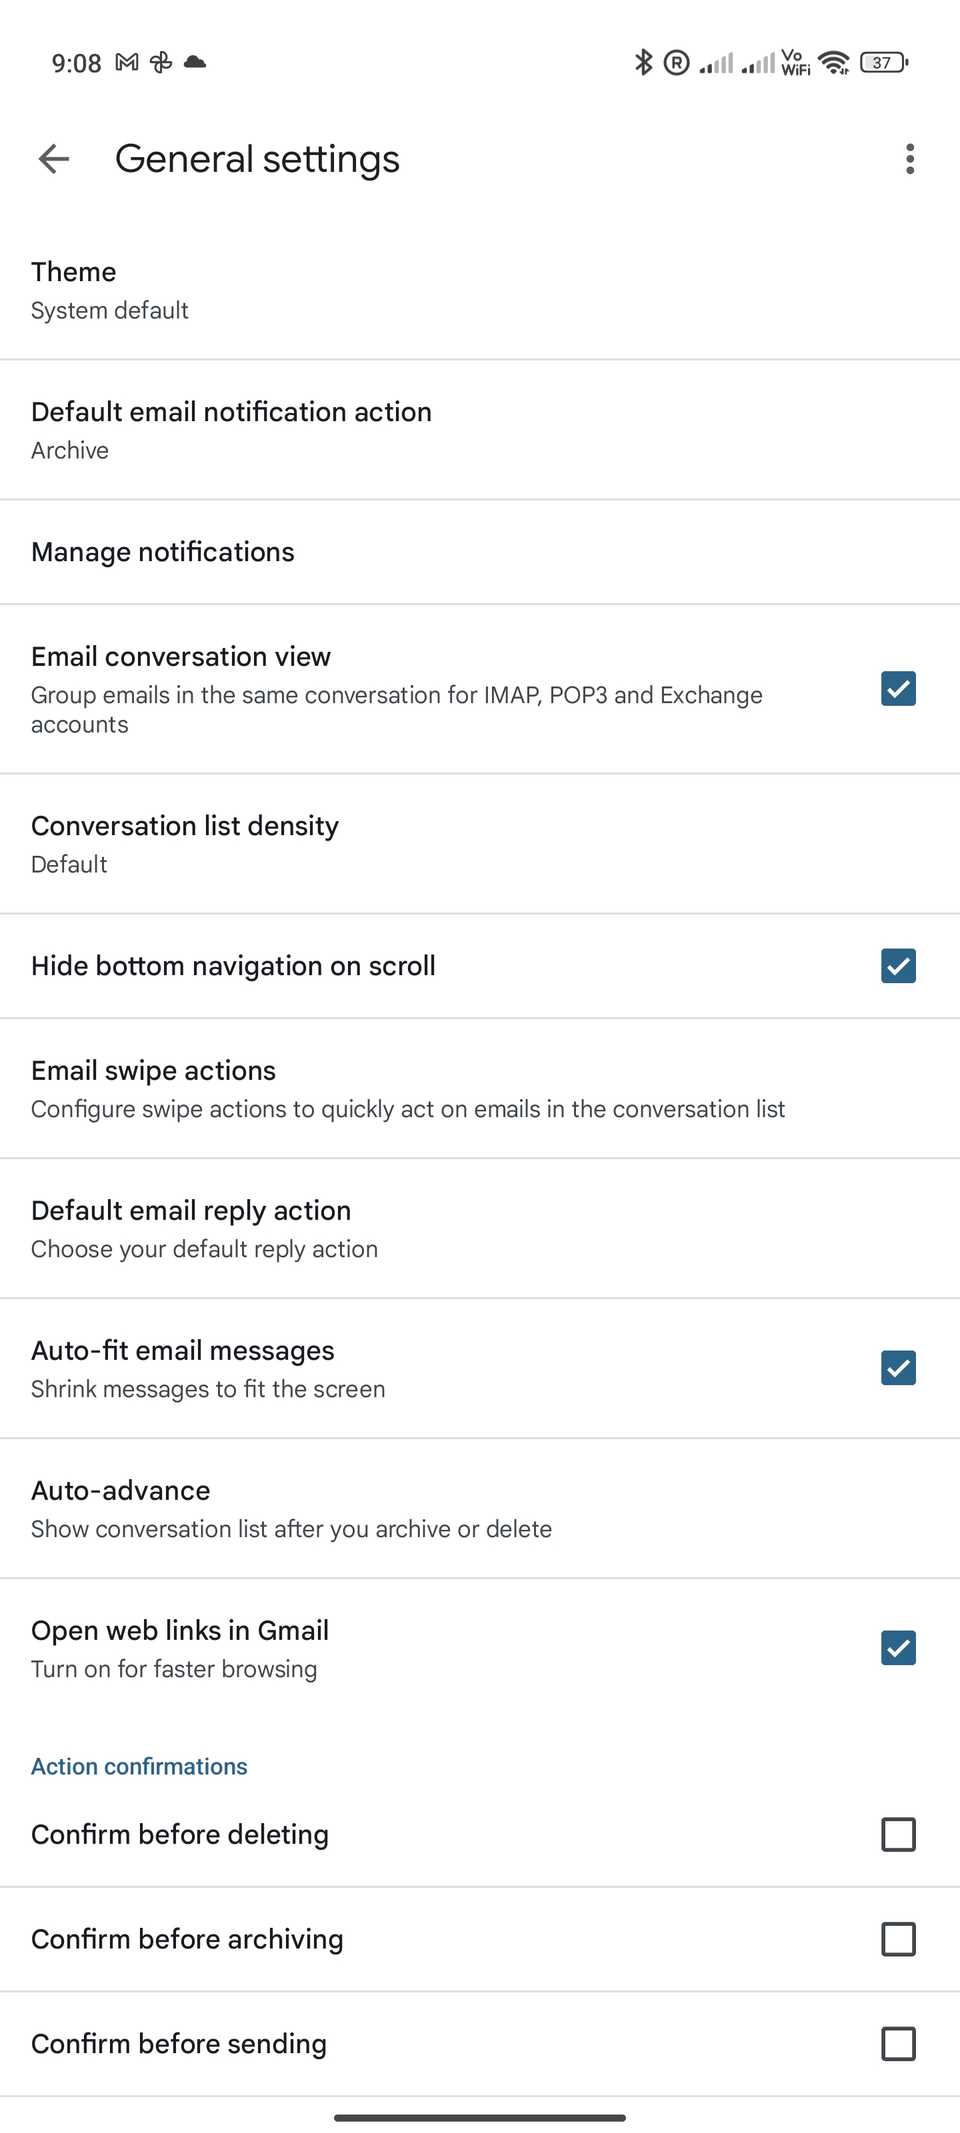
- Choose Settings, adopted by Common settings.
-
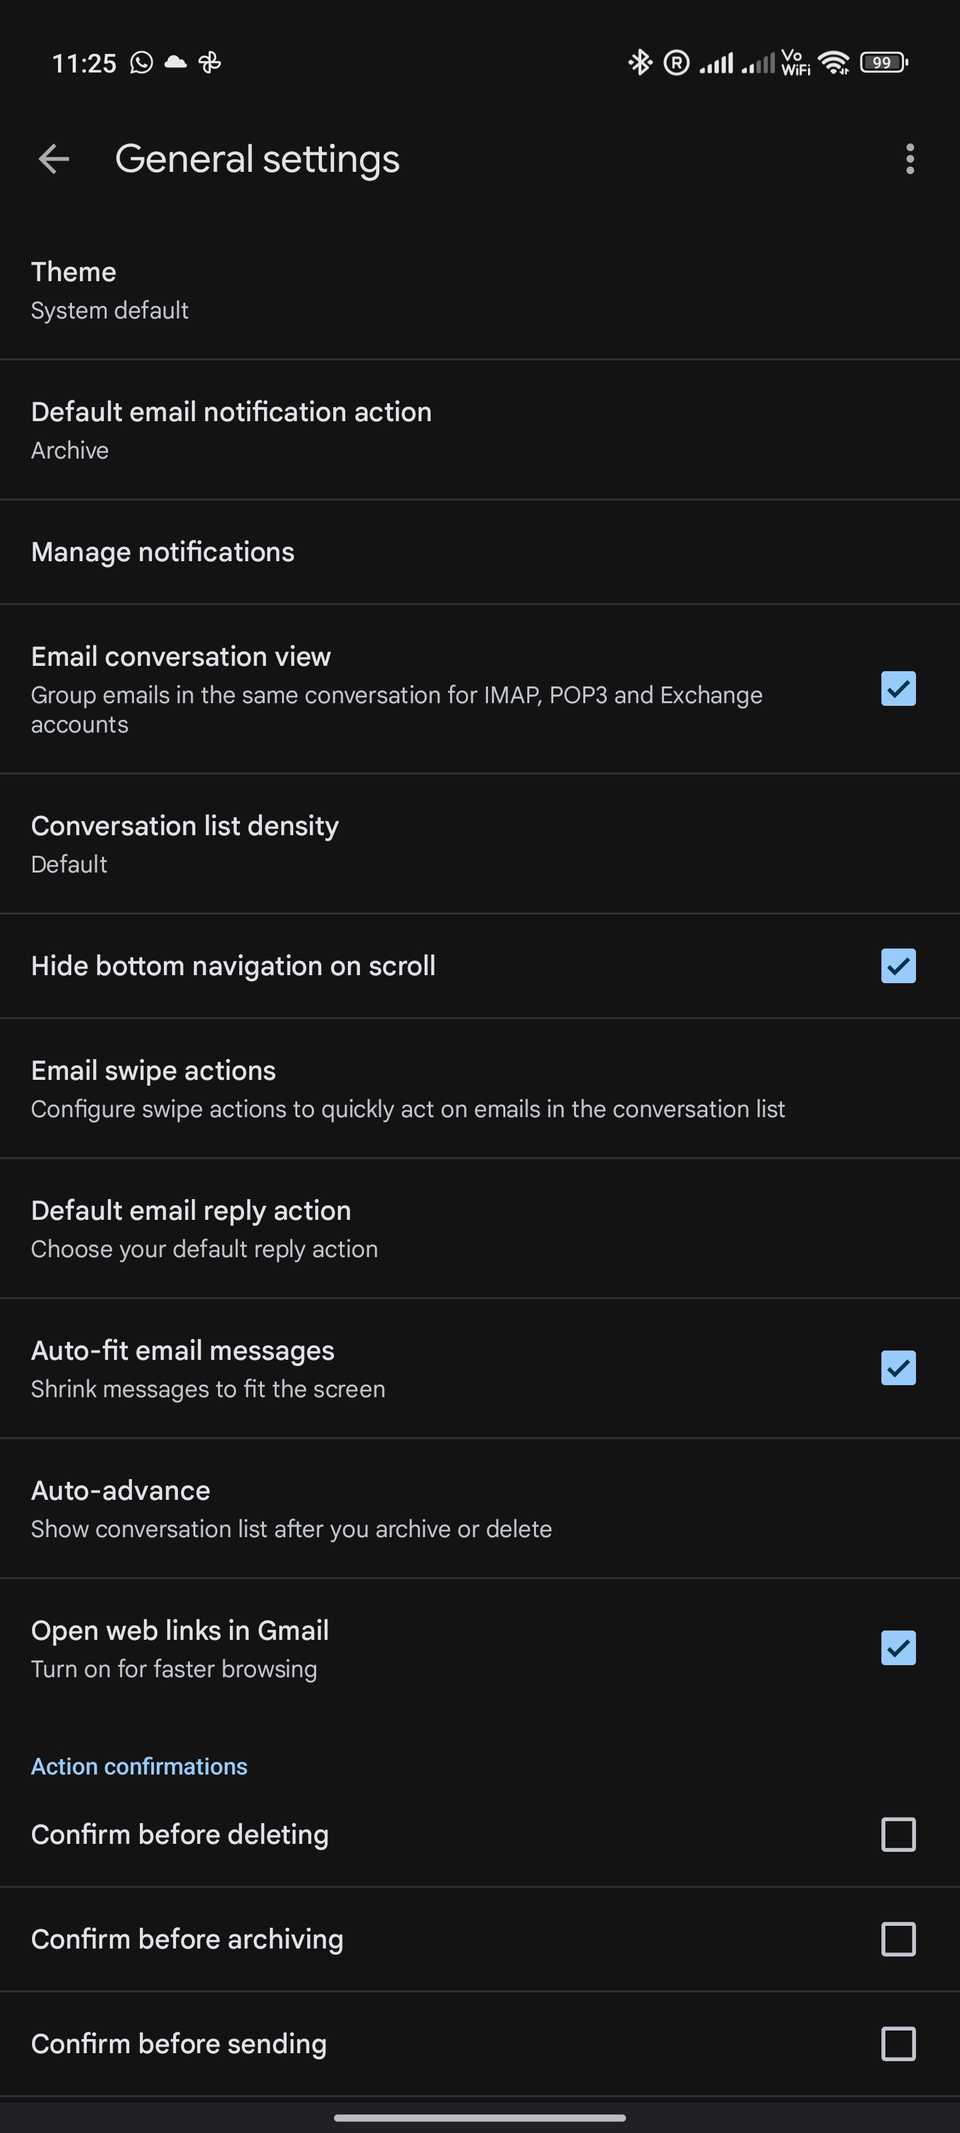
Faucet Default notification motion and alter the choice to Delete.
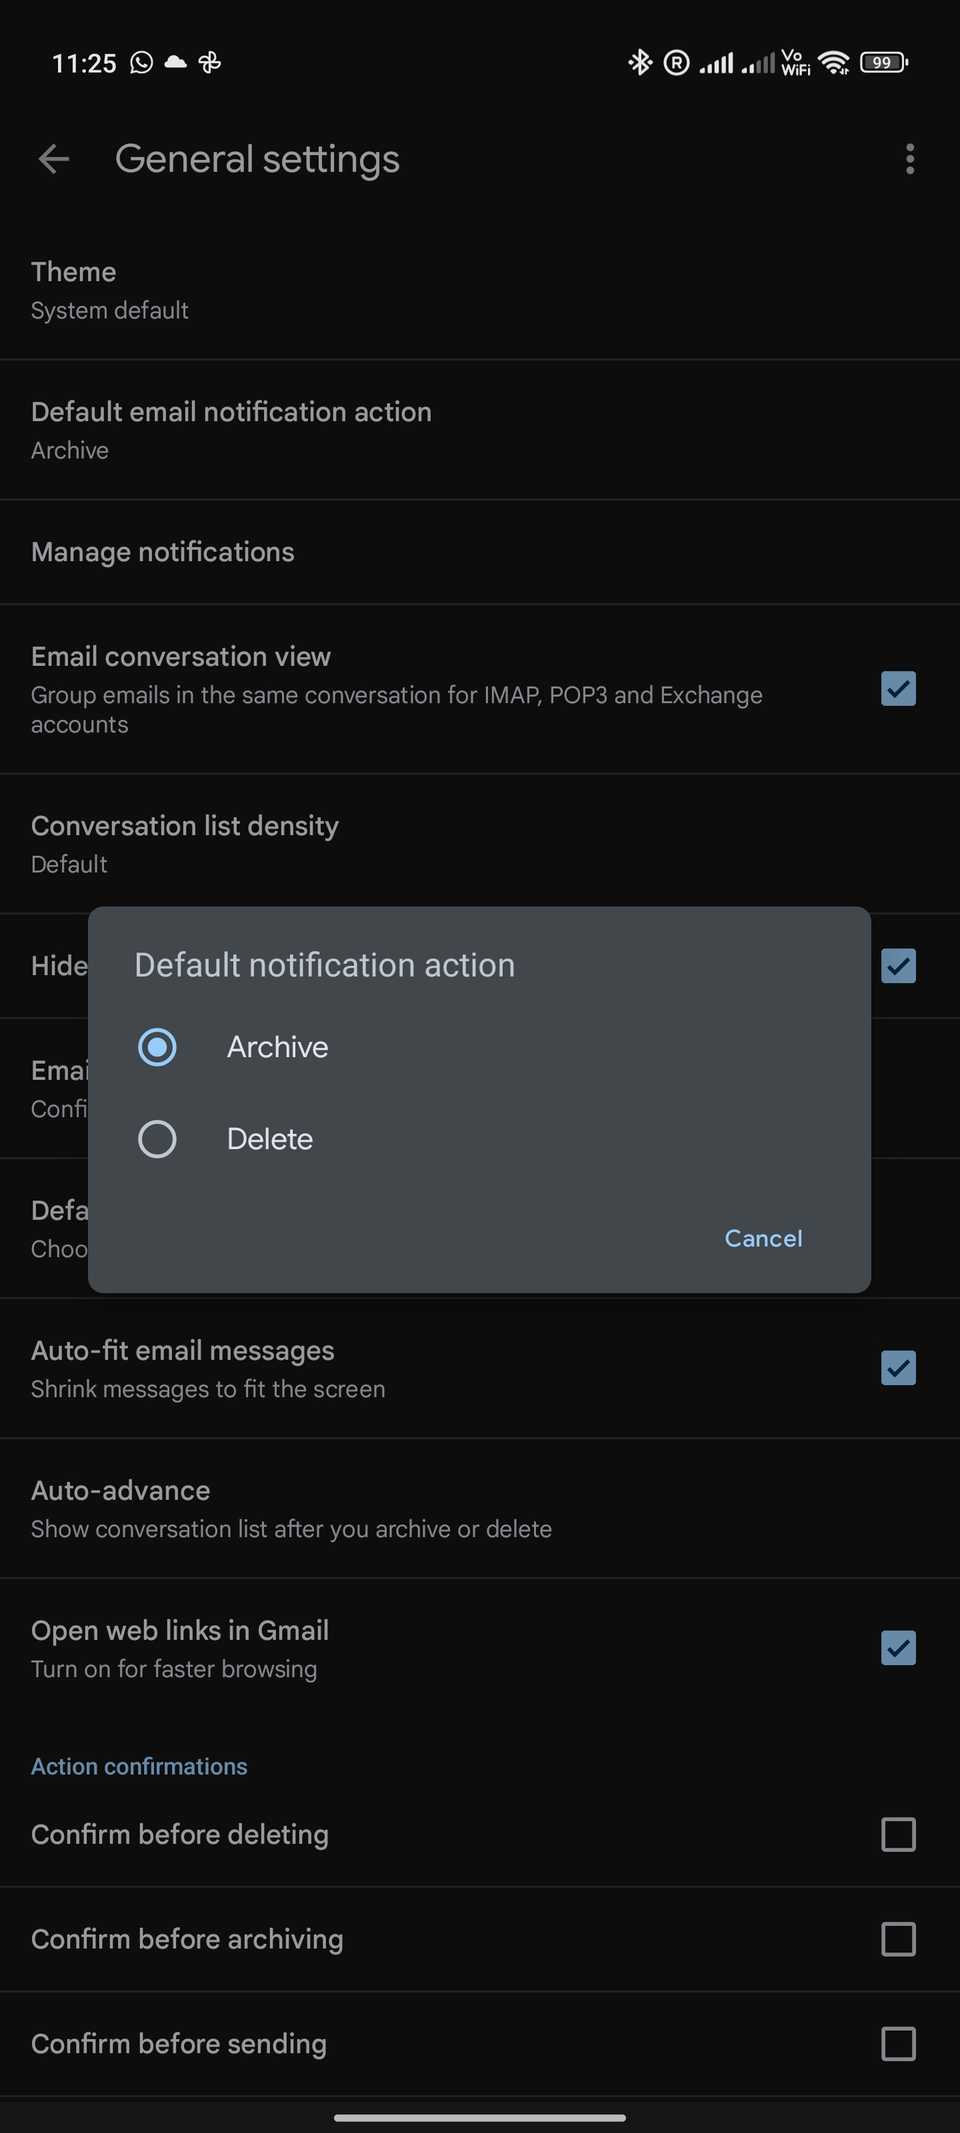


As a substitute of Archive, you’ll get an motion button to delete emails out of your cellphone’s notification shade.
Nonetheless, you may’t set some other motion for the notification motion button. The Delete button can also be non-customizable.
Tweak swipe actions to your liking
Rapidly mark as learn or delete

You’ll be able to swipe left or proper on emails in your inbox from the Gmail app to delete or archive them.
This is a superb function because it helps you to rapidly take totally different actions on numerous emails in your inbox.
Even higher, you may customise the swipe actions to your liking and necessities to hurry up your workflow.
- Open the hamburger menu within the Gmail app by tapping the three-line (≡) icon within the upper-left nook.
- Navigate to Settings > Common settings.
-
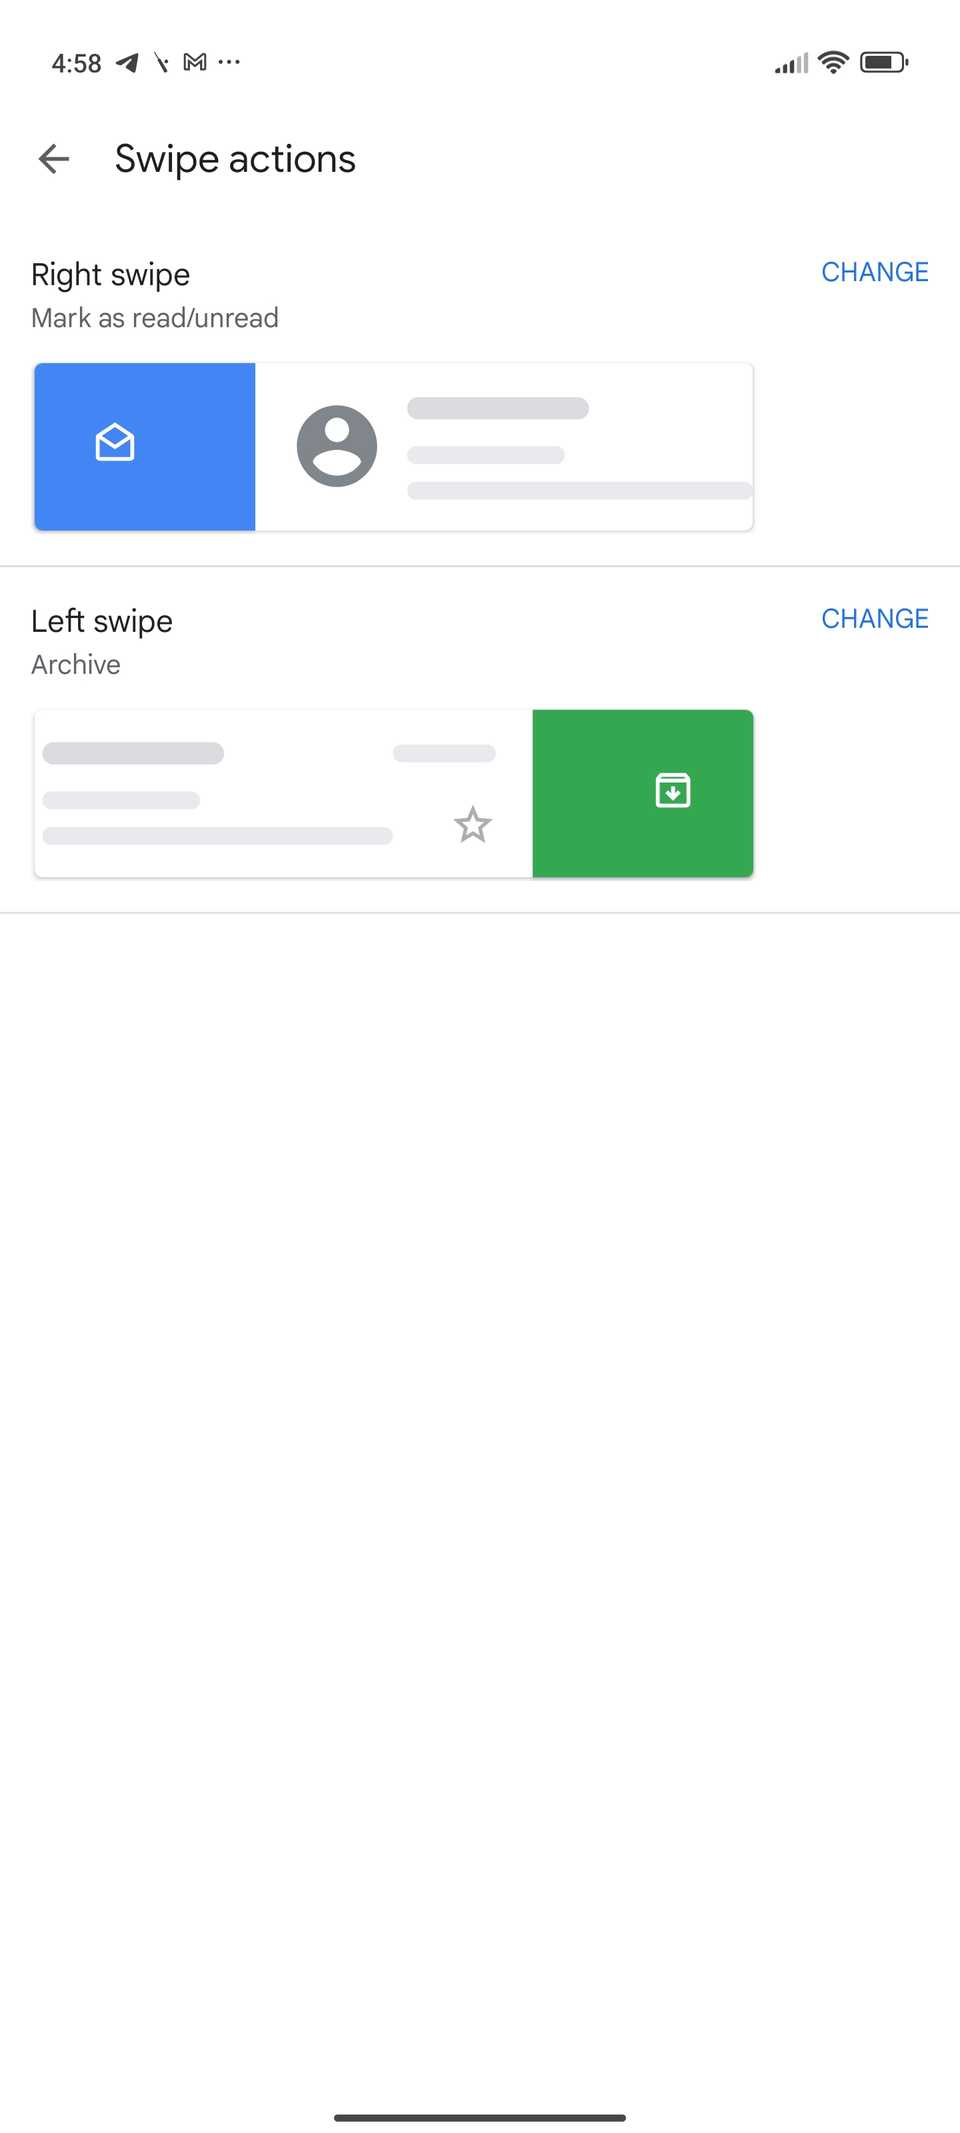
Choose Swipe actions.
-
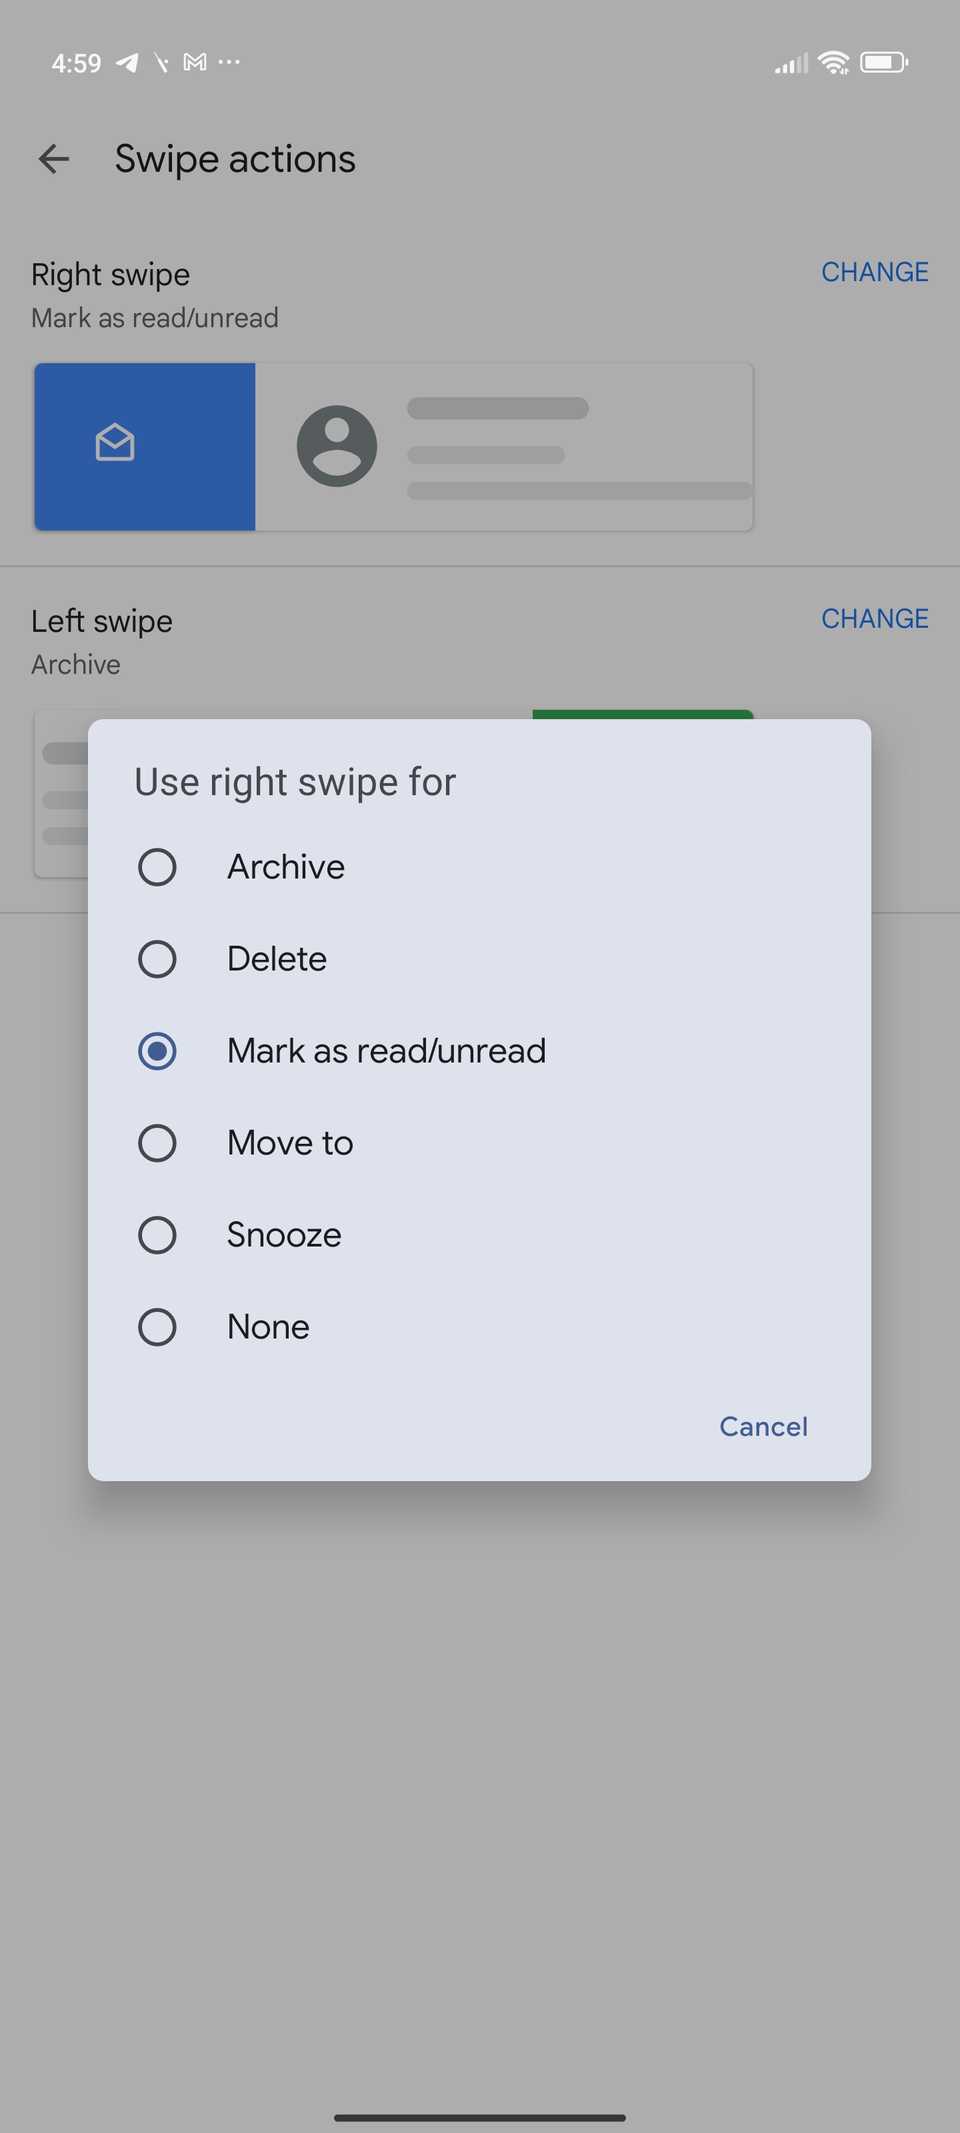
From right here, you may configure the correct and left swipes individually. You’ll be able to set the swipe motion to archive, delete, mark as learn/unread, transfer to, or snooze an electronic mail based mostly in your desire.


Get notifications for each electronic mail
As a result of all emails are vital

By default, the Gmail app for Android solely notifies you of high-priority emails. This ensures you aren’t bothered by notifications from undesirable emails.
However in some situations, you may need to be notified of all emails that hit your inbox, even when you’re on cellular.
To do that, you need to dive into the Gmail app settings and alter its notification settings.
- Open the Gmail app and navigate to Settings from the hamburger menu on the left.
- Choose the Gmail account whose notification settings you need to change.
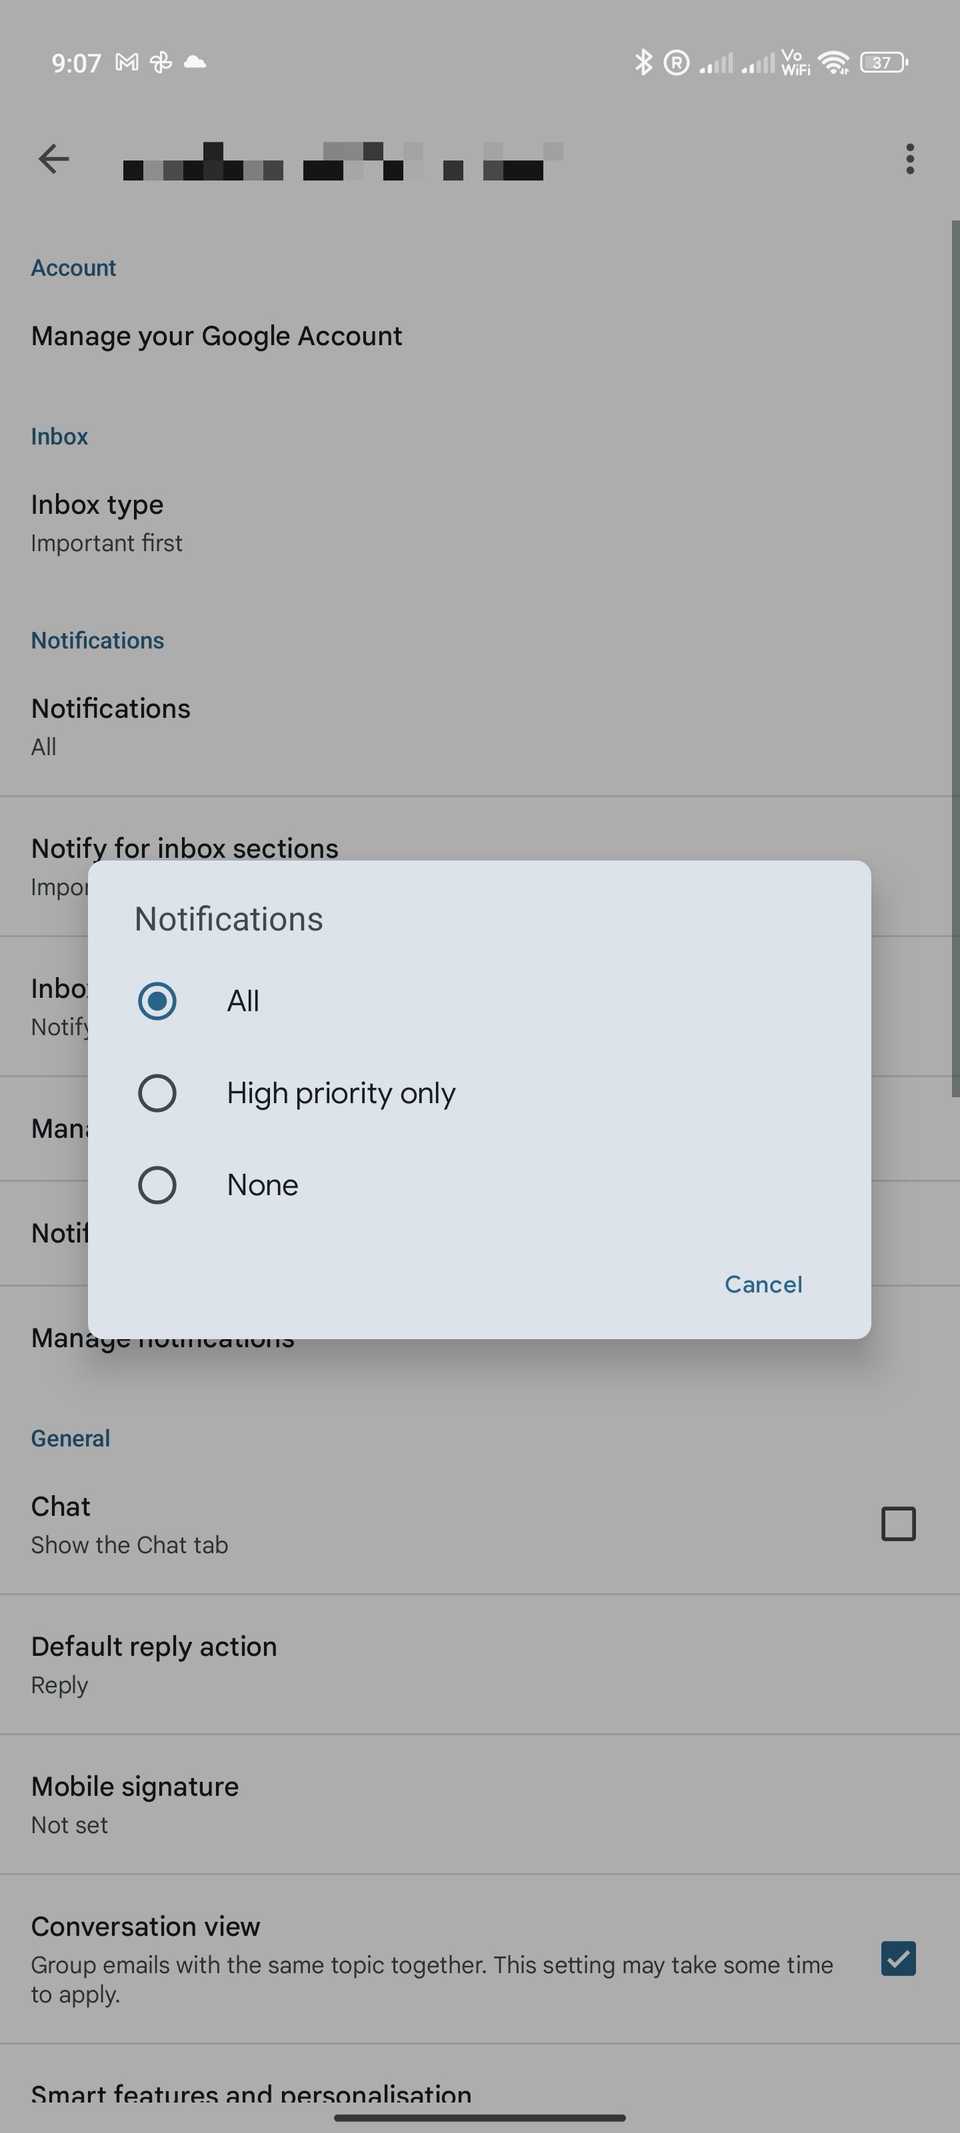
- From the Notifications part, faucet Notifications and choose All. If you do not need notifications for any electronic mail that hits your inbox, faucet None.
-
Faucet Notify for inbox and choose whether or not you need to be notified for all new emails or solely the vital ones.
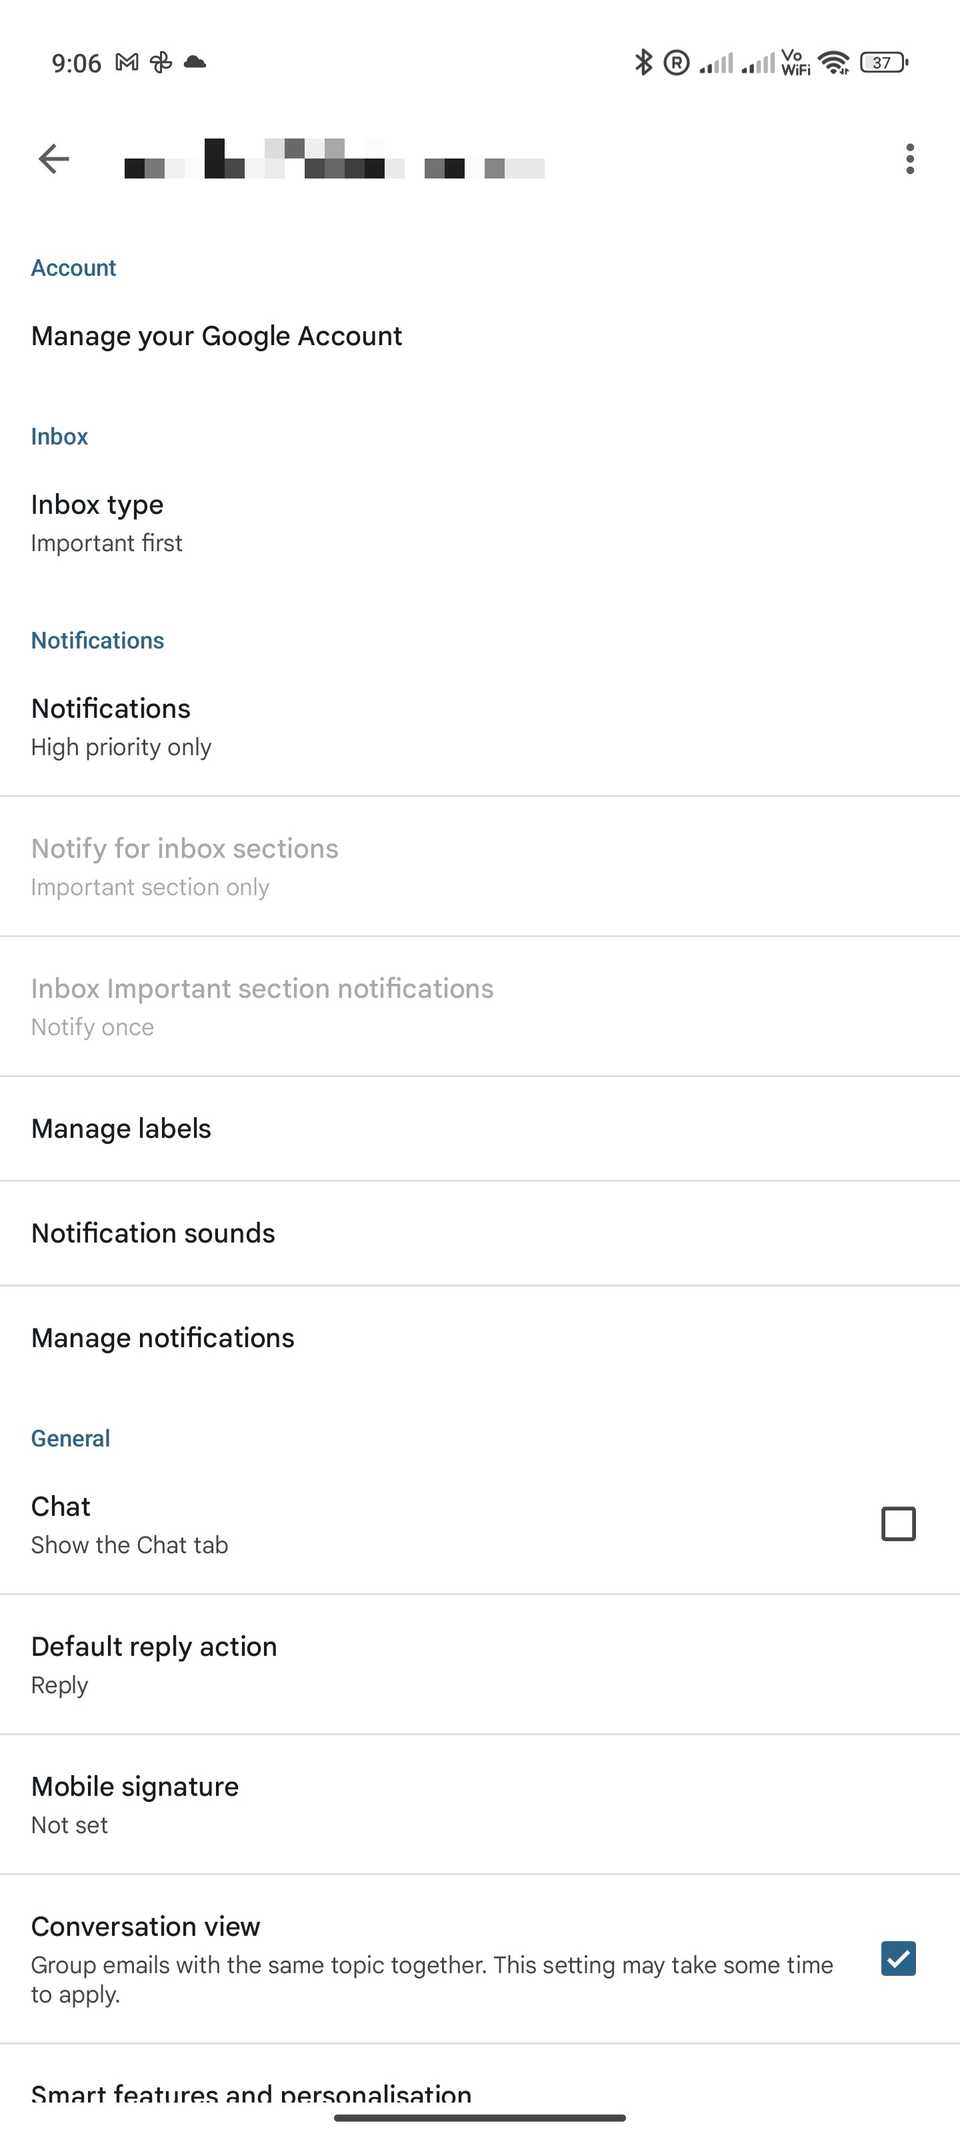


The Gmail app helps you to set notification preferences on a per-account foundation.
Thus, you may guarantee you might be notified of emails that land in your work account whereas solely getting notifications for vital emails in your private inbox.
Allow motion affirmation
There have been situations the place I by accident tapped the ship button in Gmail’s Android app whereas replying to an electronic mail.
Though Gmail has a short “Undo” button that seems after sending or deleting an electronic mail, it disappears rapidly.
If you would like an additional layer of safety, you may allow Gmail’s motion confirmations. This forces a pop-up to look, asking you to verify earlier than an electronic mail is formally despatched.
Here is easy methods to activate the function:
- Open the Gmail app in your Android cellphone.
- Carry up the hamburger menu (≡) by tapping the overflow menu button from the upper-left nook.
- Navigate to Settings > Common settings.
-
Scroll right down to Motion confirmations. Examine the packing containers for Affirm earlier than deleting, Affirm earlier than archiving, and Affirm earlier than sending based mostly in your wants.


You can too lengthen the size of time the Undo button seems in Gmail, however it’s important to make the adjustments from a desktop browser.
To increase, go to mail.google.com, choose Settings > see all settings > Common > Undo Ship, select the delay time from the Ship cancellation interval dropdown, then choose Save Adjustments.
Change Gmail’s sync settings
By default, the Gmail app for Android syncs and shops emails for the final 30 days. That is adequate for many customers.
However when you regularly end up with out web entry and unable to entry vital emails from over a month in the past, you may change Gmail’s sync settings to keep away from this from occurring.
- Open the Settings menu in Gmail’s Android app from the sidebar.
- Choose the Gmail account whose sync setting you need to change.
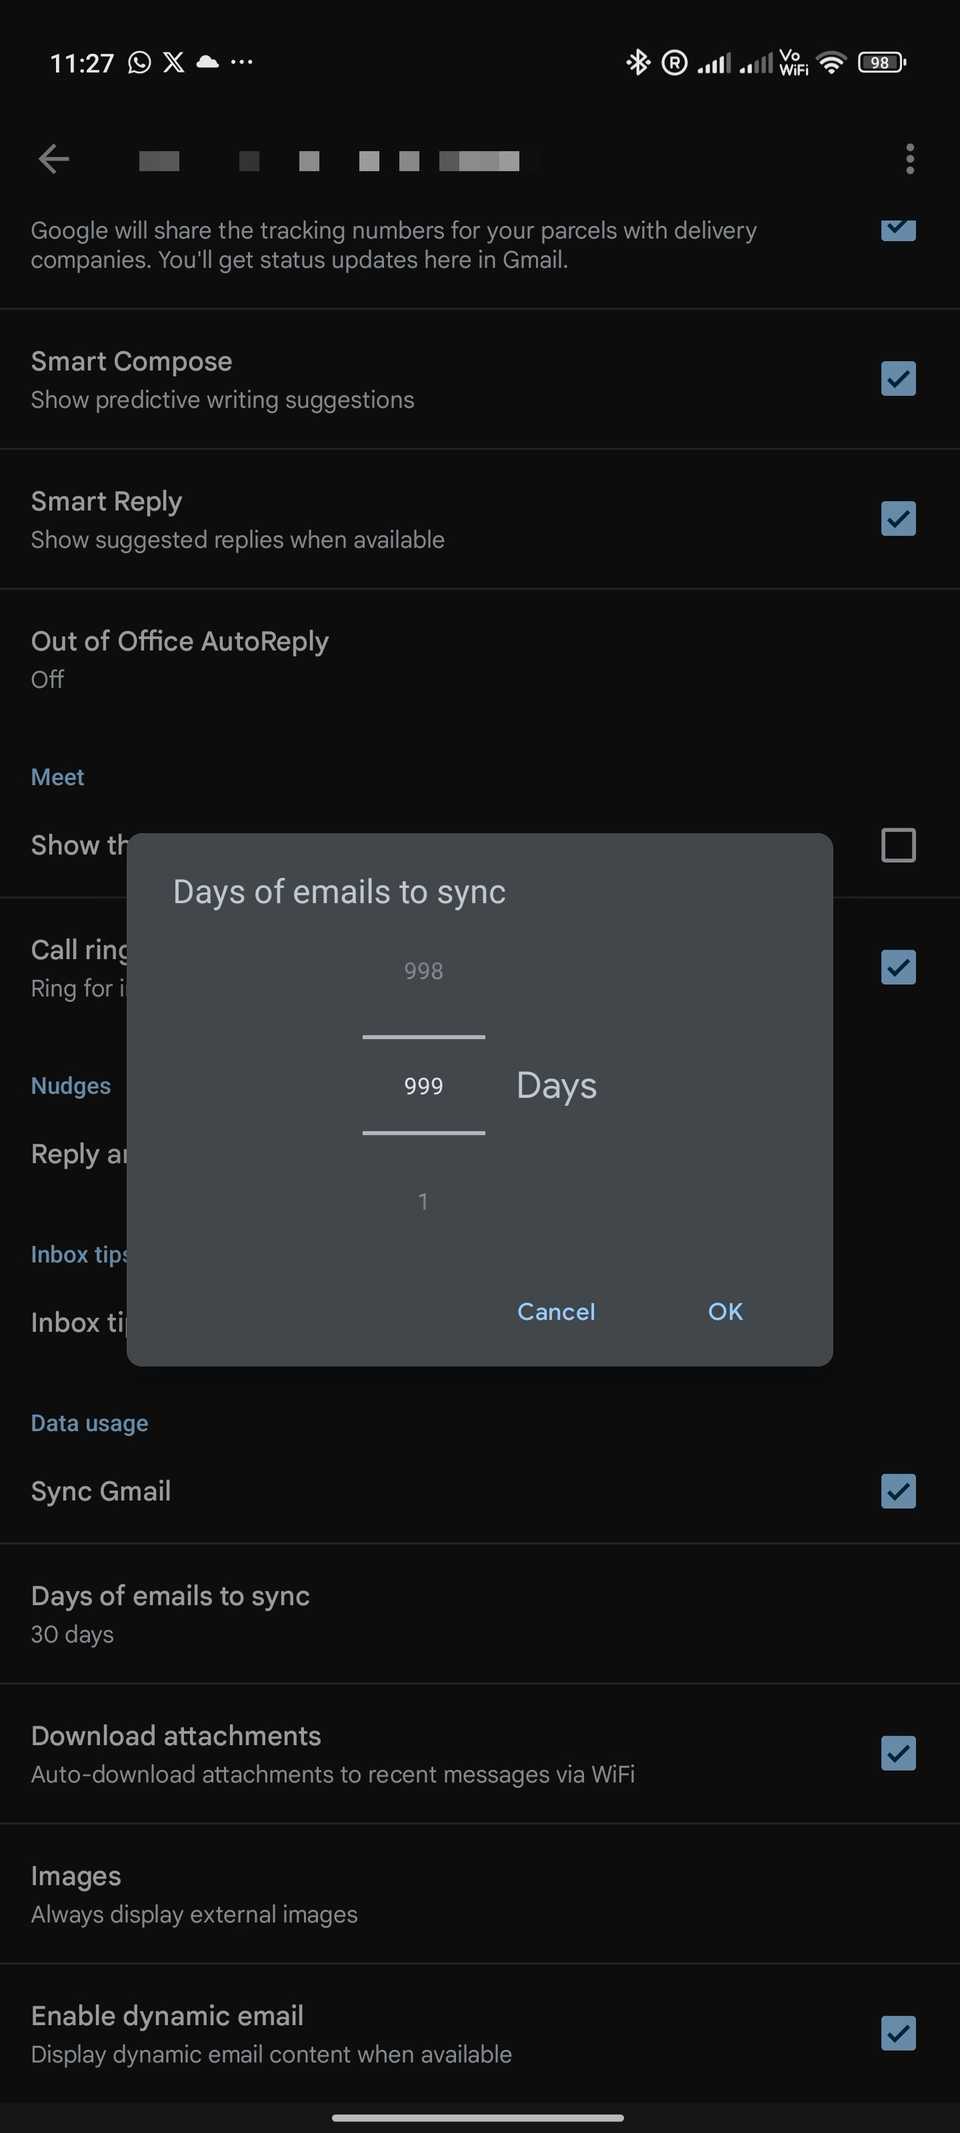
- Scroll right down to Knowledge utilization.
-
Faucet Days of emails to sync and choose the times of emails to sync. You’ll be able to sync emails as much as 999 days previous.


Primarily based in your settings and preferences, the Gmail app will obtain the emails domestically onto your cellphone for fast entry even with out the web.
Keep on prime of your inbox
Altering the above settings in Gmail’s Android app will make it simple so that you can tame the chaos in your inbox.
In addition to the above settings, Gmail for Android packs a number of helpful options, together with the flexibility to take care of repeat emails.
You must also be taught easy methods to scale back spam emails to maintain undesirable muddle away out of your Gmail account.